


Square TMD-Display
http://www.zennio.com
Technical Support:
http://zennioenglish.zendesk.com
56
When an individual button has been enabled, a specific tab (“
Button In
”) becomes
available under “Buttons” in the tree on the left.
Note
:
the INFO textboxes are functionless (they simply bring the option to add a
description to each button of the project) and can be hidden if desired. See section
2.2.6
.
The main parameter that needs to be configured is:
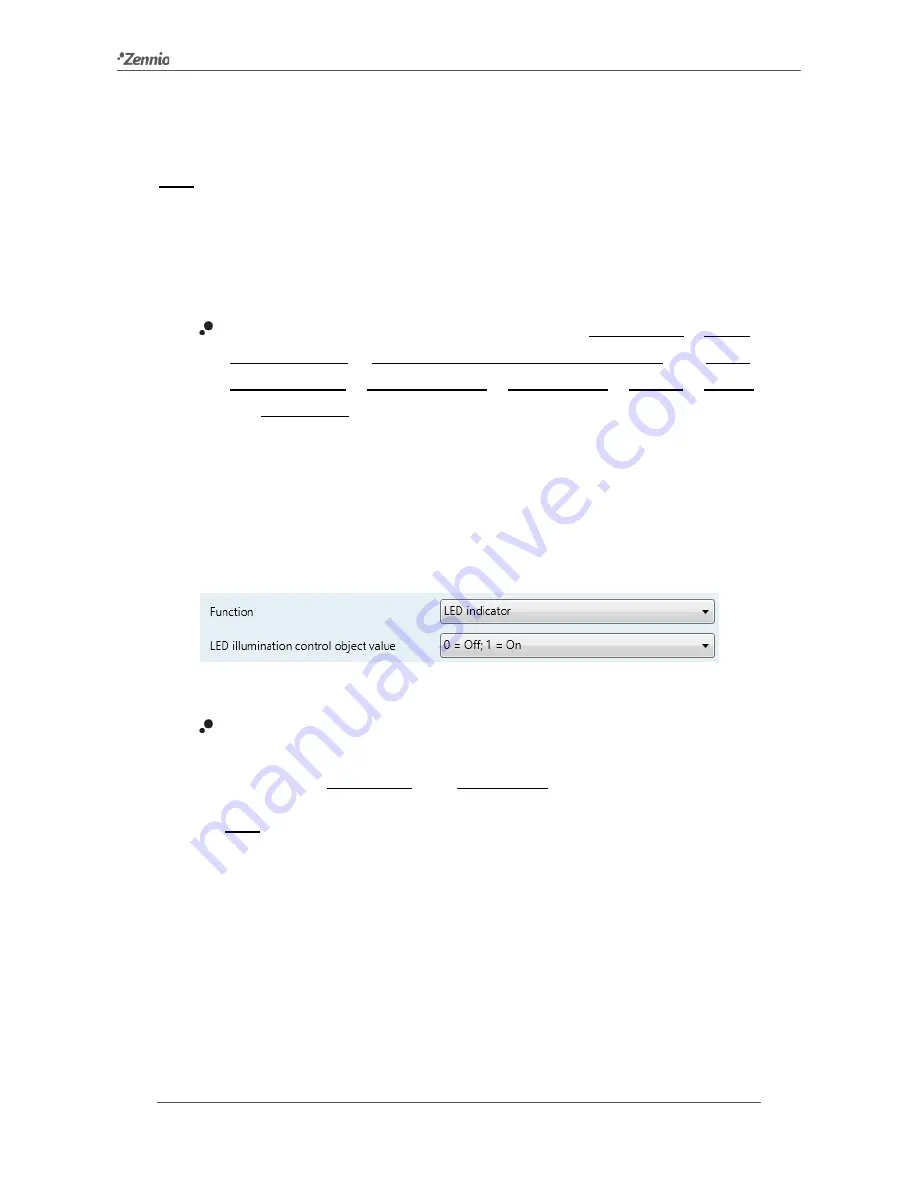
Function
: sets the desired function for the button: “LED indicator”, “Switch”,
“Hold & Release”, “Two Objects (short press / long press)” or “Scene”,
“Scaling constant”, “Counter constant”, “Float constant”, “Dimmer”, “Shutter”
and “Enumeration”.
Depending on the function, some more parameters are involved (as described next).
Please note that in the next pages “
[In]
” is used as a general notation for the
communication objects, where “n” depends on the particular button pair (1 through 5).
LED Indicator
Figure 42
Individual Button - Disabled.
Function
: sets the behaviour of the LED of the button. The options are
similar to those of the dedicated-object LED illumination available for other
control types: “0=Off; 1=On” and “0=On; 1=Off””.
Note
:
this parameter does not depend on the option selected for “LED
Illumination Control (All Buttons)” (see section 2.3.1).
After assigning this function to the button, object “
[Btn] [In] LED On/Off
” is
included in the project topology, so that the values that determine the state of
the LED at a given time can be received from the bus.


