RCF Microscopy Manual
5/2/2017
Authors Cory Nook and Chaowei Shang
Page 15 of 19
6. Z-STACKS
6.1 Adding a Z-Stack to your Experiment
Acquire a z-stack only after setting up all the imaging
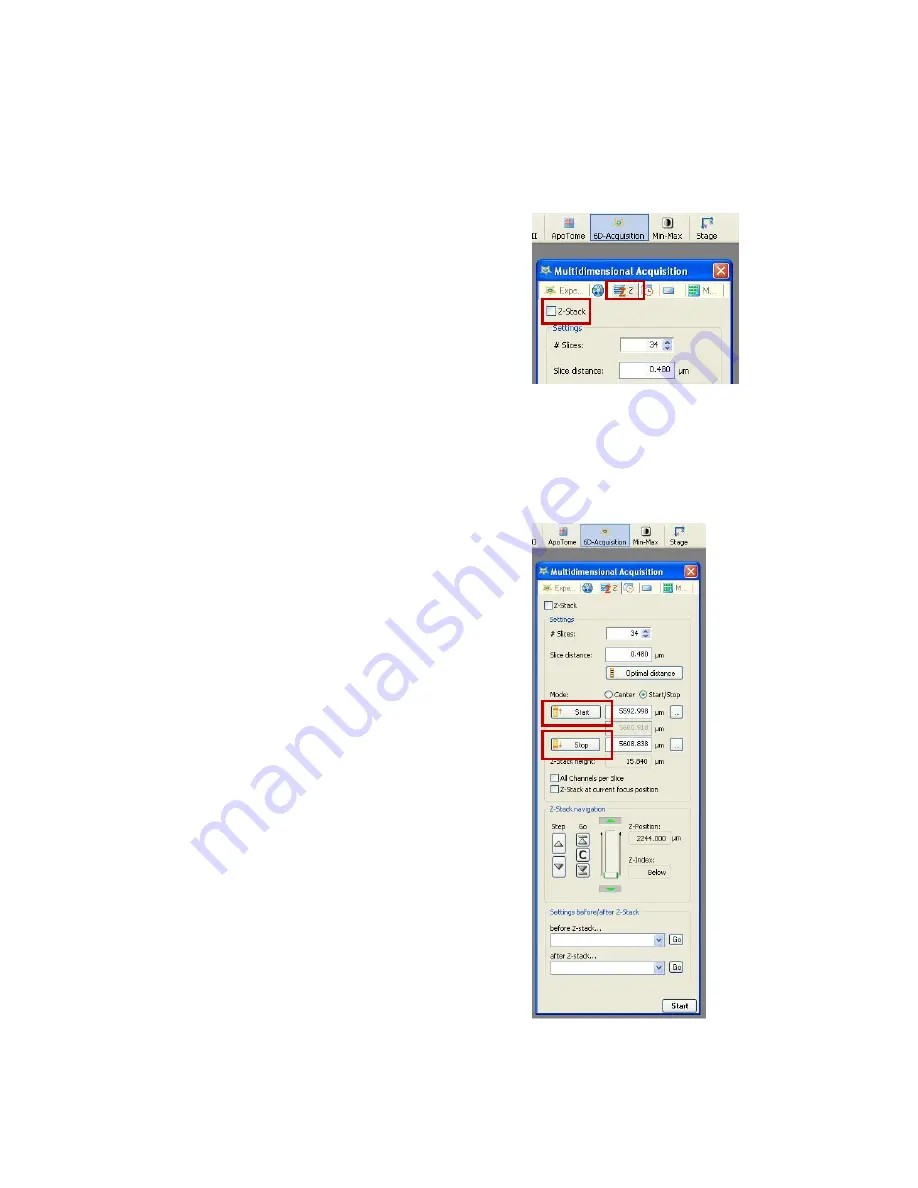
parameters in the steps above. Then click on the Z-Stack tab
in the Multidimensional Acquisition window. You will need to
select the Z-Stack icon in the upper right corner of the tabbed
window.
6.2 Setting the Limits of the Z-Stack
The system acquires a Z-Stack by defining the top of the
sample and bottom of the sample but actually goes in reverse
order. It is recommended to set the positions of the start and
stop points to be past the region of interest. This is to ensure
that your entire region is in the Z-Stack and that none of it is
mathematically taken out.
Make sure that the mode selected, with a green dot, is
Start/Stop and not Center.
You will need to alternate between this tab and the channels
tab. Click on the channels tab and select one of your
channels. Click on measure and use the TFT display Z-
adjustment knob to move the objective turret upwards until
you are past your desired region of interest. Click on Ok and
then click on the Z-Stack tab again. Next, click on the Start
icon, boxed in the figure on the right.
Follow the same steps above only to move the objective
turret downwards until past the desired region of interest.


