6
7
Z23720
Z23720
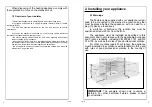
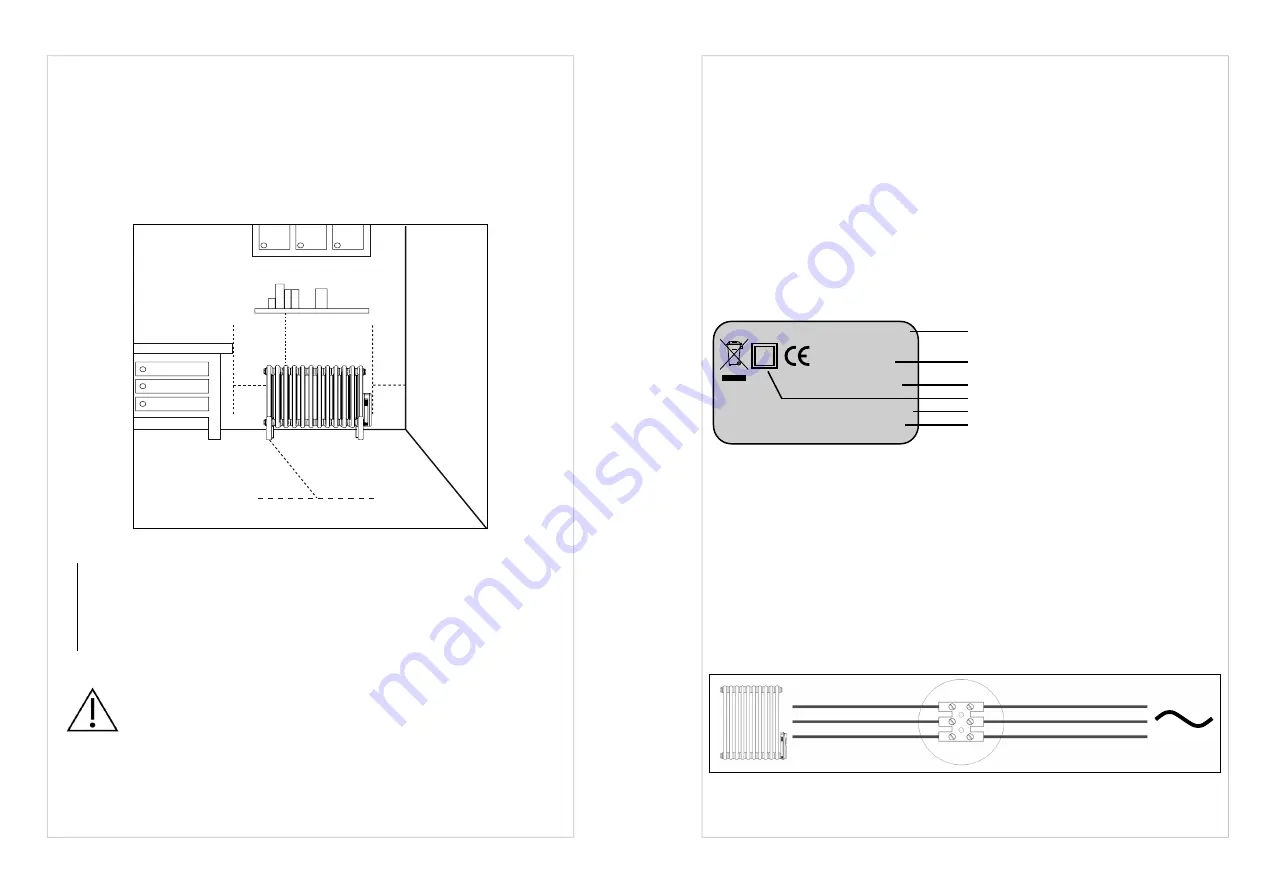
To ensure your system is safe (see figure)
:
- ensure that an area of at least 50 cm in front of the
appliance is clear of objects which might hinder air
circulation (furniture, chairs, etc.);
- position a shelf at least 10 cm above the top of your
radiator;
- use mounting screws suitable for your wall.
IMPORTANT
This radiator should never be installed with
the control unit positioned topside.
IMPORTANT
The system must be fitted with an omni
-
polar circuit-breaker with a minimum contact opening of
3mm.
ATTENTION
Always turn off the electricity supply (circuit-
b pilot wire) before making any connections.
≥ 100 mm
≥ 100 mm
≥
100
mm
≥ 500 mm
2.2 Positioning your appliance
To get the most out of your appliance and enjoy the highest standards of
comfort, we recommend that you install the appliance near places with high heat loss
(windows, doors, etc.) wherever possible.
You will find a complete set of assembly instructions in your appliance’s box.
2.3 Connecting the appliance
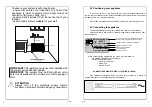
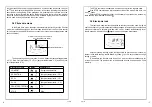
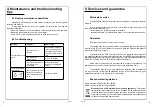
The technical specifications of your radiator are shown on its nameplate.
Please note these down before installing it and before requesting any after-
sales assistance.
When connecting the appliance to the mains, you must observe:
• the voltage indicated on the nameplate;
• conventional colour coding:
– blue or grey: neutral
– brown: live
– black: pilot wire
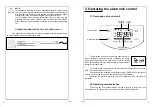
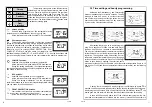
CONNECTING PRINCIPLE WITH PILOT WIRE (CLASS 2):
Your appliance is equipped with a pilot wire for connection to a pilot wire
programming base unit (not supplied with the appliance).
IP: protection level of your appliance against the
ingress of solid foreign bodies and water spray
Voltage and power required for installation
Appliance reference number
Class II: double insulated
OF: serial number
Manufacturer code
ATTENTION NE PAS COUVRIR IP XX
XXXXX
XXXX–XXX–XXX
230V ~ XXXXW
OF: XXXXXXXXXX XXXXXX
N CONSTRUCTEUR XXXXXX
N (blue or grey)
Neutral
Live
Pilot wire (base unit)
L (brown)
Pilot wire (black)


