74 / 96
CAYMAN
Version 01 - Revision 00
09/05/2017
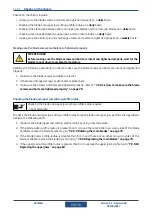
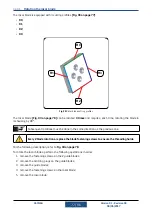
∂ the second time
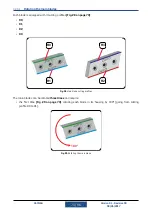
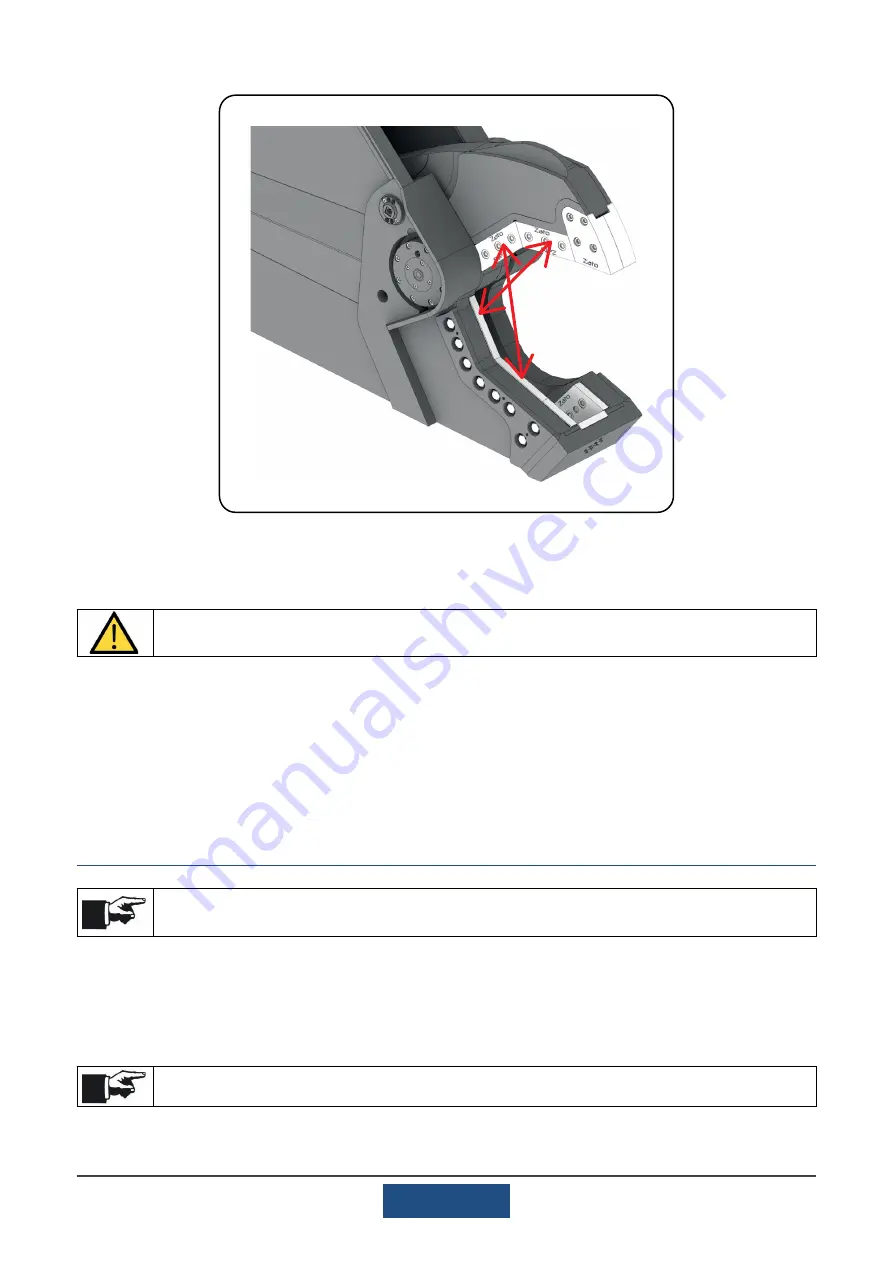
, inverting each jaw blade with the blade in the housing opposite
the upper jaw and vice versa (going from cutting profile R1 to R2);
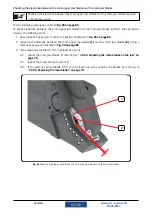
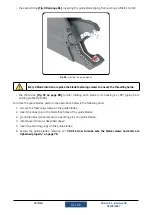
fig. 30
inverting the blade of the upper jaw and main jaw
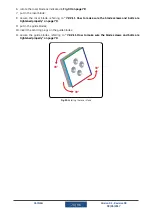
∂ the third time
, further rotating each blade in its housing by 180° (going from
cutting profile R2 to R3)�
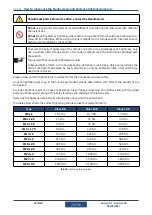
Every 2 blade rotations, replace the blade fastening screws to ensure the threading holds.
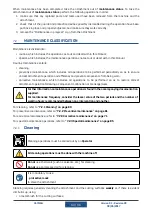
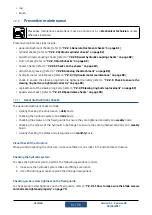
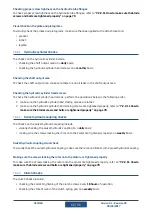
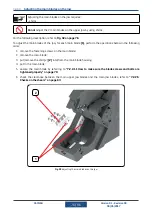
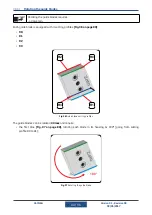
To rotate the main blades, perform the operations below in the following order:
1� remove the fastening screws on the main blades;
2� remove the main blades;
3� rotate/invert them as described above;
4� secure the main blades by referring to
“7.2.2.11 how to make sure the blade screws and bolts are
tightened properly” on page 70
7.2.3.3
replacing the main blades
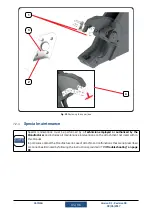
Replacing the main blades may require a:
- a dowel pin�
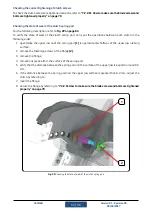
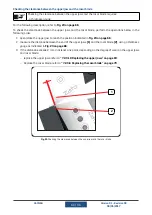
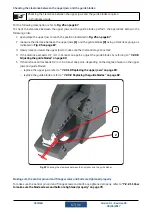
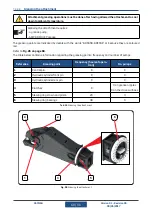
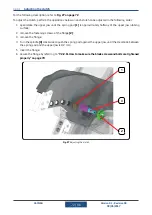
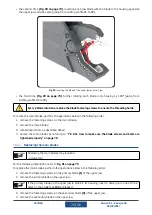
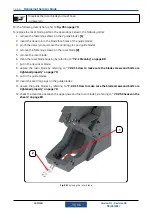
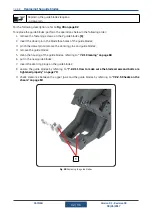
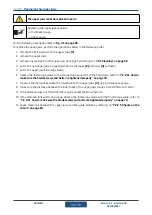
For the following description, refer to
To replace the main blades, perform the operations below in the following order:
1� remove the fastening screws on the primary blade
(1)
of the upper jaw;
2� remove the primary blade on the upper jaw;
If the primary blade on the upper jaw is stuck in its housing, insert a dowel pin in one of the 2
holes on the blade face
(2)
to release it�
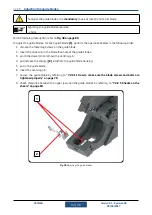
3� remove the fastening screws on the secondary blade
(3)
of the upper jaw;
4� remove the secondary blade on the upper jaw;
Содержание CAYMAN FCE II Series
Страница 2: ......
Страница 6: ...6 96 CAYMAN Version 01 Revision 00 09 05 2017...
Страница 38: ...38 96 CAYMAN Version 01 Revision 00 09 05 2017 7 1 2 4 8 5 3 6 Fig 10 Information and warnings applied...
Страница 94: ...94 96 CAYMAN Version 01 Revision 00 09 05 2017...
Страница 95: ......

