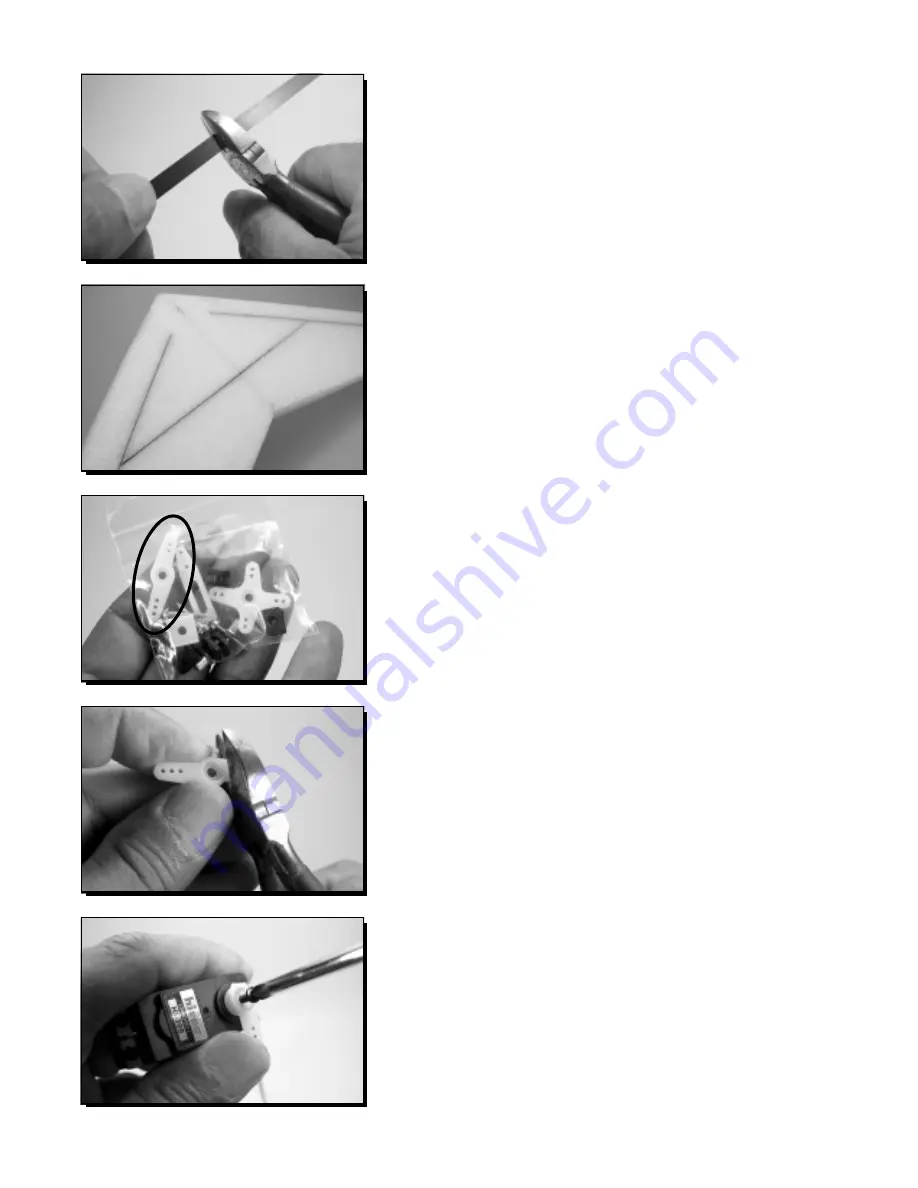
Cut the remaining 24” carbon spar to 18”. Wire cutters work well.
With the wings in the top beds on a flat surface, spray the center spar channel
with adhesive. Repeat the carbon fiber gluing procedure. Push it into the center
spar channel. Make sure that the spar is flush at the center of the wing. Align
the wing in the beds. Use weights (not included) to hold the panels in place
while the glue dries.
Weights are very important to maintain alignment and wing geometry. Let the
wing assembly dry and go on to the next step. It’s a good idea at this point to let
the glue dry overnight or at least a few hours.
The Zagi 5C servo bay was designed to fit standard servos.
Standard servos are cheap and rugged with more than adequate
torque. The servo bay may be expanded or shimmed to fit a
different size servo. Since the servos are mounted so close to the
center of gravity (CG), different size servos may be used without
effecting the balance. Find the straight control arm with two tabs in
the parts bag supplied with the servo.
Replace the round servo control arm with the modified arm. Avoid
stressing the gears by holding the control arm to limit travel when
removing and replacing. Do not over-tighten tie screw. Snug is
tight enough. To maximize servo life, avoid moving the servo
control arm with the radio off.
DO NOT INSTALL THE SERVOS AT THIS TIME.
The servos must be centered with the radio powered up before
they can be installed.
Cut one of the tabs off the control arm leaving only one tab.
If the servo is supplied with a four tab (+) shaped control arm,
remove three of the tabs leaving only one.
6
Содержание ZAGI-DC
Страница 19: ......


