101
C
OMBINING MISSIONS
Surveys and Waypoint flights may be combined in one mission, removing the requirement that the aircraft
land and be re-set for oblique flights.
Surveys require “nadir” or downward-facing camera angles. This is ideal for creating an orthomap, and
provides an identical angle for all images. In some instances, this is all that is needed to create a rudimentary
3D map. However, 3D mapping is best achieved through a combination of nadir and “oblique” photos
(photos taken at a slanted angle to the subject). Oblique images provide for better side skinning when
creating 3D models.
After creating the Survey mission, tap the Waypoint icon and insert the first waypoint. Camera yaw should
be adjusted to face the subject, and camera angle should be slanted. 45° is a common angle; distance from
the object will determine the camera angle. Adding a waypoint mission that is very close to the subject will
create challenges in the 3D stitching process; we recommend a distance similar to the altitude of the Survey
portion of the capture, when possible. Always check the flight area for obstacles when creating Waypoints
in a mission. Maps may not always be up to date.
A
DJUSTING
W
AYPOINTS
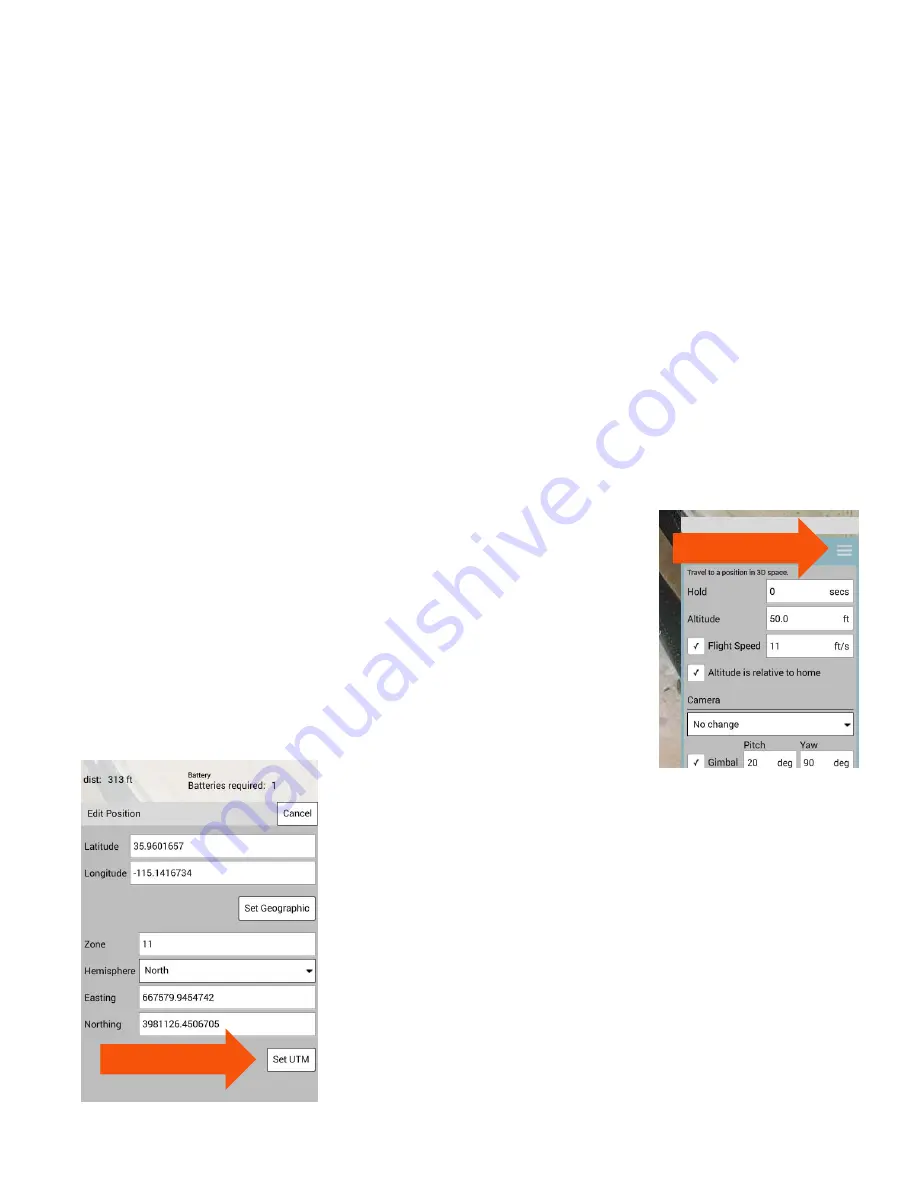
Waypoints may be deleted, modified, or edited for position in the Waypoint
properties dialog. At the top of each waypoint is a three-line soft button.
Tapping this button opens up several options for waypoint management.
In the submenu that opens, users may:
Insert a new waypoint
Insert a Survey
Delete the waypoint
Edit the Position of the waypoint
Editing the position of a waypoint may be achieved through manually
moving the waypoint via the touchscreen and dragging the waypoint.
Precision points may be set via GPS coordinates, or by inserting
Universal Transverse Mercator (UTM) points. These are tools used by
inspectors and GIS surveyors, yet also offer precision-uses for other
data-capture requirements.
Input the required GPS (Latitude/Longitude) value and press the “Set
Geographic” soft button.
If UTM coordinates are to be used, set the correct Easting/Northing
(assuming Northern Hempisphere) and press the “Set UTM” soft
button. Users in the Southern Hemisphere will want to set the
Hemisphere value to Southern. The Zone setting for both Northern and
Southern Hemispheres is typically determined from map/GPS location.
Содержание H520
Страница 1: ...YUNEEC H520 OWNERS GUIDE V1 1 10 ...
Страница 27: ...27 Disabling Auto Exposure setting will enable the Pilot Video Operator to change ISO and Shutter Speed ...
Страница 62: ...62 Tap the OPEN button in the dialog to start the new version of DataPilot ...
Страница 92: ...Various mission types may be mixed dependent on user needs 92 ...


