15.2 Procedure of Welding Current Calibration
15-3
HW0480311
HW0480311
(2) Set the welding current command to be calibrated from the robot controller side, and
perform welding for six seconds or more.
(3) The calibration performs arithmetic operation for the ratio of the welding current
command to the actual welding current value based on the welding current value
after two to six seconds from welding start.
(4) The LED indicator lamp above the "Record" button flashes when the calibration
operation is confirmed.
3.
Confirming the result of current calibration 1
(1) Keep pressing the "R" button to confirm the result of current calibration 1.
Keep pressing the "R" button to confirm the result of current calibration 1.
4.
Welding by the current calibration 2
(1) Press "+" or "-" button to switch between the current calibration 1 and current cali-
bration 2.
Set the welding current command value so that the command value of the current calibra-
tion 1 is lower than that of the current calibration 2.
If the welding time is less than six seconds, the LED indicator lamp above the "Record"
button does not flash after welding. Perform welding for a longer time and welding current
calibration again.
NOTE
NOTE
V
A
Wire m/min
Type
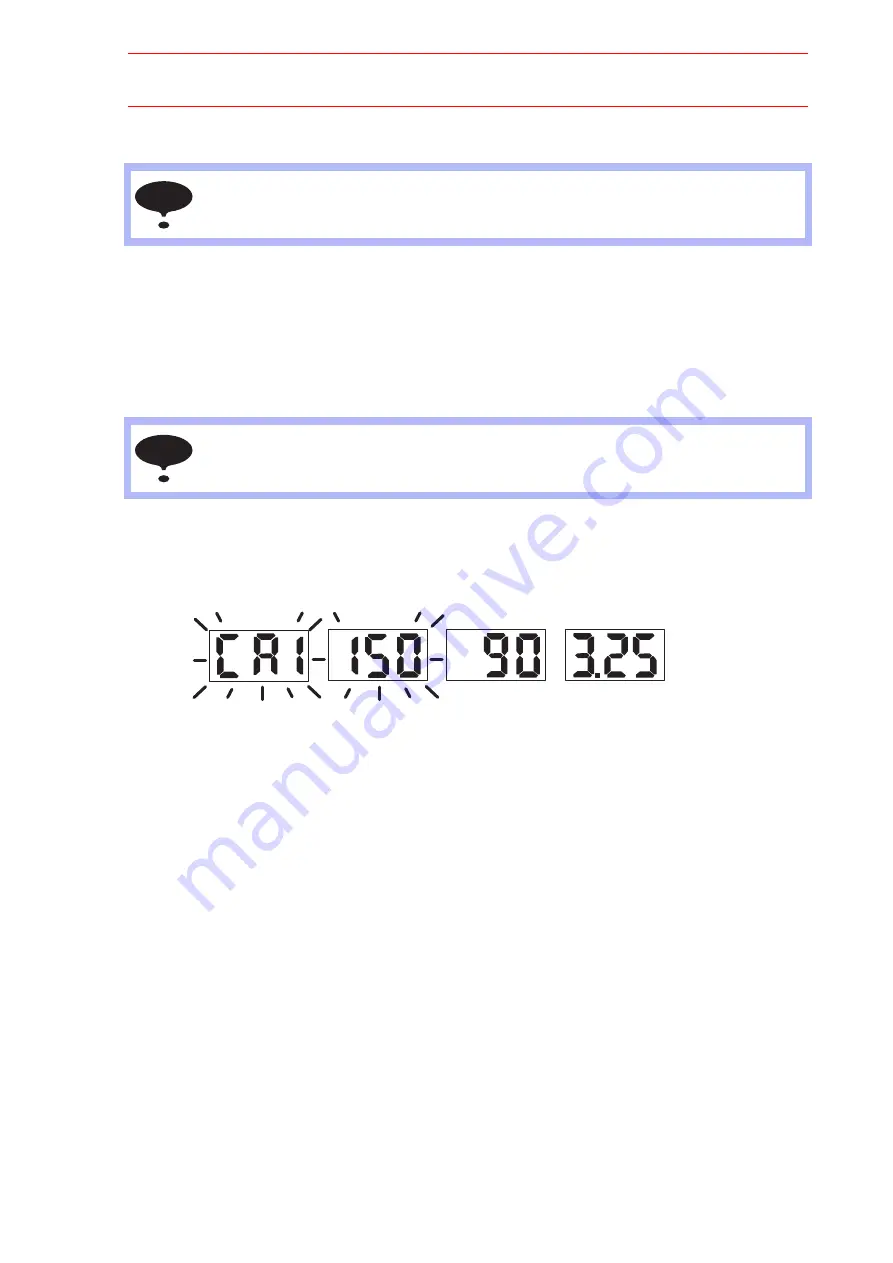
The display of
7-segment LED
indicator "V"
: Displays the execution of calibration 1.
The display of
7-segment LED
indicator "A"
: Displays the welding current command value at the
execution of calibration 1.
(The value is registered in the C parameter.)
The display of
7-segment LED
indicator "Wire"
: Displays the calculation result of calibration 1.
(The result is registered in the parameter P62.)
(Ratio= welding current command value / actual welding current value
×
100 %)
The example display shown above indicates; The result of calibration 1: 90 %
The welding current command: 150 A
113/129


