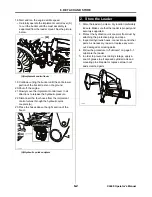
CL600 Operator's Manual
9. INSTALLATION
1. Make sure that all the levers are in N (neutral)
positions.
2. Start the engine.
3. Disengage the parking brake.
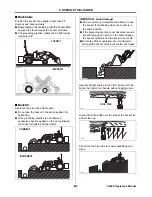
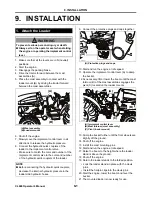
4. Drive the tractor forward between the mast
assemblies (A).
5. Place the mast assembly in contact with the
loader mount (B) by driving the tractor forward
between the mast assemblies.
(A) Mast assembly
(B) Loader mounts
6. Shut off the engine.
7. Slowly move the implement control lever in all
directions to release the hydraulic pressure.
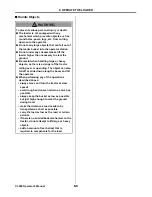
8. Connect the hydraulic quick couplers of the
loader to the implement control valve.
• Make sure to match the color and number of the
implement control valve to the color and number
of the hydraulic quick couplers of the loader.
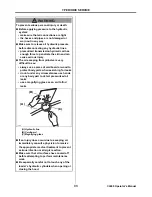
9. Connect the protective plugs and caps together.
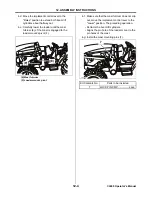
(A) Protective plugs and caps
10.Start and run the engine at idle speed.
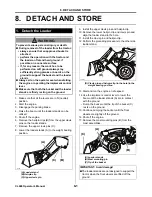
11.Operate the implement control lever (A) to dump
the bucket.
12.As necessary, lift or lower the boom until the mast
fulcrum (B) of the mast assemblies engages the
pivot (C) located on the loader mounts.
(A) Implement control lever
(B) Mast fulcrum (mast assembly)
(C) Pivot (loader mount)
13.Dump the bucket further until the front wheels are
slightly off the ground.
14.Shut off the engine.
15.Install the mast mounting pins.
16.Start and run the engine at idle speed.
17.Raise the boom to the height where the loader
stand is above the ground.
18.Shut off the engine.
19.Return the loader stands to the folded position.
• Lock the loader stands in place with the clevis
pins.
• Install the hairpin clips into the clevis pins.
20.Start the engine, lower the boom and level the
bucket.
21.The mounted loader is now ready for use.
1. Attach the Loader
To prevent serious personal injury or death:
●
Always sit on the operator seat when starting
the engine or operating the implement control
lever.
NOTE
●
Before connecting the hydraulic quick couplers,
decrease the internal hydraulic pressure in the
loader side hydraulic hoses.
! WARNING
P1110459
(A)
(B)
1
4
2
3
P1110438_2
(A)
P1110461
(A)
(B)
(C)
Содержание CL Series
Страница 46: ...NOTE...

