background image

22

Getting the most out of it

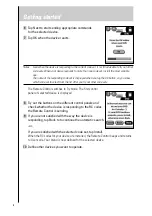
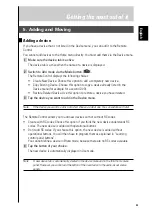
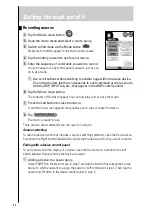
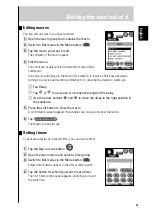
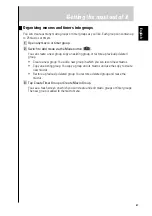
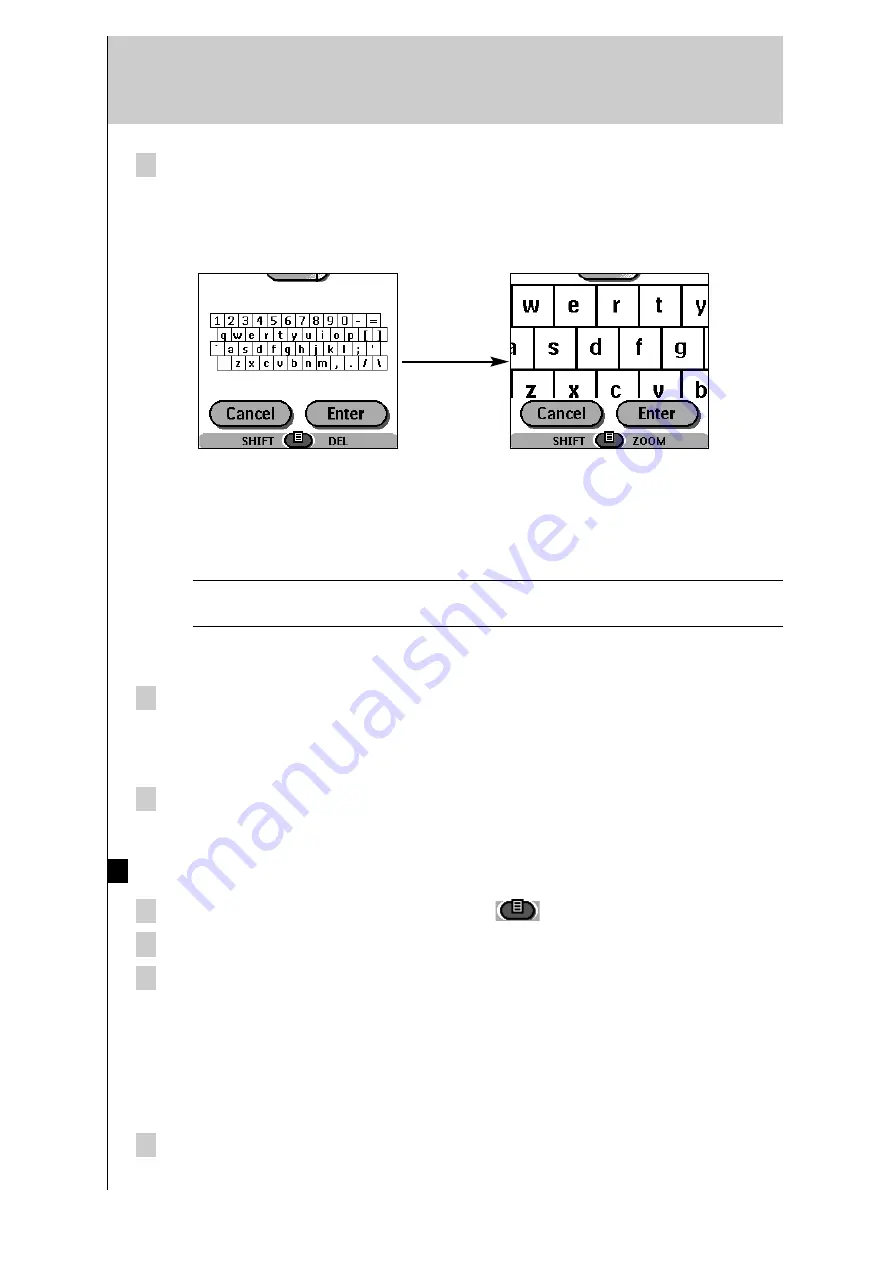
4 Edit the label.

• To delete a character, press the Right button (labeled 

Del).

• To enter a character, tap the keyboard near the character you want to use.

The keyboard zooms in, allowing you to tap exactly the character you need.

To enter a space, tap the lower left corner of the keyboard. When the keyboard
zooms in, tap the empty key.

After you tap the character, the keyboard zooms out. Repeat this action for each
character.

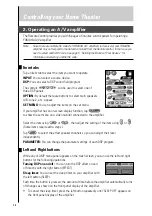
Note 

You can zoom out again without tapping a character by pressing the Right button
(labeled Zoom).

• For capital letters and symbols, press the Left button (labeled 

Shift) repeatedly to

display the keyboard you want.

5 Tap Enter to save the changes and return to the previous panel,

-or-

Tap Cancel to return to the previous panel without saving changes.

6 Label all the other elements you want and return to Use mode via the Mode

button.

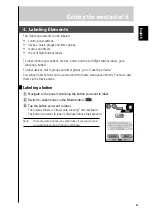
Labeling a device

1 Switch to Label mode via the Mode button 

.

2 Tap the device tab to open the Device menu.

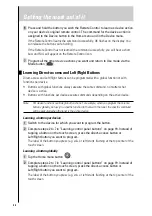
3 Touch and hold either the Remote Control’s Left or Right button (labeled 

Device)

and tap the device you want to label.

Even when you want to label the currently active device, you must tap it in the Device
menu.

The display shows a “virtual auto-zooming” mini-keyboard. The button you want to label
is displayed above the keyboard.

4 Complete steps 4 to 6 on page 21 in “Labeling a button”.

Содержание RAV-2000

Страница 1: ...R ...

Страница 2: ...erence To avoid failure do not spill liquid on the Remote Control Be sure to read the Troubleshooting section on common operating errors before concluding that the Remote Control is faulty UNPACKING Check your package to make sure it has following items RAV 2000 Intelligent Remote Control Computer Interface Cable RS 232C Owner s manual Four AA 1 5V Batteries ...

Страница 3: ...er 10 1 General Operation 10 2 Operating an A V amplifier 12 3 Selecting a Device 13 4 Controlling Power on off of your A V devices 14 Getting the Most Out of It 16 1 Introduction 16 2 Redefining Brands 17 3 Learning Commands 18 4 Labeling Elements 21 5 Adding and Moving 23 6 Deleting and Restoring 25 7 Recording Macros and Setting Timers 27 8 RAVedit 32 Appendix 33 Troubleshooting 33 FAQ 35 Speci...

Страница 4: ...ime The Remote Control can also learn RC codes from existing remote controls It is designed to add devices and functions relabel buttons record macros and set timers With the RAVedit software you create your own control panels and define your personal look 1 2 3 4 5 6 7 8 9 10 1 sending eye 2 contrast dial 3 backlight button 4 direct access buttons 5 touch screen 6 Left Right buttons 7 learning ey...

Страница 5: ...to ensure perfect performance Note The Remote Control retains all settings when the batteries have discharged or when you remove and replace them You will need only to reset the clock Notes on batteries Do not use old batteries together with new ones Do not use different types of batteries such as alkaline and manganese batteries together Read the packaging carefully as these different types of ba...

Страница 6: ...tton The Remote Control shuts down automatically Using the backlight Press the backlight button on the left side The backlight shuts off after a few seconds to save power Note In the settings you can choose to activate the backlight automatically when you turn on the Remote Control Activating Modes The Remote Control has different modes When controlling devices the Remote Control should be set to ...

Страница 7: ...to Use mode or If you want to adjust the Remote Control to operate with your brand click Yes The Remote Control switches to Brand mode Follow the instructions as described below You can define your brands by selecting or by searching Note Before you start using the Remote Control make sure you define the brand for each device you want to operate Defining brands by selecting A list of brands and th...

Страница 8: ...ays the brands that match the character s The Remote Control makes a pre selection of the first brand that matches You have to type only as many characters as needed to display your brand Note When your brand is not displayed in the list of brands you can use Search mode See Defining brands by searching on page 7 6 Select your brand in the list The selected brand turns black The Search button beco...

Страница 9: ...sponds to the selected code set tab Back to select another code set or If you are satisfied with the selected code set tap Install When the RC codes for your device are installed the Remote Control beeps and returns to Use mode Your brand is now defined for the selected device 12 Define other devices you want to operate Defining brands by searching You can use Search mode to find the matching RC c...

Страница 10: ... list after you try out other code sets The Remote Control switches to Try mode The first control panel of selected device is displayed 8 Try out the buttons on the different control panels and check whether the device is responding to the RC codes the Remote Control is sending 9 If you are not satisfied with the way the device is responding tap Back to to continue the automatic search or If you a...

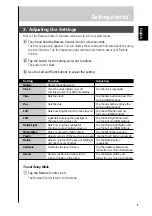
Страница 11: ... Left and Right buttons LCD Sets how long the touch screen stays on Tap the LCD button and use the Left and Right buttons LCD Light Sets how long the backlight of Tap the LCD Light button and the touch screen stays on use the Left and Right buttons Button Light Sets how long the backlight of Tap the Button Light button and the direct access buttons stays on use the Left and Right buttons Mode Menu...

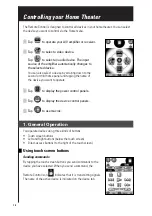
Страница 12: ... panel and tapping the name of the device you want to operate Tap to display the power control panels Tap to display the device control panels Tap to use macros 1 General Operation You operate devices using three kinds of buttons Touch screen buttons Left and Right buttons below the touch screen Direct access buttons to the right of the touch screen Using touch screen buttons Sending commands By t...

Страница 13: ... when you switch to the VCR1 to rewind a tape 1 Open the device menu 2 Press and hold the Left or Right button labeled NO IR The Remote Control icon turns around indicating that the device you are going to select will not send IR codes so as not to affect the active device 3 Tap the device you want to select The control panel of the new selected device appears and the Remote Control icon returns t...

Страница 14: ...e set menu If your amplifier has an on screen display function tap to show the set menu on a video monitor connected to the amplifier Select the item using or then adjust the setting of the item using or Some items require extra steps Tap to select the effect speaker channels so you can adjust their level independently PARAMETER You can change the parameter settings of each DSP program Left and Ri...

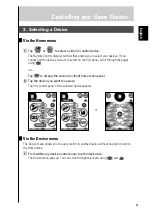
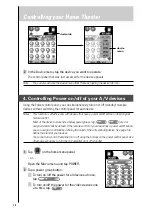
Страница 15: ...first panel scroll through the pages using or Tap to display the second or third home menu panel 2 Tap the device you want to operate The first control panel of the selected device appears Via the Device menu The Device menu allows you to easily switch to another device without having to return to the Home menu 1 From within any device control panel tap the device tab The Device menu pops up You c...

Страница 16: ...ton on their original remote control Most of the device buttons listed below power groups e g are not assigned commands by default If the remote control of your device has a power on off button you can assign a command by defining the brand of the corresponding device See page 5 to define the brand of your devices You cannot turn your A V amplifier on or off using the buttons on the power control ...

Страница 17: ...ap Whether a device turns on or off depends on the previous state of each device Tap the buttons of each device to turn on or off the devices individually Note You can add or move devices and assign their power on off commands on the list below or power group See page 28 Recording macros English ...

Страница 18: ...ary devices recording macros and customizing the interface as it suits you best Working with Modes When you operate your devices the Remote Control is in Use mode For actions other than operating like programming buttons recording macro s adding devices and so on you have to switch to the appropriate mode For operating devices For learning commands from other devices For recording macros and setti...

Страница 19: ...p panel appears 3 Scroll down to the second setup panel 4 Tap the Mode Menu button The mode menu icon is crossed out 5 Tap the Remote control icon The Remote Control switches to Use mode The Mode button is no longer visible 2 Redefining Brands If you purchase a new device with a brand that you have not yet defined in the Remote Control you need to redefine the brand to activate your new device You...

Страница 20: ...om your existing remote controls to the Remote Control s learning eye To do this place the Remote Control and the device s remote control on a flat surface 10 to 20 cm 4 to 8 inches apart The following buttons can be programmed Control panel buttons Device actions Direct access buttons and Left Right buttons You cannot program Home menu buttons directly You must program devices via the Device menu...

Страница 21: ...g device actions A device action is a command that is assigned to a Device button on the Home menu or a device in the Device menu The action is executed every time you select the device Note When you program a device action RC codes are sent the moment you select the device This might affect the operation of the active device For information on switching to another device without sending RC codes ...

Страница 22: ...ive Buttons with functions per device execute commands depending on the active device Note Per device functions override global functions For example when you program the Volume buttons globally but assign a specific function to them with the tuner the specific command will be executed when the tuner is the active device Learning a button per device 1 Switch to the device for which you want to pro...

Страница 23: ...r groups go to Labeling a device You cannot label buttons on the second and third home menu panel directly You must label them via the Device menu Labeling a button 1 Navigate to the panel containing the button you want to label 2 Switch to Label mode via the Mode button 3 Tap the button you want to label The display shows a virtual auto zooming mini keyboard The button you want to label is displa...

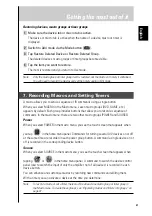
Страница 24: ...s the Left button labeled Shift repeatedly to display the keyboard you want 5 Tap Enter to save the changes and return to the previous panel or Tap Cancel to return to the previous panel without saving changes 6 Label all the other elements you want and return to Use mode via the Mode button Labeling a device 1 Switch to Label mode via the Mode button 2 Tap the device tab to open the Device menu 3...

Страница 25: ...ted 3 Tap the device you want to add in the Device menu Note If the device you want to add is not listed choose a similar one You can customize it later The Remote Control allows you to add new devices with or without RC codes Create with RC codes Choose this option if you think the new device understands RC codes The new device is added with operational buttons Don t add RC codes If you choose th...

Страница 26: ...me of a device macro or timer is displayed 2 Switch to Move mode via the Mode button The Remote Control displays the menu 3 Tap the device or group you want to move The menu item is highlighted 4 Use the Left and Right button to move the menu item up or down 5 Tap Accept to save the changes You return to Use mode Note The item at the top of the device tab corresponds to on the first home menu pane...

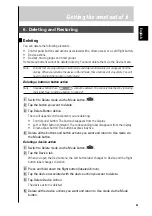
Страница 27: ... Switch to Delete mode via the Mode button 2 Tap the button you want to delete 3 Tap Delete Button Action The result depends on the element you are deleting Control panel button The button disappears from the display Left or Right button command The corresponding label disappears from the display Direct access button The button becomes inactive 4 Delete all the buttons and button actions you want ...

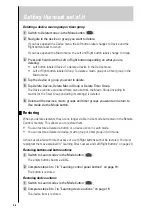
Страница 28: ...cros or the Timer Group including its settings is deleted 6 Delete all the devices macro groups and timer groups you want and return to Use mode via the Mode button Restoring When you delete elements they are no longer visible in Use mode but remain in the Remote Control s memory This allows you to restore them You can restore a deleted a button or a device action in Learn mode You can restore a d...

Страница 29: ...des buttons that allow you to record a sequence of commands In the macro menu there are two other macro groups POWER and SOURCE Power When you select POWER in the macro menu you see the touch screen that appears when you tap in the home menu panel Commands for turning several A V devices on or off at the same time are recorded in each power group button A command a single device on or off is recor...

Страница 30: ...ou can now play edit or close the macro 7 Press the Left button to close the macro A confirmation screen appears that enables you to save or cancel the macro 8 Tap The macro is ready for use There are two extra commands you can record in a macro Source switching To record a device action that includes a source switching command open the Device menu hold down the Right button labeled Action and tap...

Страница 31: ... Tap Delay 2 Tap or to decrease or increase the length of the delay 3 Use the arrow buttons and to move the delay to the right position in the sequence 5 Press the Left button to close the macro A confirmation screen appears that enables you to save or cancel the macro 6 Tap The macro is ready for use Setting timers To activate a device at a desired time you can use the timer 1 Tap the Macro menu ...

Страница 32: ...menu button 10 Tap the clock button and set the stop time using the Left Right buttons 11 Tap the clock button to deselect it and press the left button to close the timer A confirmation screen appears enabling you to save or cancel the timer 12 Tap The timer is activated Note The timer works only when the Remote Control s sending eye is pointed at the controlled device and no obstructions interfer...

Страница 33: ...y an existing group or restore a previously deleted group Create a new group You add a new group in which you can record new macros Copy an existing group You copy a group and its macros and use the copy to create new macros Restore a previously deleted group You restore a deleted group and reuse the macros 3 Tap Create Timer Group or Create Macro Group You see a touch screen on which you can crea...

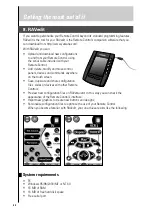
Страница 34: ...modify and move control panels devices and commands anywhere on the touch screen Save duplicate and share configuration files codes or devices with other Remote Controls Preview new configuration files on RAVemulator In this way you can check the appearance of the Remote Control s interface Import new graphics to create new buttons and designs Personalize configuration files to optimize the use of...

Страница 35: ...k whether the Low Battery icon is flashing If so replace the batteries or recharge the battery pack Check whether the button you are trying to use is programmed properly The Remote Control beeps 4 times after you insert the batteries Use RAVedit to update the Remote Control s software RAVedit Tools Update RAV2000 Programming Problems Buttons are not sending the correct commands Check whether the b...

Страница 36: ...ng modes so that no customization can be lost Replace the batteries The Remote Control is low on memory The Remote Control displays a message indicating it is time to clean up the memory The Remote Control will do this by permanently removing devices and macro and timer groups you have deleted Warning Cleaning up memory can take 10 minutes or longer Never remove batteries during the clean up proce...

Страница 37: ...notice unusual behavior you might need to reset You will not lose any saved programmed commands or macros Carefully press the reset button on the back of the Remote Control with a paperclip or sharp pencil The Remote Control restarts and beeps to indicate it is ready for use How do I revert to the original configuration Reverting to the original configuration restores the Remote Control s devices ...

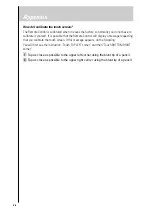
Страница 38: ...Remote Control will display a message requesting that you calibrate the touch screen If this message appears do the following You will first see the instruction Touch TOP LEFT corner and then Touch BOTTOM RIGHT corner 1 Tap as close as possible to the upper left corner using the blunt tip of a pencil 2 Tap as close as possible to the upper right corner using the blunt tip of a pencil ...

Страница 39: ... 10 meters 33 feet Learning frequency up 56 KHz Learning distance 2 5 cm 1 inch up to 30 cm 1 foot Memory Non volatile flash memory retains commands when batteries are not present 512 K SRAM Batteries 4 AA 1 5V batteries Battery life Approximately 6 months with typical use Power Power on by tapping the touch screen power off automatically management Dimensions 136mm x 93mm x 38mm 5 4 inch x 3 7 in...

Страница 40: ...URG F R OF GERMANY YAMAHA ELECTRONIQUE FRANCE S A RUE AMBROISE CROIZAT BP70 CROISSY BEAUBOURG 77312 MARNE LA VALLEE CEDEX02 FRANCE YAMAHA ELECTRONICS UK LTD YAMAHA HOUSE 200 RICKMANSWORTH ROAD WATFORD HERTS WD1 7JS ENGLAND YAMAHA SCANDINAVIA A B J A WETTERGRENS GATA 1 BOX 30053 400 43 VÄSTRA FRÖLUNDA SWEDEN YAMAHA MUSIC AUSTRALIA PTY LTD 17 33 MARKET ST SOUTH MELBOURNE 3205 VIC AUSTRALIA YAMAHA CO...

Отзывы: