


PJP-EC200 Setup Procedure
12
voice.
6)
While sounds are reproduced from the speakers, check that the CLIP LED
(red) of MIC/LINE INPUT does not turn on. If the LED turns on, turn down
GAIN or speaker output level of your PC or webconference system so that it
does not turn on.
14.
Adjust the microphone level of your PC or webconference system.
1)
Check the current microphone level by using a sound recorder.
i.
Talk into the microphone and then record your voice using a sound
recorder on your PC.
ii.
Play back the recording to check its sound quality and volume. If the
sound is distorted (by clip), turn down the microphone volume of your
PC. If the volume is extremely low, turn up the microphone volume of
your PC.
2)
Adjust the microphone volume of your PC or webconference system to keep
the volume of the audio delivered to the other end at a moderate level.
Adjustment
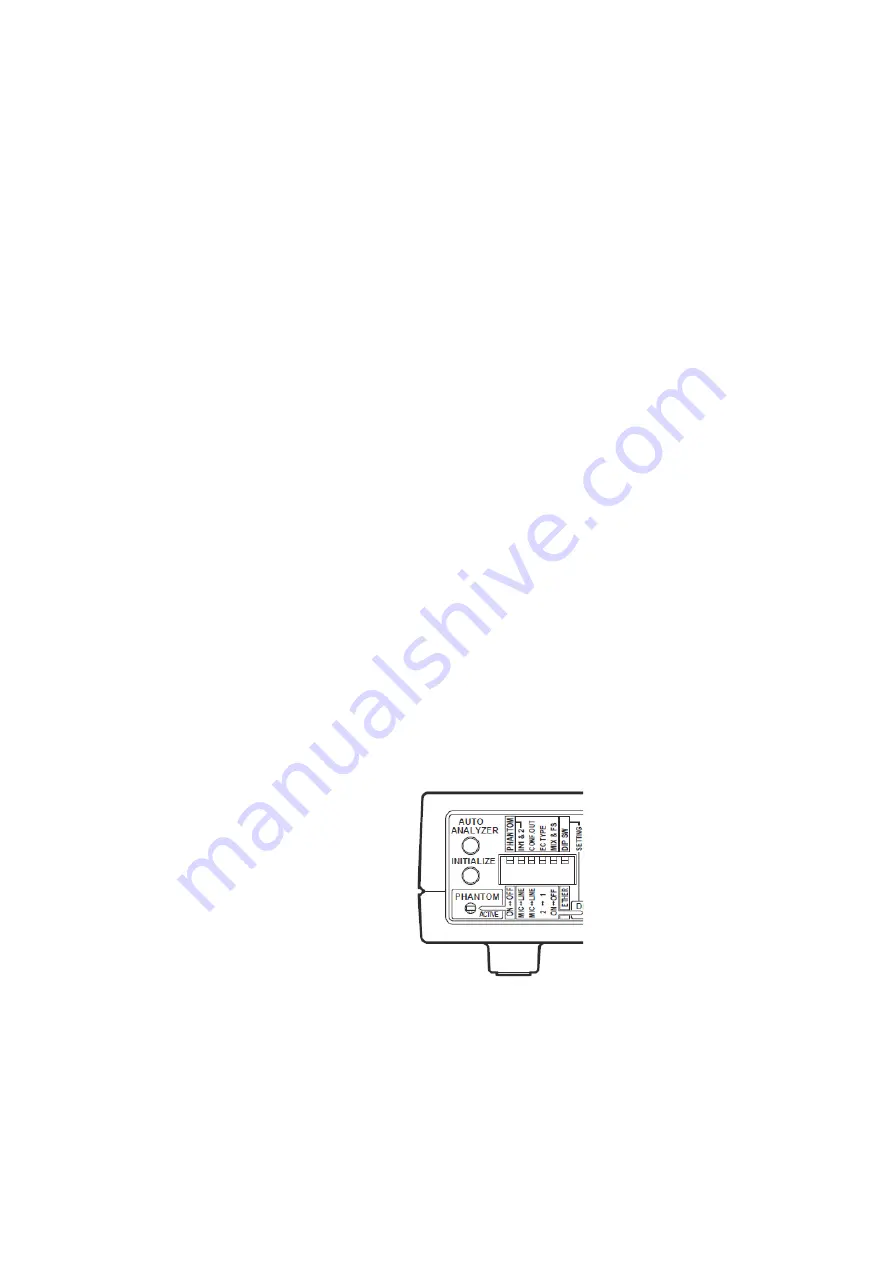
1.
Execute the auto analyzer.
1)
Press AUTO ANALYZER to start the auto analyzer.
2)
Wait until the auto analyzer ends. The shortest distance between the
speakers and microphone is measured and automatically reflected in the
echo canceller settings. Also, the feedback suppressor settings are
automatically adjusted to the room environment (automatic environment


