For Service Engineer
Service Information
SI1604009E-002= S20, S10, M20, M10 and D10 installation procedures
22/34
4. Setup after installing the machine
4.1 Install accessories
Install accessories to the installed machine.
Install the LCD monitor, the keyboard, the mouse, etc.
4.2 Install the LCD monitor and the balancer
LCD monitor has the previous type and the new type.
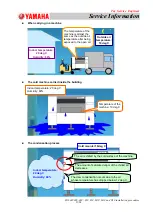
When shipping LCD monitor, the balancer is removed and the weight in the balancer is fixed to the plate.
LCD monitor and the balancer are shipped separately.
The following is the LCD monitor and the balancer installation procedures.
4.2.1
Previous LCD monitor
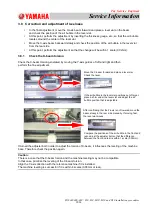
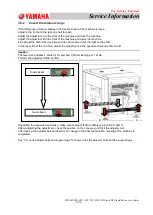
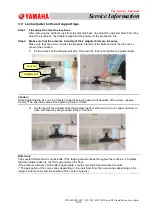
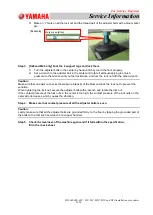
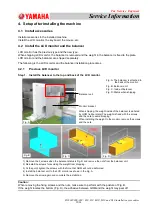
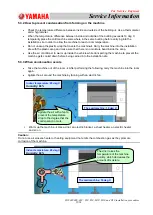
Step 1. Install the balancer to the top and back of the LCD monitor.
Caution:
When removing the fixing screws and the nuts, make sure to perform with the posture of Fig. B.
If the weight locates the bottom (Fig. D), the adhesive between GOM and the weight may peel off.
Balancer unit
Monitor bracket
Fig. A: The balancer is attached to
the back of the monitor.
Fig. B: Balancer unit
Fig. C: Inside of balancer
Fig. D: Status when shipping
Fig. B
Fig. A
Fig. C
Fig. D
When shipping, the weight inside of the balancer is adhered
by GOM (rubber plate).The weight is fixed with the screws
and the nuts to avoid dropping.
When installing the weight to the monitor, remove the screws
and the nuts.
1) Remove the 2 screws when the balancer status is Fig. D and remove the nuts from the balancer unit.
2) Reinstall the screws for avoiding the weight from dropping.
3) At the point, tighten the screws with the force that GOM will not be deformed.
4) Install the balancer unit to the LCD monitor as shown in the Fig. A.
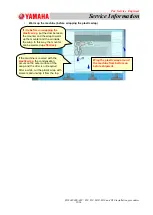
5) Remove the screw again and complete the installation.

