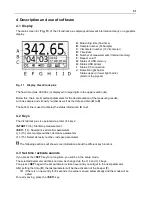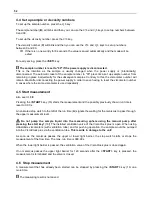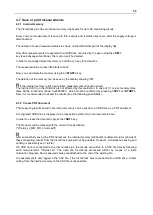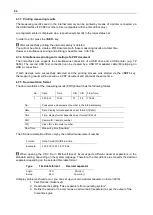
44
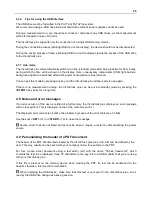
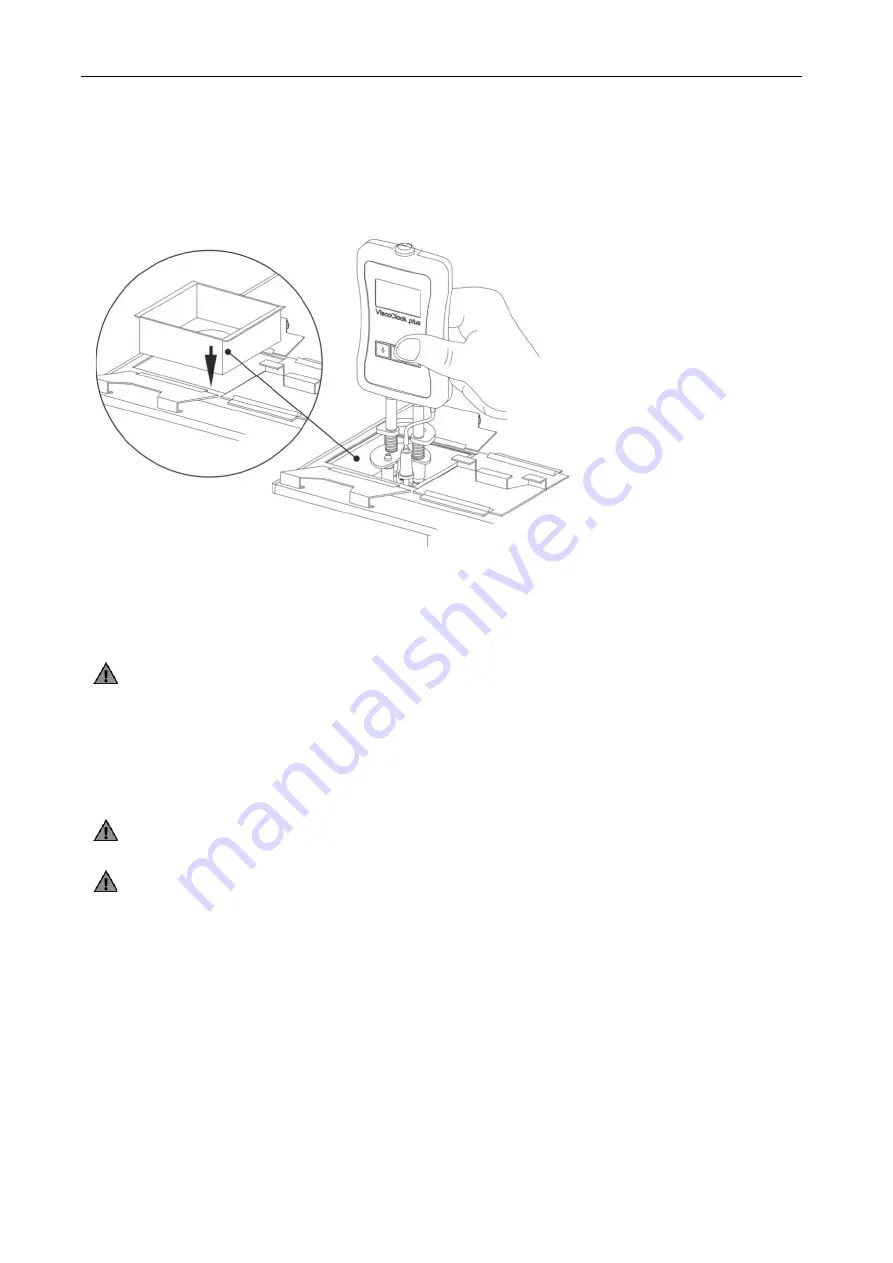
3.5 Place the ViscoClock plus into the thermostat bath
The transparent thermostat has to be equipped with a VZ 5402 manual measuring insert in order to
accommodate the ViscoClock
plus
.
Insert the ViscoClock
plus
, including the viscometer filled with measuring liquid,
into the manual measuring insert of the thermostat bath (see
Fig. 4
).
Fig. 4 Placement of the ViscoClock plus into the thermostat bath
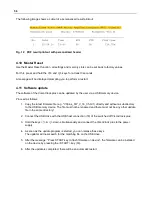
3.6 Connection the ViscoClock plus
Prior to plugging the power supply (20) into the socket, check that the operating voltage matches the
power voltage. The operating voltage is indicated on the type plate (bottom side of the unit and backside
of the power supply).
Nonobservance of this provision may result in damage to the unit and the
power supply, or in personal injury or damage to property!
•
Plug the 9 VDC jack plug into the socket (19) on the back of the electronic measuring unit (11).
(see
1.3
)
•
Plug the power supply (20) into the mains socket.
Use only the included power supply TZ 1858 (labeled: FW 7650/ 9)
or another released power supply by the manufacturer!
Place the power supply easily accessible in order to be able to remove the ViscoClock
plus
anytime easily from the power circuit.
3.7 Connection of a USB drive or a printer to the ViscoClock plus
On the back of the electronic measuring unit (11) there are two USB connectors:
•
USB type A (18, Host)
•
USB Mini-B (17, OTG).
Содержание SI Analytics ViscoClock plus
Страница 1: ...OPERATING MANUAL ViscoClock plus VISCOSITY MEASURING DEVICE...
Страница 33: ......
Страница 34: ......
Страница 35: ......


