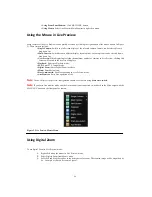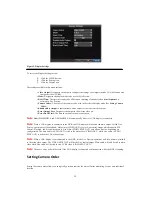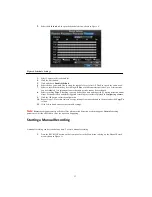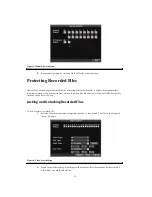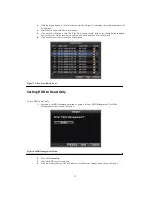
28
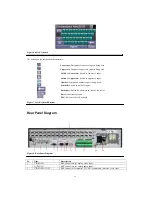
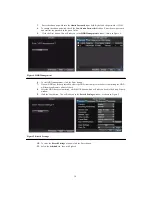
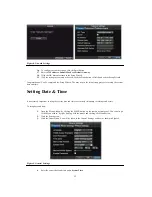
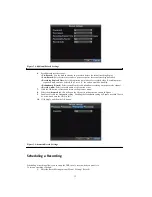
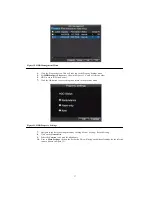
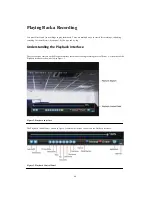
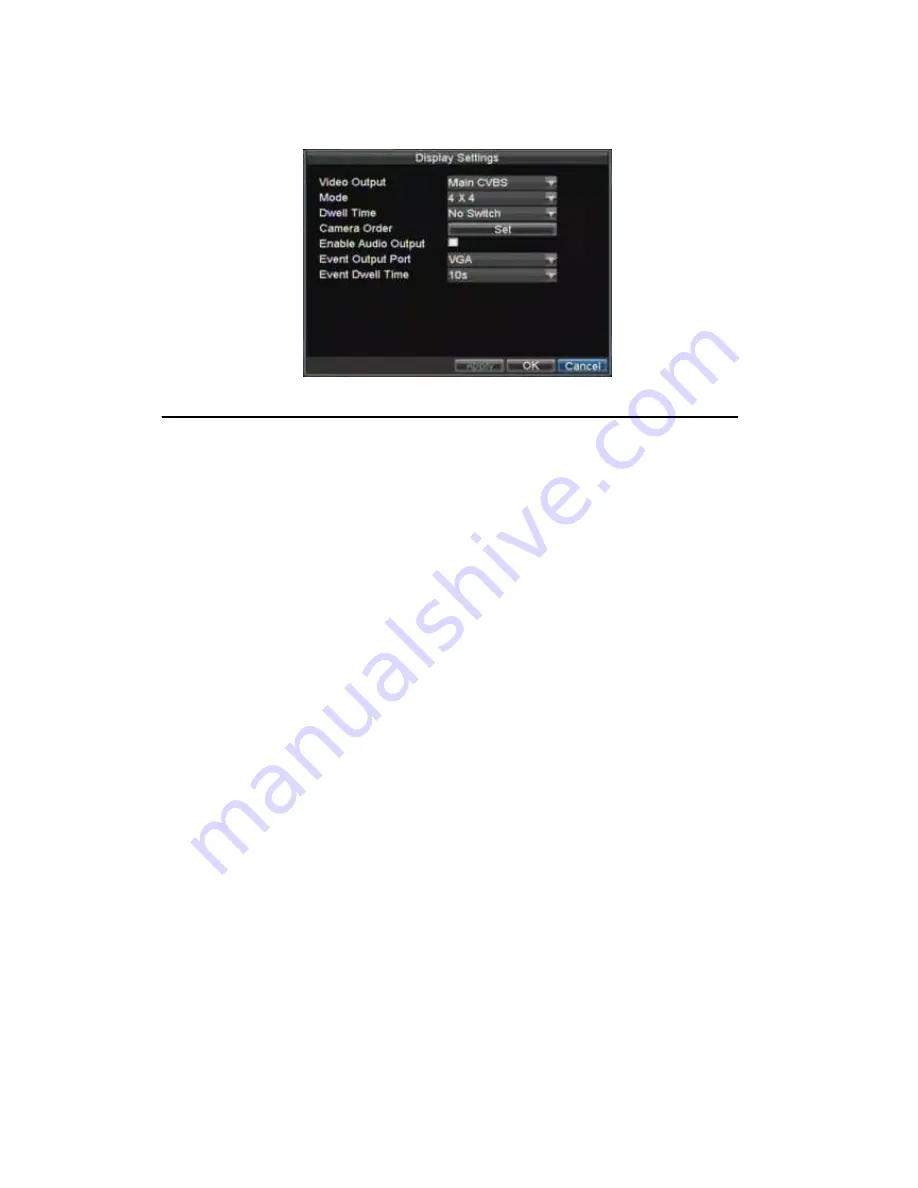
Figure 5. Display Settings
To access the Display Settings menu:
1.
Click the MENU button.
2.
Click the Setting icon.
3.
Click the Display icon.
The settings available in this menu include:
• Video Output:
Designates the output to configure the settings for. Outputs include VGA, Main and Aux
composite video (CVBS).
• Mode:
Designates the display mode to be use for Live Preview.
• Dwell Time:
The time in seconds to
dwell
between switching of channels when
Start Sequence
is
selected in Live Preview.
• Camera Order:
The order of the cameras to be used in the selected display mode (See
Setting Camera
Order
).
• Enable Audio Output:
Enables/disable audio output for the selected video output.
• Event Output Port:
Designates the output to show event video on.
• Event Dwell Time:
The time in seconds to show event screen.
Note:
Model DS9000HFI-S and DS9100HFI-S will automatically detect if a VGA display is connected.
Note:
When a VGA display is connected to the DVR, the VGA display will become the main output. All the Live
Preview operations will be available. Main video (VIDEO OUT) is set as Aux control output, which supports PTZ
Control, Playback, and Preview mode on it. Aux video (VIDEO SPOT OUT) only allows Preview depending on
configuration. The main audio (AUDIO OUT) is tied to the main video (VIDEO OUT), while Aux audio (AUDIO
SPOT OUT) is tied to the VGA video output.
Note:
When a VGA display is not connected to the DVR, all the Live Preview operations will then become available
to the main video output. The VIDEO SPOT OUT will be the Aux control output. Main audio will still be tied to main
video while Aux audio will be tied to Aux CVBS video (VIDEO SPOT OUT).
Note:
The above cases will still be valid if the VGA display is connected or disconnected while the DVR is running.
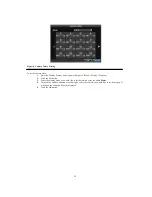
Setting Camera Order
Setting the camera order allows you to logically position cameras for more efficient monitoring of your own individual
location.
Содержание XL-HDVR series
Страница 1: ...XL HDVR Series USER S MANUAL...
Страница 2: ...2...
Страница 7: ...7 C H A P T E R 1 Introduction...
Страница 17: ...17 C H A P T E R 2 Getting Started...
Страница 23: ...23 5 Click the Apply button to save the setting...
Страница 24: ...24 C H A P T E R 3 Live Preview...
Страница 30: ...30 C H A P T E R 4 Record Settings...
Страница 39: ...39 C H A P T E R 5 Playback...
Страница 44: ...44 Figure 7 Digital Zoom Area Selection...
Страница 45: ...45 C H A P T E R 6 Backup...
Страница 50: ...50 C H A P T E R 7 Alarm Settings...
Страница 61: ...61 C H A P T E R 8 Network Settings...
Страница 69: ...69 C H A P T E R 9 PTZ Controls...
Страница 76: ...76 C H A P T E R 1 0 Camera Management...
Страница 83: ...83 C H A P T E R 1 1 HDD Management...
Страница 89: ...89 C H A P T E R 1 2 DVR Management...
Страница 101: ...101 C H A P T E R 1 2 Appendix...


