194
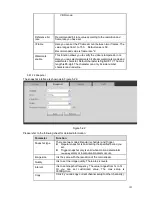
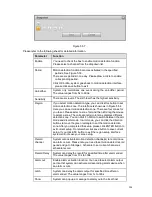
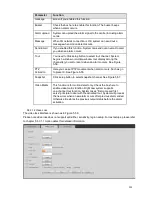
Parameter
Function
function is very useful when there are too many emails
activated by the abnormity events, which may result in heavy
load for the email server.
Health mail
enable
Please check the box here to enable this function.
Update period
(interval)
This function allows the system to send out the test email to
check the connection is OK or not.
Please check the box to enable this function and then set the
corresponding interval.
System can send out the email regularly as you set here.
Email test
The system will automatically sent out a email once to test the
connection is OK or not .Before the email test, please save the
email setup information.
5.8.2.9 UPnP
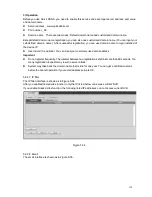
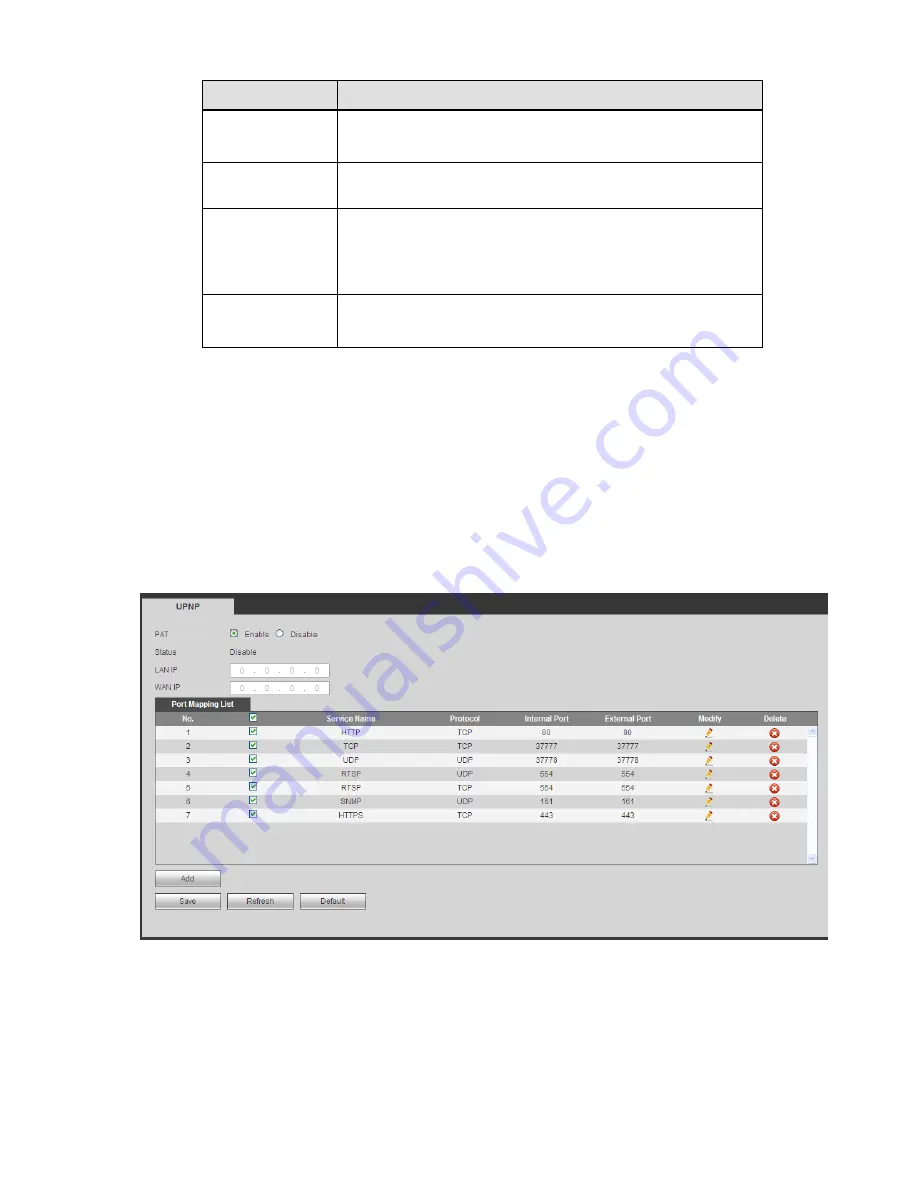
It allows you to establish the mapping relationship between the LAN and the public network.
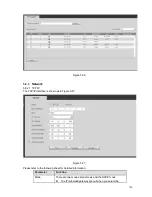
Here you can also add, modify or remove UPnP item. See Figure 5-36.
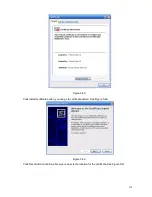
In the Windows OS, From Start->Control Panel->Add or remove programs. Click the
“Add/Remove
Windows
Components” and then select the “Network Services” from the Windows Components
Wizard.
Click the Details button and then check the
“Internet Gateway Device Discovery and Control client”
and
“UPnP User Interface”. Please click OK to begin installation.
Enable UPnP from the Web. If your UPnP is enabled in the Windows OS, the NVR can auto detect it
via the
“My Network Places”
Figure 5-36
5.8.2.10 SNMP
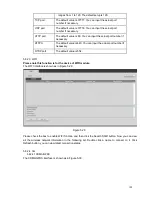
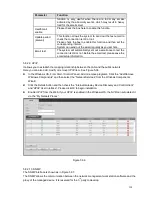
The SNMP interface is shown as in Figure 5-37.
The SNMP allows the communication between the network management work station software and the
proxy of the managed device. It is reserved for the 3
rd
party to develop.
Содержание NVR-3202K
Страница 1: ...i NVR 3202K User manual ...
Страница 20: ...9 ...
Страница 29: ...18 Figure 3 1 ...
Страница 83: ...113 Figure 4 71 Figure 4 72 ...
Страница 84: ...114 Figure 4 73 Figure 4 74 ...
Страница 90: ...120 Figure 4 79 Figure 4 80 ...
Страница 91: ...121 Figure 4 81 Figure 4 82 ...
Страница 92: ...122 Figure 4 83 Figure 4 84 ...
Страница 94: ...124 Figure 4 86 Figure 4 87 ...
Страница 97: ...127 Figure 4 89 Figure 4 90 4 11 1 1 Connection The connection setup interface is shown as in Figure 4 91 ...
Страница 117: ...147 Figure 4 112 In Figure 4 112 click one HDD item the S M A R T interface is shown as in Figure 4 113 Figure 4 113 ...
Страница 132: ...162 Figure 4 132 Figure 4 133 4 14 3 1 Add Modify Group ...
Страница 172: ...202 The motion detect interface is shown as in Figure 5 52 Figure 5 52 Figure 5 53 ...
Страница 173: ...203 Figure 5 54 Figure 5 55 Figure 5 56 ...
Страница 177: ...207 Figure 5 60 Figure 5 61 ...


