12
www.xprgroup.com
13
www.xprgroup.com
8.20
8.23
8.7 ENTRY MODE
8.21
8.22
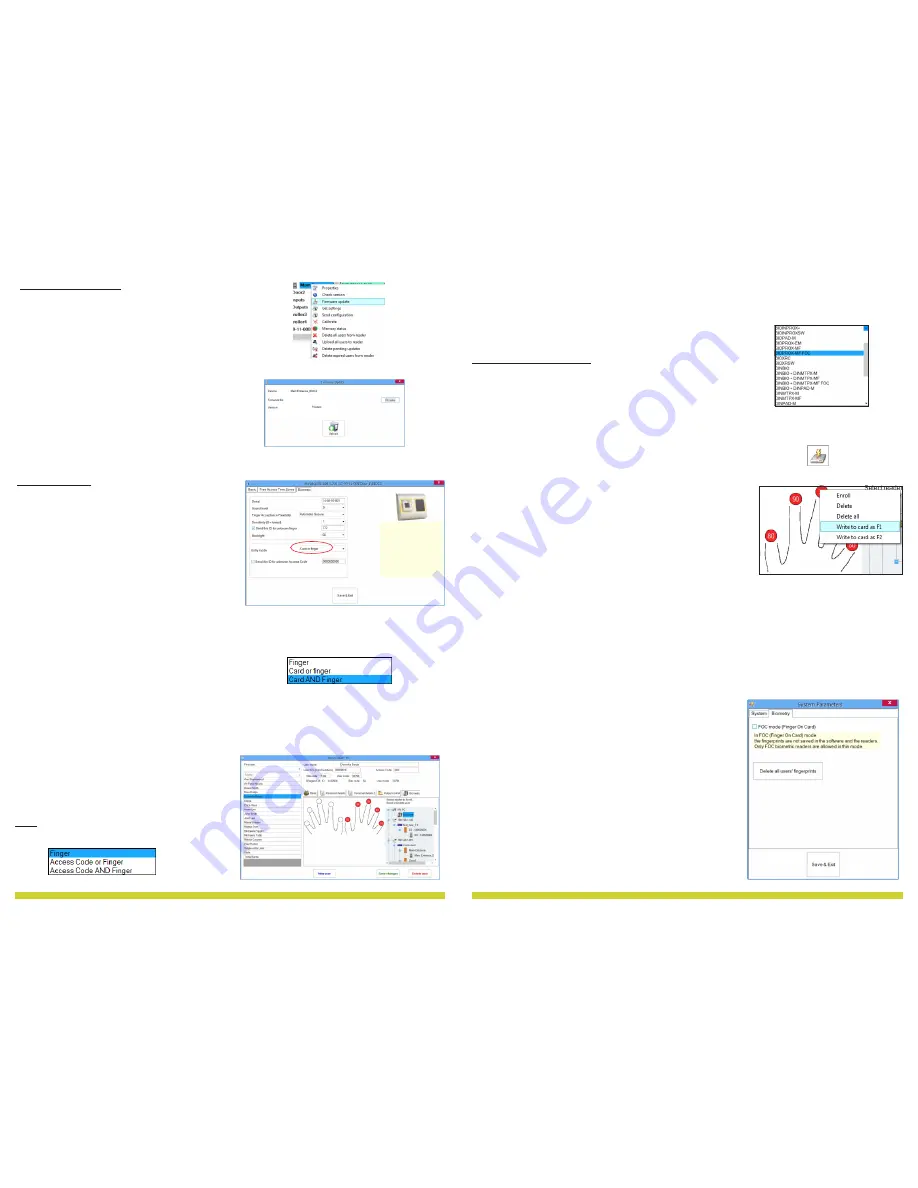
Right-click on the reader and select Firmware
update menu
(8.18)
On the Firmware update window, click on the
Browse button
(8.19)
. The default location of the
firmware files installed with PROS
CS
is in the
folder "Firmware".
S
elect the firmware file with a "xhc" extension
.
Click on the Upload button
Important: Wait for the update end message. Do
not turn off the reader, the software or any
communication device in between during the
entire process.
8.18
8.19
8.6 FIRMWARE UPDATE
Right click on the biometric reader
Select “Properties” and go to the “Biometric” tab
For Entry Mode select “Card or Finger” (8.20)
Note:
All the fingers and the card will send the same
wiegand number (8.23)
Right click on the biometric reader
Select “Properties” and go to the “Biometric” tab
For Entry Mode select “Card and Finger” (8.21)
Use of the double security mode:
Present the card (ex. 88009016), in the next 8 sec. the
reader will blink in orange waiting for the finger.
Present the finger
8.7.2 Card and Finger
Right click on the biometric reader
Select “Properties” and go to the “Biometric” tab
For Entry Mode select “Finger” (8.22)
Note:
In this mode the proximity reader will become inactive.
8.7.3 Finger Only
8.7.1 Card or Finger
8.7.4 Finger on Card
Right click on the biometric reader
Select “Properties”
For “type” of the reader select “BIOPROX-MF FOC” (8.30)
Writing Template on the card
1. Open Users window
2. Select existing user or create new one
3. Enroll 1 or 2 fingers using BIOE USB Desktop Biometric Reader
4. Place the user card on the PROXE
5. Right click on the fingertip and select “Write to Card as F1” (8.31)
6. To put the second finger in the card, go to another fingertip and
select “Write to Card as F2”
7. If the fingerprints are not to be stored in the software database,
right click on the fingertip and select “Delete all”
8. If some user data other then fingerprints is edited or the
fingerprints should be saved in the software database, click Save,
otherwise go to another user or close the window if no other user
management is required.
Note:
Depending on the Mifare Card, 1 or maximum 2 fingers can be
written.1k Cards can store 1 fingerprint, 4K cards can store 2
fingerprints.
8.30
8.31
To use the “Finger on Card” mode:
Present the mifare card with written fingerprints in it, the reader will beep and blink.
Present the finger on the Biometric Reader
Note:
In “Finger on Card” mode, there is NO LIMIT on the capacity of the fingerprints, since the fingerprints are
stored in the user’s card, not in the biometric reader.
Note:
In “Finger on Card” Mode (FOC), the fingerprints are stored in the
card and in the software’s database.
If you want the fingerprints not to be stored in the database, then
tick the checkbox in: Settings/System Parameters (8.32)
8.32


