background image

PAGE11

PAGE12

意大利语ok

Nota:


Per prestazioni ottimali del tuo dispositivo, ti consigliamo vivamente di rivedere e 
aggiornare regolarmente il driver dal sito XP-PEN.

Se hai bisogno di ulteriore assistenza, contattaci:

III. Installazione del driver

1. Assicurati che la tavoletta / il display sia stato collegato al computer.
2. Visita il sito web XP-PEN (www.xp-pen.it), scegli la sezione Supporto e clicca  
   

 su Download. Scegli il modello del prodotto e scarica l'ultimo driver in base    

    al tuo sistema operativo.

3. Segui le istruzioni per finire l'installazione del driver.

www.xp-pen.it

serviceit

xp-pen.com

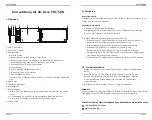
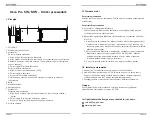
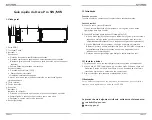
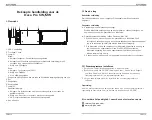
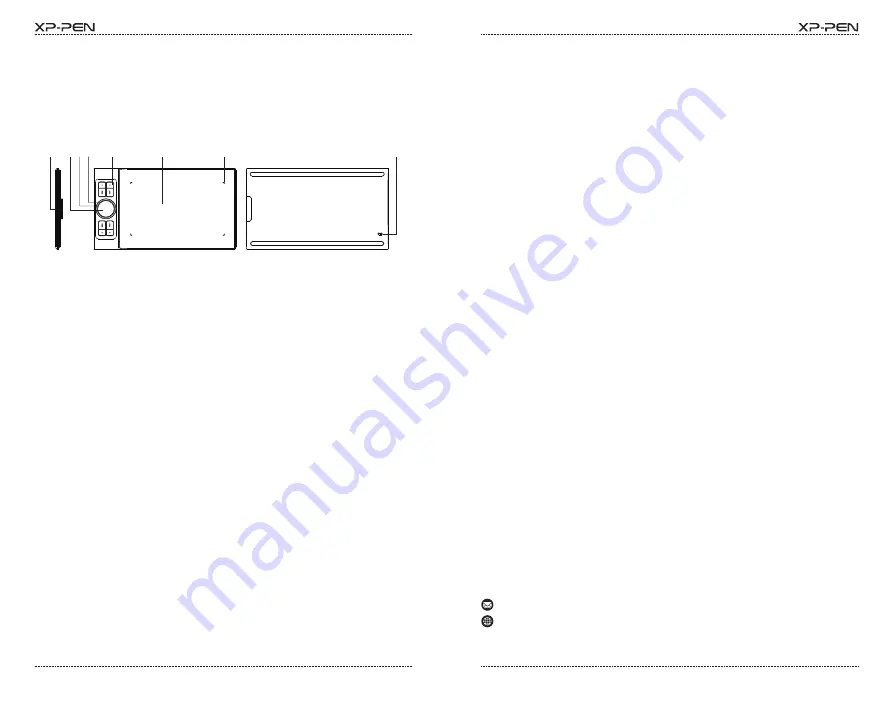
I. Panoramica

1. Porta USB-C
2. Trackpad/touch
3. Indicatore 1
    Nello stato blu:
    a. Lampeggia lentamente: Bluetooth non connesso
  

  b. Lampeggia rapidamente: in attesa dell'accoppiamento con la connessione   

        Bluetooth (premere il tasto di scelta rapida in alto a sinistra per 3 secondi)
    c. Sempre acceso: accoppiato con successo
    Nello stato rosso:
    a. Lampeggiante: batteria quasi scarica (20%)
    b. Sempre acceso: in carica
    c. Spento: batteria pienamente carica

    Il colore viola indica che l'indicatore rosso e quello blu sono entrambi accesi    

    contemporaneamente
4. Roller
5. Tasti di scelta rapida
6. Area attiva
7. Indicatore 2:
    

Indicatore di calligrafia:


a. Lampeggiante: la stilo si trova nell'area attiva, ma non tocca la tavoletta 

       grafica


  b. Sempre acceso: la stilo è a contatto con l'area attiva


  c. Spento: la stilo è al di fuori dell'area attiva

8. Tasto di accensione

Guida rapida Deco Pro SW/MW

Connessione cablata

Collegare la tavoletta grafica al computer. La tavoletta grafica si avvia automati

-

camente.

Connessione senza fili

A. Connessione al ricevitore Bluetooth
    Collegare il ricevitore Bluetooth al computer e poi azionare il tasto di      
    

accensione per accendere la tavoletta grafica.

B. Connessione Bluetooth diretta (solo Windows/Mac OS)

    1. Azionare il tasto di accensione per accendere la tavoletta grafica. Poi  

        premere il tasto di scelta rapida in alto a sinistra per 3 secondi per entrare   
       

nell'accoppiamento Bluetooth (con l'indicatore blu che lampeggia 

        rapidamente).
    2. Accendere il Bluetooth sul computer, impostare e aggiungere il dispositivo   
        Bluetooth, cercare il nome del dispositivo Deco Pro SW/MW e completare   
       

l'accoppiamento Bluetooth cliccando sul nome del dispositivo (con 


l'indicatore blu sempre acceso).

    3. Azionare il tasto di accensione per spegnere la tavoletta grafica dopo l'uso.

II. Guida introduttiva

1

2 3 4

5

6

8

7

Содержание Deco Pro SW

Страница 1: ...Quick Guide Deco Pro SW MW www xp pen com...

Страница 2: ...1 2 3 4 English 5 6 7 8 9 10 11 12 13 14 15 16 17 18 Fran ais Espa ol Deutsch Italiano 19 20 21 22 23 24 Portugu s Polski Contents Nederlands...

Страница 3: ...cted to the computer 2 Visit the XP PEN website www xp pen com choose Support section and click Download Choose product model and download the latest driver according to your computer system 3 Follow...

Страница 4: ...PAGE3 PAGE4 1 USB C 2 3 a b 3 c a 20 b c 4 5 6 7 a b c 8 Deco Pro SW MW 1 2 A B Windows Mac OS 1 3S 2 Deco Pro SW MW 3 OFF 1 2 3 4 5 6 8 7 1 2 XP PEN www xp pen com 3 service xp pen com www xp pen com...

Страница 5: ...ontrolllampe violett sind der rote und blaue Status gleichzeitig aktiv 4 Dreh Taste 5 Tastenkombinationen 6 Arbeitsbereich 7 Kontrolllampe 2 a Blinkt Der Stift be ndet sich im aktiven Bereich ber hrt...

Страница 6: ...th en el ordenador y a continuaci n pulse la tecla de encendido para encender la tableta de l piz B Conexi n Bluetooth directa solo para Windows Mac OS 1 Pulse la tecla de encendido para encender la t...

Страница 7: ...B Connexion Bluetooth directe Windows Mac OS uniquement 1 Appuyez sur la touche marche arr t pour allumer la tablette stylet Ensuite maintenez la touche de fonction en haut gauche appuy e pendant 3 s...

Страница 8: ...rambi accesi contemporaneamente 4 Roller 5 Tasti di scelta rapida 6 Area attiva 7 Indicatore 2 Indicatore di calligra a a Lampeggiante la stilo si trova nell area attiva ma non tocca la tavoletta gra...

Страница 9: ...servicejp xp pen com I 1 USB C 2 3 1 a 1 1 Bluetooth b Bluetooth K1 3 c Bluetooth a 20 b c 4 5 6 7 2 a b c 8 Deco Pro SW MW USB USB Android USB A Bluetooth Bluetooth Android B Bluetooth Windows Mac OS...

Страница 10: ...XP PEN III 1 2 XP PEN www xp pen kr 3 servicekr xp pen com www xp pen kr I 1 Type C 2 3 1 a b 3 c a 20 b c 4 5 6 7 2 a b c 8 Deco Pro SW MW A B Bluetooth Windows Mac OS 1 3 2 Deco Pro SW MW 3 O II 1...

Страница 11: ...bieski s w czone jednocze nie 4 Rolka 5 Klawisze skr t w 6 Aktywny obszar 7 Wska nik 2 Wska nik pisma r cznego a Miga Rysik znajduje si w aktywnym obszarze ale nie dotyka tabletu z pi rem b wieci ci g...

Страница 12: ...3 serviceru xp pen com www xp pen ru I 1 USB C 2 3 1 a Bluetooth b Bluetooth 3 c a 20 b c 4 5 6 7 2 a b c 8 Deco SW MW A Bluetooth Bluetooth B Bluetooth Windows Mac OS 1 3 Bluetooth 2 Bluetooth Blueto...

Страница 13: ...liga desliga para ligar o tablet B Conex o Bluetooth direta apenas Windows Mac OS 1 Ative o bot o liga desliga para ligar o tablet Em seguida prima durante 3 segundos a tecla de atalho no canto superi...

Страница 14: ...ig aan zijn 4 Rol 5 Sneltoetsen 6 Actief gebied 7 Lampje 2 Handschriftlampje a Knippert De stylus bevindt zich in het actieve gebied maar raakt de pentablet niet aan b Altijd aan De stylus is in conta...

Страница 15: ...1 XP PEN Driver User Manual...

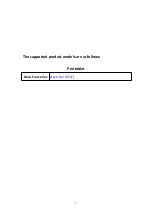
Страница 16: ...2 The supported product models are as follows Pen tablet Deco Fun series Deco Fun XS S L...

Страница 17: ...folder and operate the exe file Windows or dmg Mac file and then follow the prompts until installation is completed Notes 1 Before installation please temporarily close the antivirus software and fir...

Страница 18: ...he same time If multiple monitors are used in extended mode it is necessary to select the work area of the device on the driver interface to map to the corresponding monitor The driver provides three...

Страница 19: ...ne the size of the work area of the device or use the stylus to drag on the device icon on the driver interface to set the size of the work area Rotation setting You may set the device to 0 90 180 270...

Страница 20: ...n at the bottom of the interface and the application just selected will be added to the application bar 3 Pen settings Pen keys Set functions of the pen keys here You may click the drop down menu to u...

Страница 21: ...ol You may configure mouse controls and keyboard keys here With the Keyboard Shift and Left Click selected shortcut actions are enabled in software that supports such combination key Input from the ke...

Страница 22: ...ate is to scale down the display area of your screen to the work area of the tablet display Relative coordinate mouse mode The operation method of this mode is the same as that of a normal mouse Windo...

Страница 23: ...e function of each express key The setting steps are the same as those of digital pen keys see 3 Pen settings 5 Touch Roller 5 1 Roller Select the function you want to use from the default four groups...

Страница 24: ...8 5 2 Touch You can set the touch to Mouse Mode or Roller Mode Scroll mode The setting procedure is the same as that of the roller see 5 1 Roller Mouse mode You can use the touch as a mouse 6 Settings...

Страница 25: ...hecking this function will disable the tilt effect of the stylus Diagnostic tool When there is any problem during your use of the driver you can use diagnostic tool Import export config You can import...

Страница 26: ...dance with the instructions may cause harmful interference to radio communications However there is no guarantee that interference will not occur in a particular installation If this equipment does ca...

Отзывы: