background image

PAGE5

PAGE6

德语ok

Hinweis: 

Um die optimale Leistung Ihres Geräts zu erzielen, empfehlen wir Ihnen, den Treiber 
regelmäßig auf der XP-PEN Website zu überprüfen und zu aktualisieren. 

Wenn Sie weitere Unterstützung benötigen, kontaktieren Sie uns bitte unter:

III. Treiber installieren

1. Stellen Sie sicher, dass Ihr Tablet/Display an den Computer angeschlossen   
    wurde.
2. Besuchen Sie die XP-PEN Website (www.xp-pen.de), wählen Sie den  
    Bereich „Unterstützung“ und klicken Sie auf „Herunterladen“. Wählen 
    Sie das gewünschte Produktmodell aus und laden Sie den neuesten 

    Treiber herunter.

3. Befolgen Sie die Anweisungen, um den Treiber zu installieren.

www.xp-pen.de

servicede

xp-pen.com

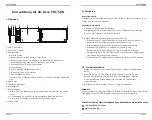
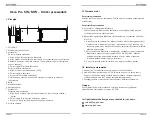
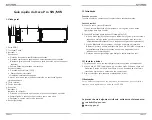
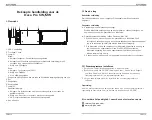
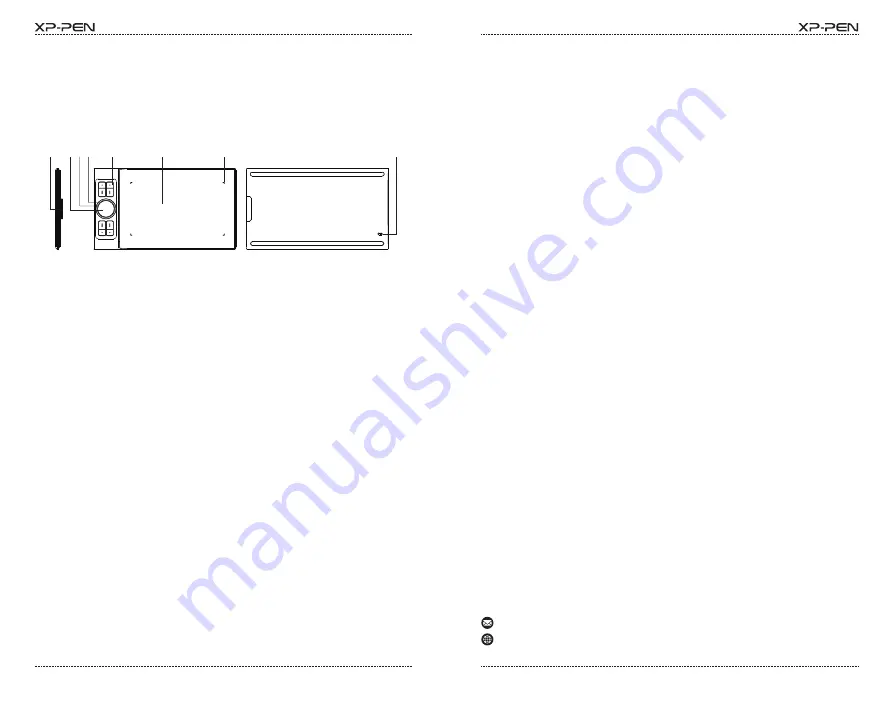
I. Übersicht

1. USB-C-Anschluss
2. Touchpad/Trackpad
3. Kontrolllampe 1
     Im blauen Status:
     a. Blinkt langsam: Keine Bluetooth-Verbindung
     b. Blinkt schnell: Wartet auf Kopplung mit Bluetooth-Verbindung (die    
        

Schnellzugriffstaste oben links 3 Sekunden lang drücken)

     c. Kontinuierlich an: Erfolgreich gekoppelt
     Im roten Status:
     a. Blinkt: Niedrige Akkukapazität (20 %)
     b. Kontinuierlich an: Wird geladen
     c. Aus: Vollständig geladen
     Leuchtet die Kontrolllampe violett, sind der rote und blaue Status gleichzeitig 
     aktiv
4. Dreh-Taste
5. Tastenkombinationen
6. Arbeitsbereich
7. Kontrolllampe 2 

    a. Blinkt: Der Stift befindet sich im aktiven Bereich, berührt aber das Tablet    

        nicht
    b. Kontinuierlich an: Der Stift ist mit dem aktiven Bereich in Kontakt

    c. Aus: Der Stift befindet sich außerhalb des aktiven Bereichs

8. Power-Taste

Kurzanleitung für die Deco SW/MW

Kabelverbindung

Schließen Sie das Grafiktablett über das USB-C Kabel an Ihren Computer an. Das 

Tablet wird automatisch gestartet.

Drahtlose Verbindung

A. Anschluss an den Bluetooth-Empfänger
    Schließen Sie den Bluetooth-Empfänger an den Computer an und schalten    
    Sie dann das Tablet mit der Power-Taste ein.

B. Direkte Bluetooth-Verbindung (nur Windows/Mac OS)
     1. Schalten Sie das Tablet mit der Power-Taste ein. Drücken Sie dann 3 
 

       Sekunden lang die Schnellzugriffstaste oben links, um die 

         Bluetooth-Kopplung zu starten (die blaue Anzeige blinkt schnell).
     2. Schalten Sie Bluetooth am Computer ein, richten Sie ein   
         Bluetooth-Gerät ein und fügen Sie es hinzu. Suchen Sie nach dem 
         Gerätenamen Deco Pro SW/MW, dann klicken Sie auf den Gerätenamen 
         (die blaue Anzeige ist kontinuierlich an).
     3. Schalten Sie das Tablet nach der Verwendung mit der Power-Taste aus.

II. Einrichten

1

2 3 4

5

6

8

7

Содержание Deco Pro SW

Страница 1: ...Quick Guide Deco Pro SW MW www xp pen com...

Страница 2: ...1 2 3 4 English 5 6 7 8 9 10 11 12 13 14 15 16 17 18 Fran ais Espa ol Deutsch Italiano 19 20 21 22 23 24 Portugu s Polski Contents Nederlands...

Страница 3: ...cted to the computer 2 Visit the XP PEN website www xp pen com choose Support section and click Download Choose product model and download the latest driver according to your computer system 3 Follow...

Страница 4: ...PAGE3 PAGE4 1 USB C 2 3 a b 3 c a 20 b c 4 5 6 7 a b c 8 Deco Pro SW MW 1 2 A B Windows Mac OS 1 3S 2 Deco Pro SW MW 3 OFF 1 2 3 4 5 6 8 7 1 2 XP PEN www xp pen com 3 service xp pen com www xp pen com...

Страница 5: ...ontrolllampe violett sind der rote und blaue Status gleichzeitig aktiv 4 Dreh Taste 5 Tastenkombinationen 6 Arbeitsbereich 7 Kontrolllampe 2 a Blinkt Der Stift be ndet sich im aktiven Bereich ber hrt...

Страница 6: ...th en el ordenador y a continuaci n pulse la tecla de encendido para encender la tableta de l piz B Conexi n Bluetooth directa solo para Windows Mac OS 1 Pulse la tecla de encendido para encender la t...

Страница 7: ...B Connexion Bluetooth directe Windows Mac OS uniquement 1 Appuyez sur la touche marche arr t pour allumer la tablette stylet Ensuite maintenez la touche de fonction en haut gauche appuy e pendant 3 s...

Страница 8: ...rambi accesi contemporaneamente 4 Roller 5 Tasti di scelta rapida 6 Area attiva 7 Indicatore 2 Indicatore di calligra a a Lampeggiante la stilo si trova nell area attiva ma non tocca la tavoletta gra...

Страница 9: ...servicejp xp pen com I 1 USB C 2 3 1 a 1 1 Bluetooth b Bluetooth K1 3 c Bluetooth a 20 b c 4 5 6 7 2 a b c 8 Deco Pro SW MW USB USB Android USB A Bluetooth Bluetooth Android B Bluetooth Windows Mac OS...

Страница 10: ...XP PEN III 1 2 XP PEN www xp pen kr 3 servicekr xp pen com www xp pen kr I 1 Type C 2 3 1 a b 3 c a 20 b c 4 5 6 7 2 a b c 8 Deco Pro SW MW A B Bluetooth Windows Mac OS 1 3 2 Deco Pro SW MW 3 O II 1...

Страница 11: ...bieski s w czone jednocze nie 4 Rolka 5 Klawisze skr t w 6 Aktywny obszar 7 Wska nik 2 Wska nik pisma r cznego a Miga Rysik znajduje si w aktywnym obszarze ale nie dotyka tabletu z pi rem b wieci ci g...

Страница 12: ...3 serviceru xp pen com www xp pen ru I 1 USB C 2 3 1 a Bluetooth b Bluetooth 3 c a 20 b c 4 5 6 7 2 a b c 8 Deco SW MW A Bluetooth Bluetooth B Bluetooth Windows Mac OS 1 3 Bluetooth 2 Bluetooth Blueto...

Страница 13: ...liga desliga para ligar o tablet B Conex o Bluetooth direta apenas Windows Mac OS 1 Ative o bot o liga desliga para ligar o tablet Em seguida prima durante 3 segundos a tecla de atalho no canto superi...

Страница 14: ...ig aan zijn 4 Rol 5 Sneltoetsen 6 Actief gebied 7 Lampje 2 Handschriftlampje a Knippert De stylus bevindt zich in het actieve gebied maar raakt de pentablet niet aan b Altijd aan De stylus is in conta...

Страница 15: ...1 XP PEN Driver User Manual...

Страница 16: ...2 The supported product models are as follows Pen tablet Deco Fun series Deco Fun XS S L...

Страница 17: ...folder and operate the exe file Windows or dmg Mac file and then follow the prompts until installation is completed Notes 1 Before installation please temporarily close the antivirus software and fir...

Страница 18: ...he same time If multiple monitors are used in extended mode it is necessary to select the work area of the device on the driver interface to map to the corresponding monitor The driver provides three...

Страница 19: ...ne the size of the work area of the device or use the stylus to drag on the device icon on the driver interface to set the size of the work area Rotation setting You may set the device to 0 90 180 270...

Страница 20: ...n at the bottom of the interface and the application just selected will be added to the application bar 3 Pen settings Pen keys Set functions of the pen keys here You may click the drop down menu to u...

Страница 21: ...ol You may configure mouse controls and keyboard keys here With the Keyboard Shift and Left Click selected shortcut actions are enabled in software that supports such combination key Input from the ke...

Страница 22: ...ate is to scale down the display area of your screen to the work area of the tablet display Relative coordinate mouse mode The operation method of this mode is the same as that of a normal mouse Windo...

Страница 23: ...e function of each express key The setting steps are the same as those of digital pen keys see 3 Pen settings 5 Touch Roller 5 1 Roller Select the function you want to use from the default four groups...

Страница 24: ...8 5 2 Touch You can set the touch to Mouse Mode or Roller Mode Scroll mode The setting procedure is the same as that of the roller see 5 1 Roller Mouse mode You can use the touch as a mouse 6 Settings...

Страница 25: ...hecking this function will disable the tilt effect of the stylus Diagnostic tool When there is any problem during your use of the driver you can use diagnostic tool Import export config You can import...

Страница 26: ...dance with the instructions may cause harmful interference to radio communications However there is no guarantee that interference will not occur in a particular installation If this equipment does ca...

Отзывы: