Xerox Mobile Scanner
User’s Guide
43
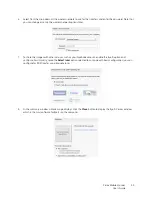
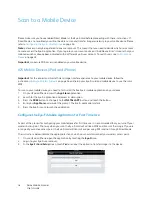
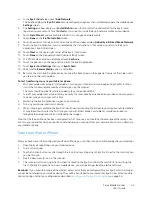
4.
In the
Eye-Fi Card
screen, touch
Add Network
.
This briefly displays the
Eye-Fi Center
online configuration options then immediately opens the mobile device
Settings
screen.
5.
The
Settings
window displays an
Install Profile
screen that contains the information for the Eye-Fi card
registered to your account. Touch
Install
on this screen to install the Eye-Fi network profile on your device.
6.
Touch
Install Now
if you are prompted that it is an unsigned network profile.
7.
Touch
Done
on the
Profile Installed
screen.
8.
You will now return to the Eye-Fi Center online and the window displays
Added Eye-Fi Direct Mode Network
.
9.
Touch the Eye-Fi application icon, as indicated by the instructions in that window, to return to the Eye-Fi
application’s Eye-Fi Card screen.
10. Touch
Next
on the upper-right corner of the Eye-Fi Card screen.
11. Touch
Done
on the Frequently Asked Questions (FAQ) screen.
12. If a “What’s New” window is displayed, touch
Continue
.
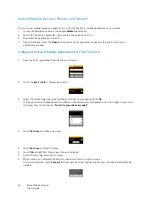
13. Touch the gear icon on the upper-left corner of the Eye-Fi application.
14. Touch
Eye-Fi Card Settings
then touch
Eye-Fi Card
.
15. Mike sure the
Receive Media
option is set to
On
.
16. Return to the main Eye-Fi application by touching the back arrows in the upper-left corner of the screen until
you return to the main window.
To test transferring scans to your tablet or phone:
1.
With your wireless access point still turned on, turn on your scanner and scan a page using the JPG function
(this is the function represented by a camera icon on the scanner).
The scans should now be transferred wirelessly to your device over WiFi.
2.
Turn off your wireless access point after you verify the scans have been received on your device. You may want
to power cycle your scanner at this time.
3.
Make sure the Eye-Fi application is open on your device.
4.
Turn on your scanner and start scanning.
5.
When scanning is complete, the Eye-Fi card will now start sending the images to your device use Direct Mode.
It may take a few minutes the first time you scan with Direct Mode. Your tablet or smartphone needs to
recognize the network and then start loading the images.
Now that the iPad or iPhone has been configured for first time use, you should not have to repeat these steps. You
can turn your wireless access point back on and whenever you are away from your network, you can scan directly to
your tablet or phone.
Scan to an iPad or iPhone
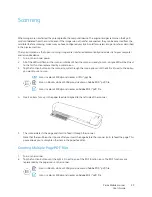
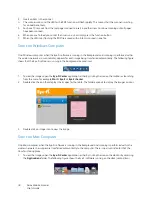
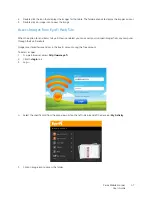
After you have successfully configured your iPad or iPhone, you can then scan any time following these simple steps:
1.
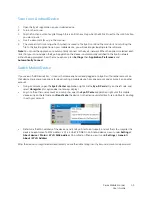
Open the Eye-Fi application on your mobile device.
2.
Turn on the scanner.
3.
Tap the function button to cycle through the scan functions. Stop when the LED is lit next to the scan function
you want to use.
4.
Insert a document
face-up
in the scanner.
5.
The scanner starts scanning, when finished it is saved to the Eye-Fi card and the card starts transmitting the
file. In the Eye-Fi application on your mobile device, you will see images loading into the software.
Reminder
: if you are within range of the wireless access point that you configured for your Eye-Fi card, the images
will not be transferred to your mobile device. They will be transferred to your computer, Eye-Fi View account online,
and/or sharing site that you configured as described in
Configuring the Eye-Fi Card Settings
on page 36.
Содержание XCARD-SCAN
Страница 1: ...Xerox Mobile Scanner December 2011 05 0844 100 User Guide...
Страница 30: ...Xerox Mobile Scanner User s Guide 30...
Страница 52: ...Xerox Mobile Scanner User s Guide 52...
Страница 58: ...Xerox Mobile Scanner User s Guide 58...
Страница 68: ...Xerox Mobile Scanner User s Guide 68...


