


4–37
U
S E R
G
U I D E
(M
A C H I N E
A
D M I N I S T R A T O R
)
Color Balance - Yellow,
Magenta, Cyan, Black
This sets up the default for each density level, Low Density,
Medium Density, and High Density, for Yellow, Magenta, Cyan and
Black in Color Balance on the
Image Quality
screen.
The defaults are all 0.
NOTE:
The values set here will also be applied to Black and
Single Color modes.
Original Orientation
This sets up the default for Original Orientation on the
Scan
Options
screen.
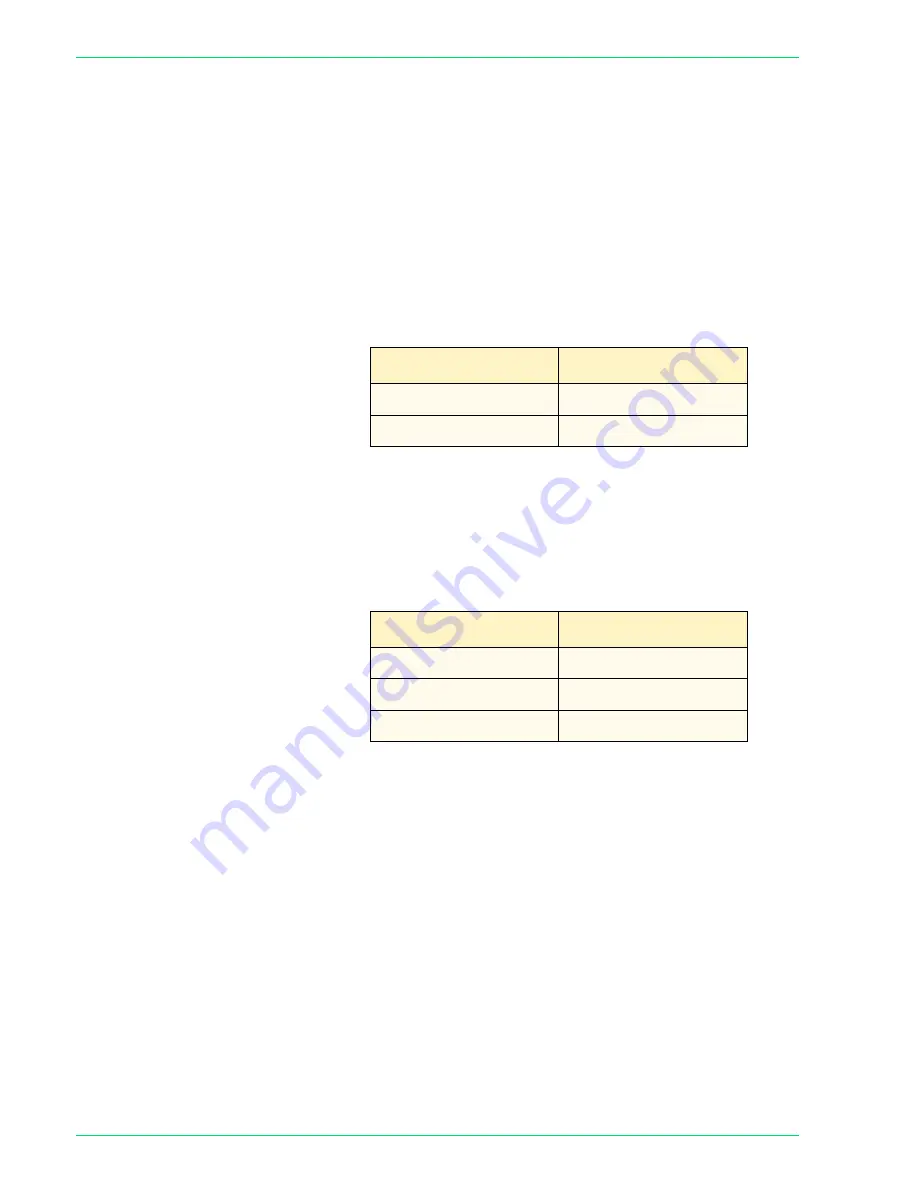
Enter the setting on the Numeric Keypad using the numbers listed
in the following table. The default is 0, Head to Top.
Image Rotation
This sets up the default for Image Rotation on the
Scan Options
screen. On during Auto refers to Auto Paper selection for Paper
supply or Auto % for Reduce/Enlarge.
Enter the setting on the Numeric Keypad using the numbers listed
in the following table. The default is 1, On during Auto.
Setting
Description
0
Head to Top
1
Head to Left
Setting
Description
0
Always On
1
On during Auto
2
Off
Содержание WorkCentre M24 Color
Страница 1: ...User Guide WorkCentre M24 Printer Copier...
Страница 17: ...Safety Notes Regulatory Information WorkCentre M24 Printer Copier...
Страница 18: ......
Страница 36: ...xx SAFETY NOTES REGULATORY INFORMATION...
Страница 37: ...Copying User Guide WorkCentre M24 Printer Copier...
Страница 38: ......
Страница 42: ...vi TABLE OF CONTENTS...
Страница 44: ...1 2 USER GUIDE COPIER 1 2 3 4 10 8 9 11 7 5 6 12 13 14 15 16 17...
Страница 158: ...1 116 USER GUIDE COPIER...
Страница 159: ...Printing User Guide WorkCentre M24 Printer Copier...
Страница 160: ......
Страница 232: ...2 68 USER GUIDE PRINT...
Страница 286: ...2 122 USER GUIDE PRINT...
Страница 287: ...Scanning User Guide WorkCentre M24 Printer Copier...
Страница 288: ......
Страница 331: ...Machine Administrator User Guide WorkCentre M24 Printer Copier...
Страница 332: ......
Страница 402: ...4 68 USER GUIDE MACHINE ADMINISTRATOR...
Страница 403: ...Troubleshooting Guide WorkCentre M24 Printer Copier...
Страница 404: ......
Страница 406: ...iv TABLE OF CONTENTS Added Features and Image Quality Tabs 16 Calling for Service 20 Fault Codes 21...
Страница 440: ......


