SETTING THE SYSTEM CONFIGURATION
4-42
XEROX DOCUPRINT 96/4635/180 IPS GUIDE TO CONFIGURING AND MANAGING THE SYSTEM
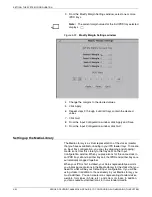
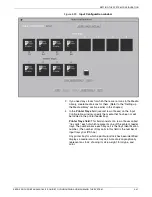
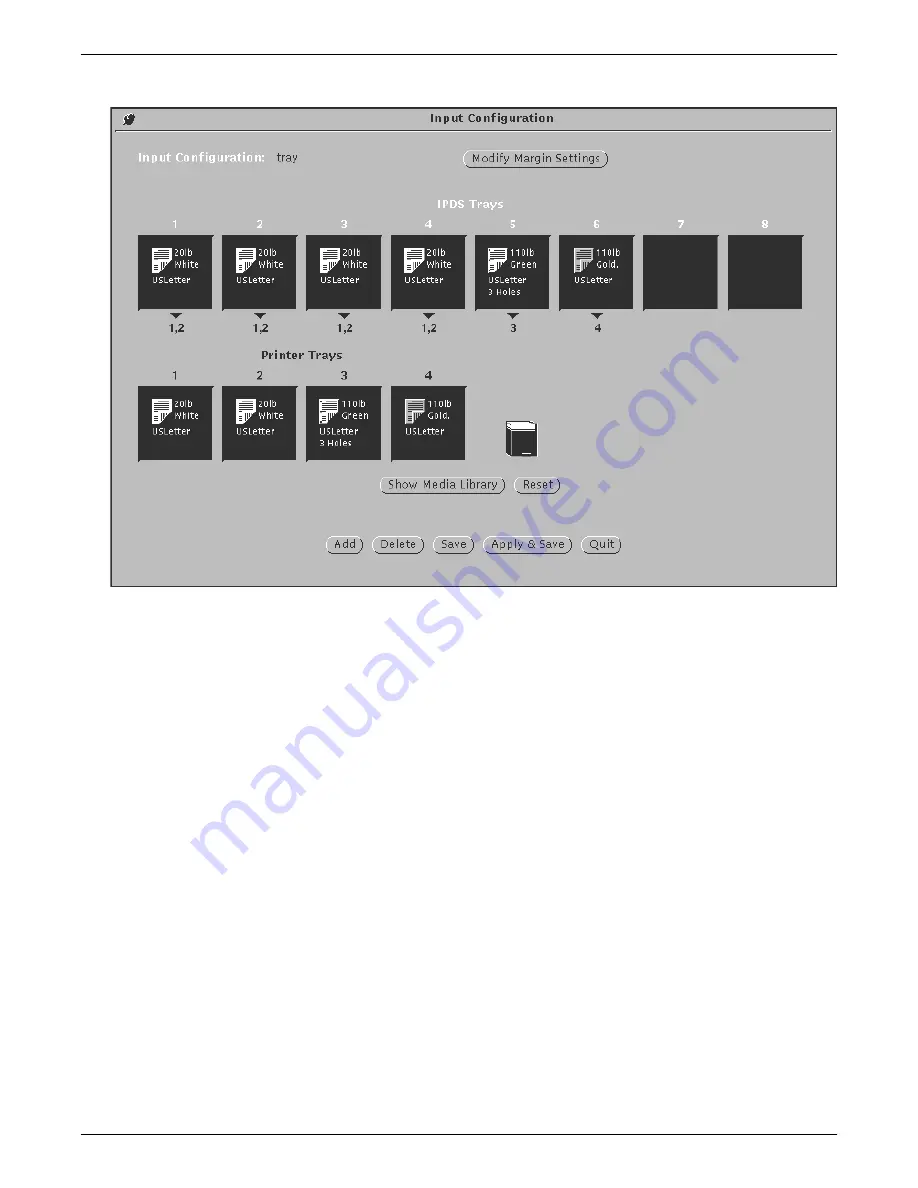
Figure 4-30.
Tray cells section of a sample input configuration
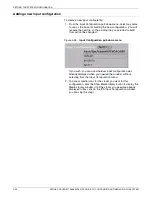
Example:
In the example shown above, the cells for printer
trays 1, 2, 3, and 4 all contain media icons for 20-pound white
USLetter (8.5 by 11-inch) paper. Tray 5 is configured with 20-
pound green three-hole USLetter paper, and tray 6 has 110-
pound goldenrod USLetter card stock.
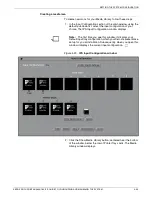
To set up the printer tray cells
: Place the media icons for the
stocks that will be loaded in the printer in the cells in the Printer
Trays row. Follow these steps for each tray you are configuring:
a.
On the Media Library window, position the cursor over the
media icon you are selecting for that tray.
b.
Holding down the left mouse button, drag the icon to the IPS
Configuration window and to the printer tray cell where you
want it, then release the mouse button (“drag and drop”).
•
If you drag an icon to an empty cell, that icon is copied
into that cell.
•
If you drag an icon to a cell that already contains an
icon, the icon you drag replaces the one that was there.
•
To delete an icon from a cell and leave the cell empty,
drag the icon to the “Trash Bin,” located to the right of
the Printer Tray cells.
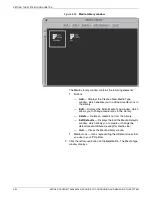
You may drag and drop media icons from three places:
•
The Media Library:
Drag any icon from the Media
Library window to a destination tray cell on the IPS
Input Configuration window.
Содержание DocuPrint 180
Страница 8: ...TABLE OF CONTENTS viii XEROX DOCUPRINT 96 4635 180 IPS GUIDE TO CONFIGURING AND MANAGING THE SYSTEM...
Страница 12: ...INTRODUCTION xii XEROX DOCUPRINT 96 4635 180 IPS GUIDE TO CONFIGURING AND MANAGING THE SYSTEM...
Страница 124: ...SETTING THE SYSTEM CONFIGURATION 4 66 XEROX DOCUPRINT 96 4635 180 IPS GUIDE TO CONFIGURING AND MANAGING THE SYSTEM...
Страница 130: ...INDEX INDEX 6 XEROX DOCUPRINT 96 4635 180 IPS GUIDE TO CONFIGURING AND MANAGING THE SYSTEM...


