


DocuMate 250 Scanner Installation Guide
35
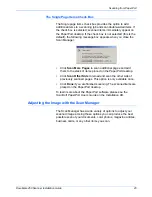
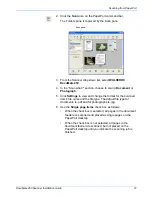
Scanning from PaperPort
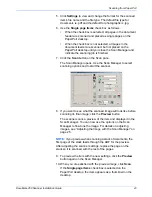
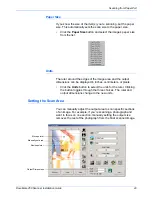
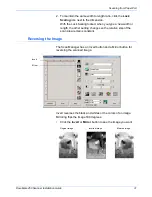
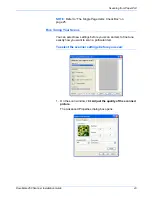
Highlight/Shadow Levels
Images have light and dark areas. The highlight is the lightest spot
on an image; shadow is the darkest spot. The range of colors
between the highlight and shadow determines the range of colors
of the image. Use the Highlight/Shadow Levels to extend the
original range of colors between the highlight and shadow to reveal
more details in the midrange colors.
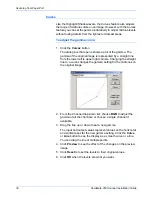
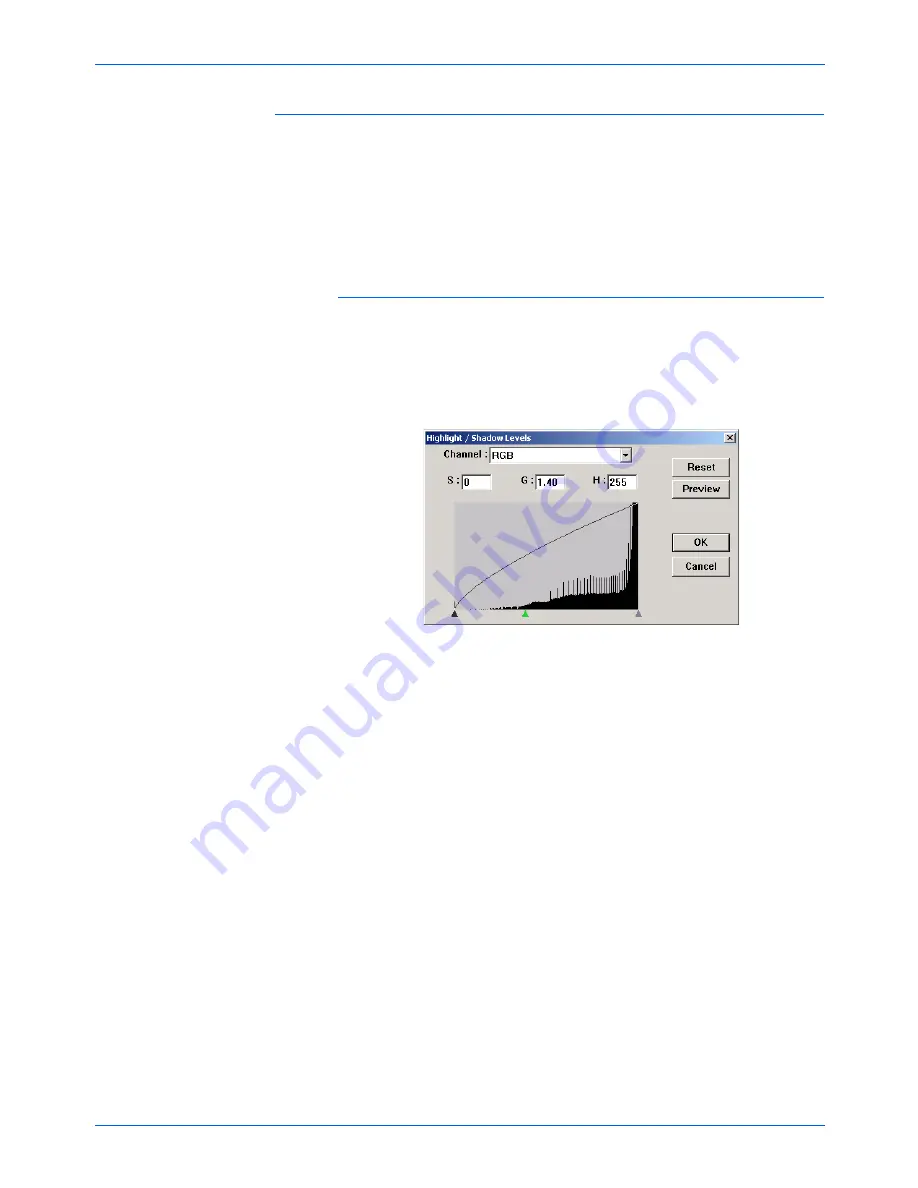
To adjust the highlight and shadow levels:
1. Click the
Highlight/Shadow
button.
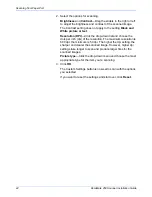
The dialog box shows a histogram of the saturation, gamma,
and hue (S, G, H) of the range of colors for the highlight and
shadow.
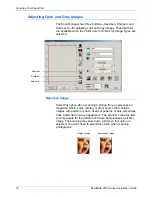
Saturation is the strength or purity of a color, gamma controls
the brightness of the midtones of the color, and hue is the color
your eyes see as reflected from the image. The gamma setting
in this dialog box is in conjunction with the hue and saturation
but you can also set gamma by itself for an image. See the
section “Curves,” below for more information
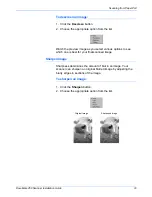
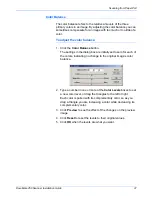
2. From the Channel drop-down list, choose
RGB
to adjust all the
channels together, or choose a single channel if available.
3. Enter new settings in the boxes for the three levels, or drag the
small triangles at the bottom of the histogram.
The histogram changes to show the new levels.
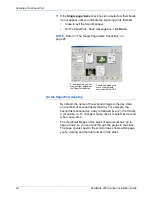
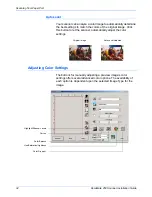
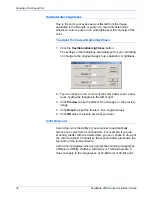
4. Click
Preview
to see the effect of the changes on the preview
image.
5. Click
Reset
to reset the levels to their original values.
6. Click
OK
when the levels are what you want.
Содержание DocuMate 250
Страница 1: ...DocuMate 250 scanner installation guide...
Страница 4: ......
Страница 60: ...Maintenance 54 DocuMate 250 Scanner Installation Guide...


