Installation
10
DocuMate 250 Scanner Installation Guide
Your computer recognizes that a scanner has been plugged
into the USB port and automatically loads the appropriate
software from the CD to run the scanner.
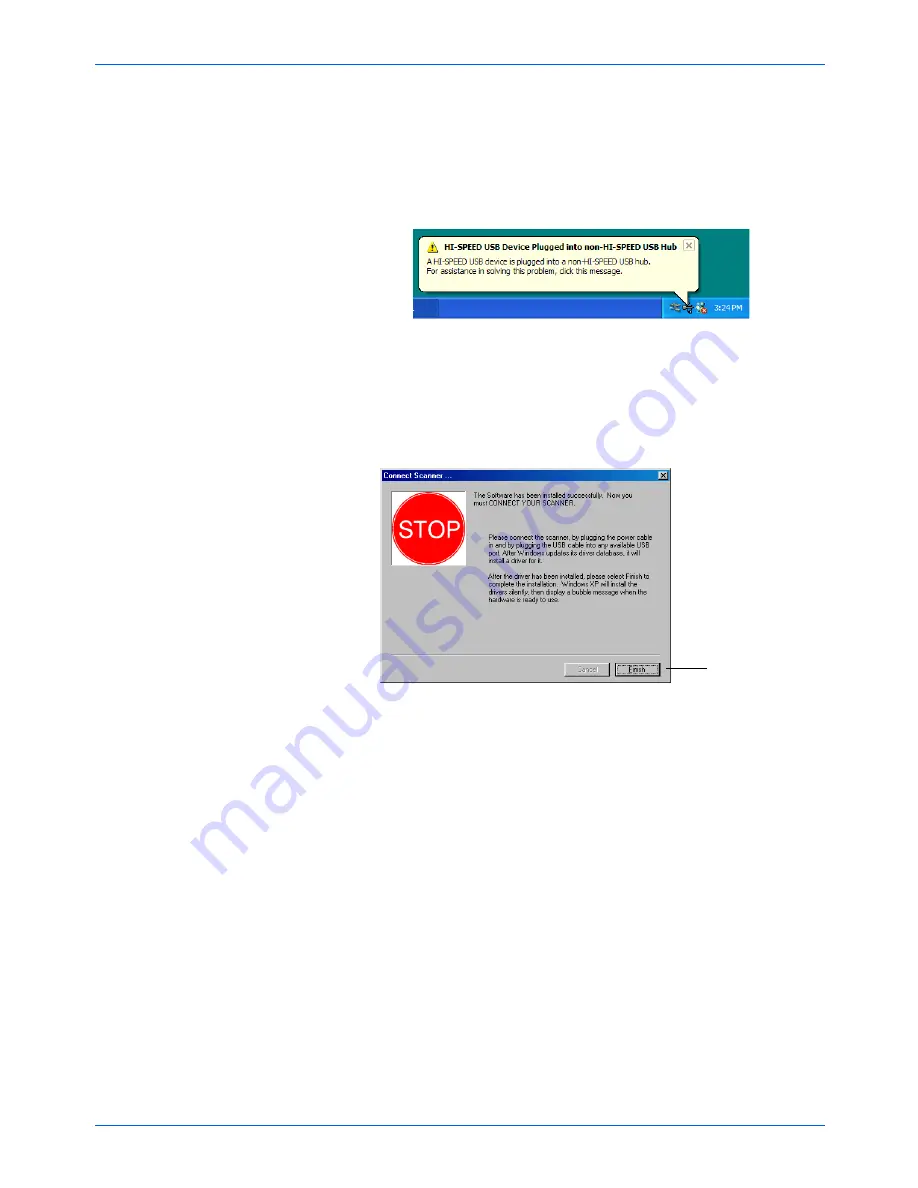
2. When the software is finished loading, return to the Connect
Scanner window and click
Finish
.
The scanner’s status light is green when the scanner and
computer are communicating properly.
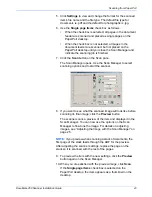
3. Click
Exit
on the DocuMate 250 window.
4. When installation is finished, restart your computer.
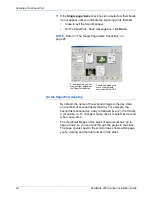
5. If you selected other software to install from the CD, leave the
CD in the CD drive when you restart your computer.
If you removed the CD from the CD drive and want to install
other software, reinsert the CD into the drive.
In addition to installing the other software from the CD, you can
also view and print the User Guides and Installation Guide.
NOTE:
If you are using Windows XP and have plugged the USB
cable into a USB 1.1 port, an information bubble opens
explaining that “A HI-SPEED USB device is plugged into a non-
HI-SPEED USB hub”. Plug the USB cable into a USB 2.0 port (if
available) or disregard the message.
Click Finish
Содержание DocuMate 250
Страница 1: ...DocuMate 250 scanner installation guide...
Страница 4: ......
Страница 60: ...Maintenance 54 DocuMate 250 Scanner Installation Guide...


