Solutions in Alphabetical Order
DT6180 HandyBook
112
Clear the Paper Jam in Areas 5 and 6
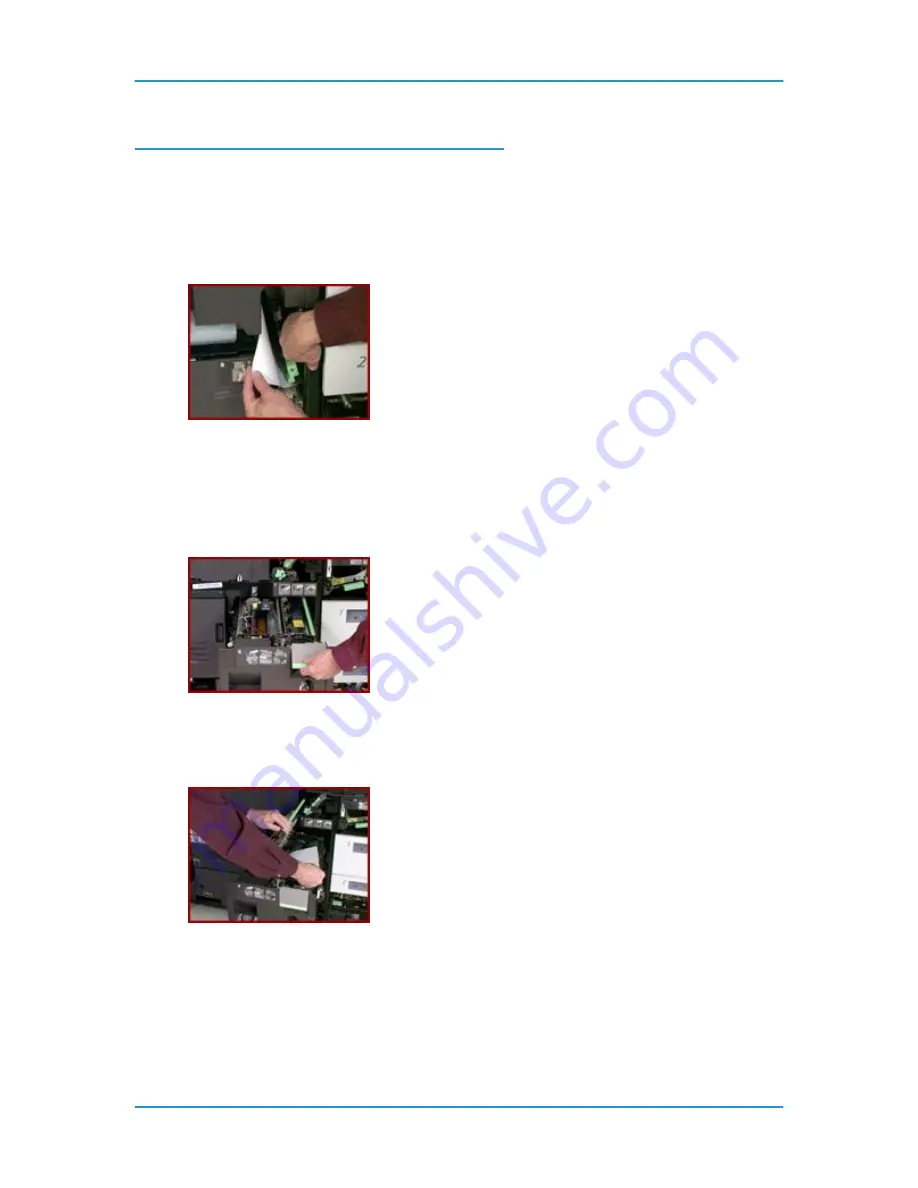
To clear area 5:
1. Open the Processor Doors using the handle above Paper Tray 1.
2. To the left of Paper Tray 2 is a green handle with an arrow on it. Rotate the handle to the right, and
hold it in this position.
3. Remove all paper from the area to the left of Paper Tray 2.
4. Rotate the handle to the left.
To clear area 6:
5. Pull out the Fuser Assembly. Grasp the square gray handle with a horizontal green stripe and
rotate it out and up at the same time. The handle is located above and to the left of Paper Tray 1.
WARNING: The Fuser is very hot!
6. Remove any paper in the Fuser area. Make sure to look at the bottom of the Fuser Assembly for
any trapped sheets of paper.
7. Push the Fuser Assembly into the machine until it stops.
8. Close the Processor Doors.
NOTE:
If the Processor Doors do not close completely, the Fuser Assembly is not positioned correctly. Pull
the Fuser Assembly out slightly and then push the Fuser Assembly back into the machine until it stops. Even
if paper is not visible, go through the sequence to clear the paper jam. Carefully inspect the rollers for any
debris or torn pieces of paper. When clearing misfeeds, make sure a full sheet of paper was cleared and
there are no pieces of paper left in the machine.
Содержание 6100BD - Phaser Color Laser Printer
Страница 6: ...System Hardware DT6180 HandyBook 6...
Страница 7: ...System Hardware DT6180 HandyBook 7 1 System Hardware...
Страница 12: ...Paper Trays Loading Media DT6180 HandyBook 12...
Страница 42: ...Machine Maintenance DT6180 HandyBook 42 5 Sheets Short Edge MEASURE PAPER CURL...
Страница 67: ...Solutions in Alphabetical Order DT6180 HandyBook 67 Use A New Ream of Paper 139...
Страница 70: ...Solutions in Alphabetical Order DT6180 HandyBook 70 Area 12 Area 13...
Страница 140: ...Perform Printer Functions DT6180 HandyBook 140...
Страница 164: ...Sensor Maps DT6180 HandyBook 164...


