23
EN
Getting started
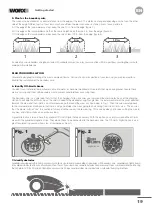
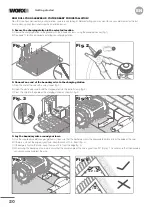
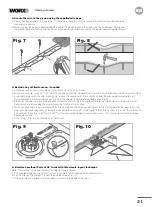
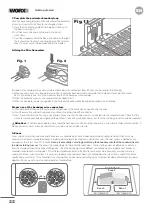
10. Final steps
There are only a few more steps to go:
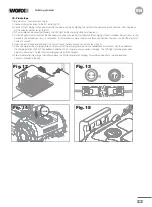
A. Connect charging station to the AC outlet (fig. 12).
B. Connect the charging station power cord to the power supply by aligning the notch on the power cord connector (a) with the groove
on the adaptor connector (b). (Fig.13).
C. When installed and connected properly, the LED light on the charging station will be green.
D. If the LED light is red, check that the boundary wire ends are properly clamped into the charging station. If problem persists, ensure the
boundary wire around your lawn is not broken. If wire connectors were used, check these connections to make sure that the electrical
contact is present.
E. Open the rear of Landroid and insert the Power Share
™
battery into the slot until it clicks (fig.14)
F. Place Landroid on the charging station and ensure that the charging terminals on Landroid have firm contact with the paddles on
the charging station (fig 15). The paddles should be at a 45° angle to ensure correct charging. The LED light will blink green when
properly connected. The light will turn solid green when fully charged.
G Allow Landroid to fully charge the battery before use. While Landroid is charging, it would be a good time to download and
connect Landroid to the app.
CLICK!
Fig. 14
Fig. 14
Fig. 15
Fig. 12
Fig. 13
Содержание Landroid WR147
Страница 1: ...Owner s manual WR165 WR147 WR155 ...
Страница 2: ......
Страница 3: ...Owner s manual Manuel utilisateur Instrucciones de usuario P04 P37 P70 EN F ES ...
Страница 103: ......
Страница 104: ......


