Sawmill Operation
Configuration Menu 1
4
4-12
WMdoc072919
Sawmill Operation
CALIBRATE BLADE HEIGHT
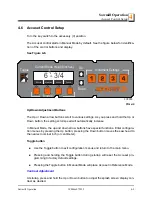
The Accuset control should indicate the actual position of the blade above the bed rails.
1.
Move the saw carriage so the blade is positioned above a bed rail.
2.
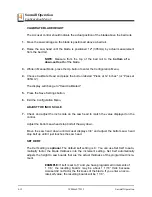
Raise the saw head until the blade is positioned 12" (305mm) by actual measurement
from the bed rail.
NOTE
: Measure from the top of the bed rail to the
bottom of a
down-set tooth
of the blade.
3.
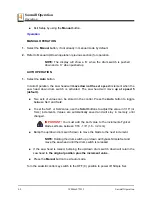
While in Manual Mode, press the Up button to enter the Configuration Menu.
4.
Choose Calibrate Head and press the button labeled "Press at 12 inches" (or “Press at
305mm”).
The display will change to "Head Calibrated."
5.
Press the Save Settings button.
6.
Exit the Configuration Menu.
ADJUST THE INCH SCALE
7.
Check and adjust the inch scale on the saw head to match the value displayed on the
control.
Adjust the bottom saw head stop bolt all the way down.
Move the saw head down until Accuset displays 3/4” and adjust the bottom saw head
stop bolt up until it just touches the saw head.
SET KERF
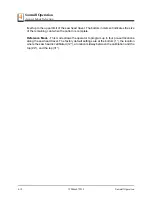
The Kerf setting is
optional
. The default kerf setting is ’0’. You can use Set Kerf to auto-
matically factor the blade thickness into the increment setting. Set Kerf automatically
adjusts the height to saw boards that are the actual thickness of the programmed incre-
ment.
EXAMPLE:
If kerf is set to ‘0’ and you have programmed increments of
1 1/8”, the resulting boards may be about 1 1/16” thick because
Accuset did not factor the thickness of the blade. If you enter an accu-
rate kerf value, the resulting boards will be 1 1/8”.


