English
_35
exPorting the reCorded Video
You can search the storage device to be exported and export the recorded video of the desired time by layout or
channel.
1.
Click <
> at the bottom of the screen.
2.
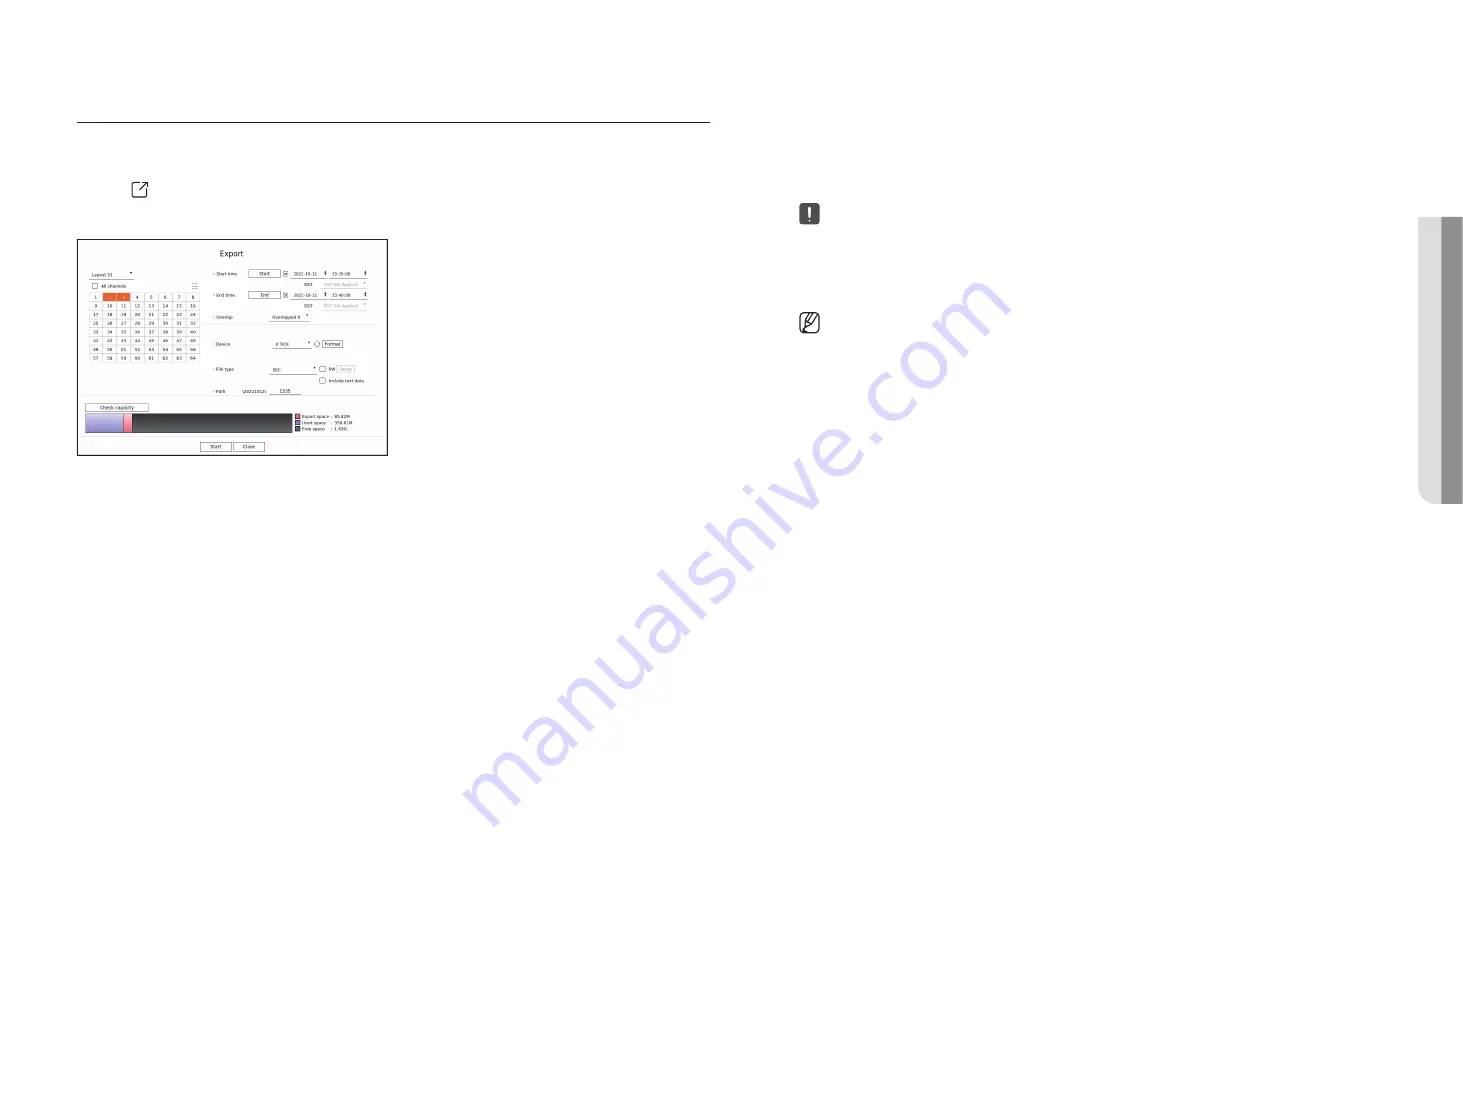
The export setup screen will appear.
●
Select a layout : Select a desired layout from the layout list.
●
Channel : Select a channel to export.
■
You can select multiple channels. If you select <
All channels
>, all channels will be selected.
●
Export section : Set the <
Start
> and <
End
> time to run the export select to.
– Start : You can set the start time for the export to the desired time.
Click <
Start
> to set the export start time to the first time the video was recorded.
– End : You can set the end time for the export to the desired time.
Click <
end
> to set the export end time to the last time the video was recorded.
●
Overlap : Shows a list of overlapping data on a same time according to the number of data.
This is displayed when there are duplicate data in the same channel due to changes in the time or time zone.
■
For more details, refer to the "
Setup
>
Setting the System
>
Date/Time/Language
" page in the Table of Contents.
●
Device : Select a device to export the among the searched devices.
●
Format : If you click <
Format
>, the format confirmation window will appear. Click <
yes
> to format the selected
storage device.
●
File type : Select the export format.
– SEC : You can export in your own file format that can be played directly on your PC. You can play with the viewer
included in the export folder.
■
If you select SEC format, you can choose whether to include
"PW Setup
" and "
Include text data
".
– Recorder : You can export to a file that can be played only on the recorder.
– AVI : You can export to an AVI format-compatible with popular media players.
●
Path : Displays the folder location where the export file will be saved. You cannot change the storage folder, only
the file name to be saved.
●
Check capacity : You can check the selected export capacity and the current and remaining capacity of the export
device.
3.
After completing the export setup, select <
Start
>.
■
If there is no device to export, the <
Start
> button will be deactivated.
■
If you click <
Stop
> during the export progress, which is the export will be canceled.
4.
Click <
oK
> on the export completion confirmation window to finish.
■
Exporting will not be able to start when a USB with insufficient free space is inserted.
Format the memory stick or delete some of the data on the memory stick to secure adequate storage space.
■
The operation speed of the product may slow down if the export is in which is a progress.
■
You can switch to the menu screen during export progress, but data playback will not be possible.
■
If the export fails, check the current capacity and status to see if the hard disk is connected properly in the "
Device
>
Storage
device
" menu.
■
If <
Hide
> is selected while the export is in progress, the screen changes to the upper menu, but the export continues.
•
li
V
e
Содержание PRN-1600B2
Страница 1: ...NETWORKVIDEO RECORDER User Manual Wisenet NVR ...
Страница 129: ......


