8
2-1
Browse
b
c
The default value is <
All channels
>. Select the desired layout from the live channel groups.
b
Select a channel by the selected group.
c
When moving the time bar, you can see the preview screen in the picture of
.
Press the <
Play
> button to play the video.
2-2
Audio Play
b
c
These are the various functions required for play. Hover over it to view the tooltip.
Refer to the information to adjust the play controls
(Ex.: Skip Backward).
b
You can set the specific functions in
through playback settings
(Ex. Skip play: 10 minutes, 30 minutes, 1 hour, 24 hours, etc.).
c
Displays the functions that operate during split mode and other plays.
3
Backup
Right-click the live screen and select <
Backup
>.
b
c
Select a layout
b
Select a channel.
c
Set the time, device, and format for backup.
Click the <
Capacity check
> button to see if you can back up.
Click the <
Start
> button to proceed with the backup.
Using the basic guide
View shortcut menu
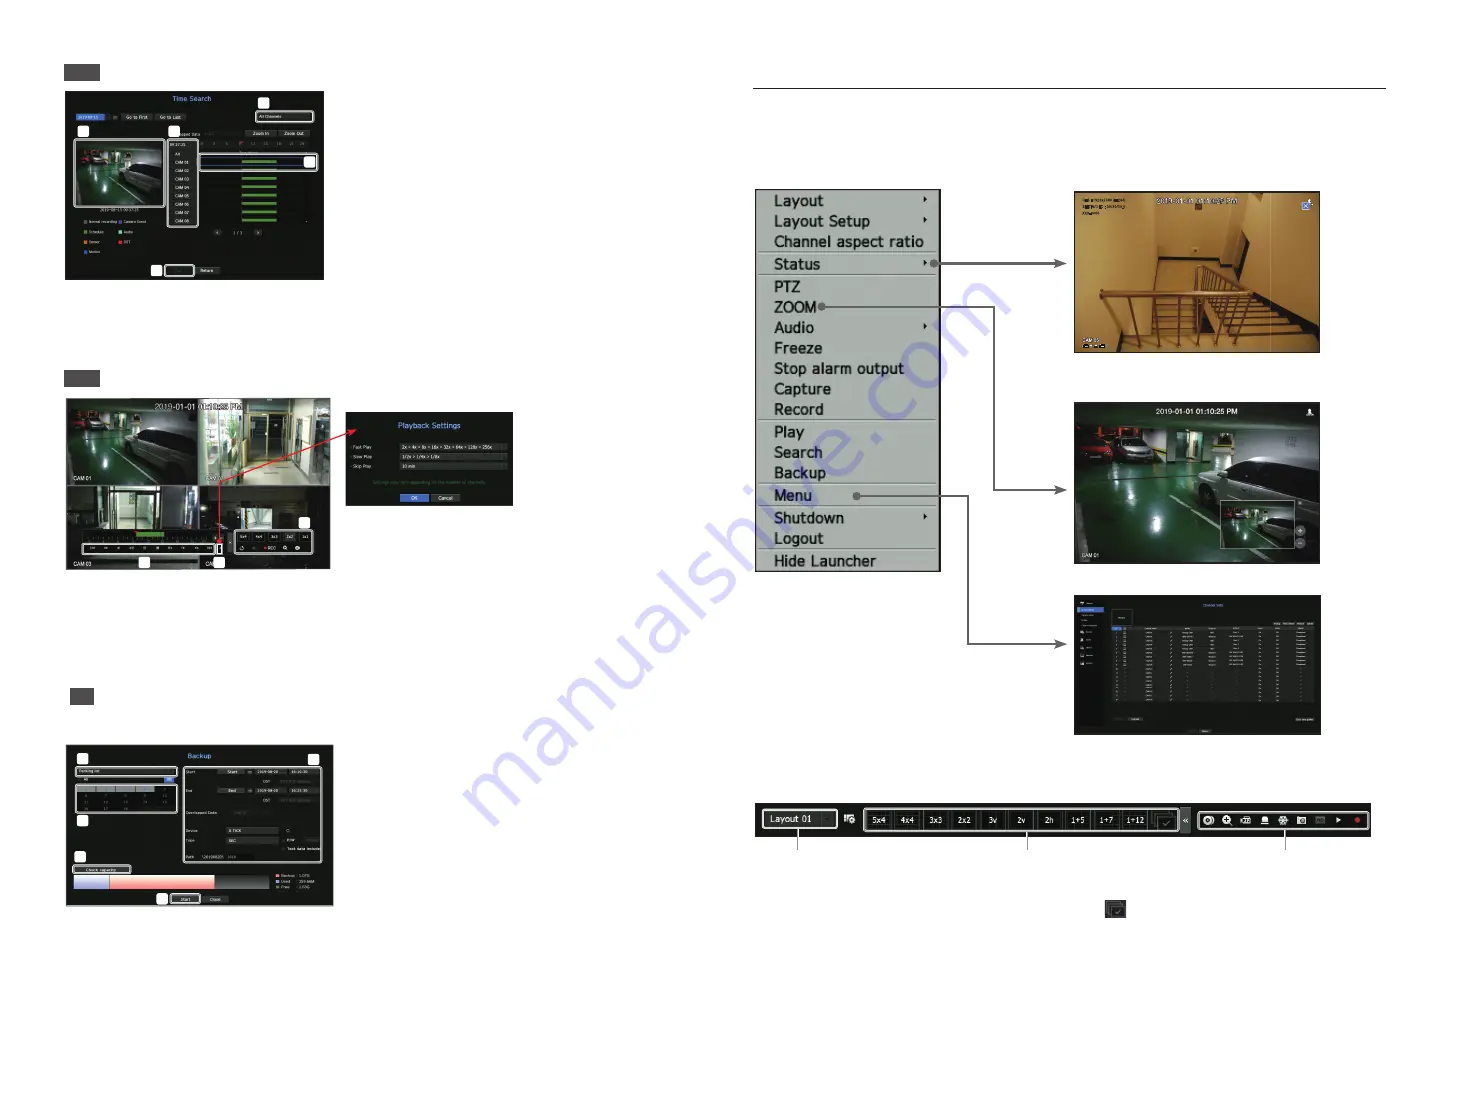
By right-clicking the live screen, you can use various functions provided by the recorder. If you hover over the icon, the
definition of terms for each function is briefly displayed.
RES : 1920x1080 (H.264)
SET/IN/DEC : 30/30/30.0
XXX-0000
Live launcher
c
b
Sets the live layout.
b
You can set the supported split mode. The end sequence (
) can be viewed sequentially for a specific time
in each split mode.
c
Sets additional functions such as alarm control and audio in live.


