5
HRX-420
1
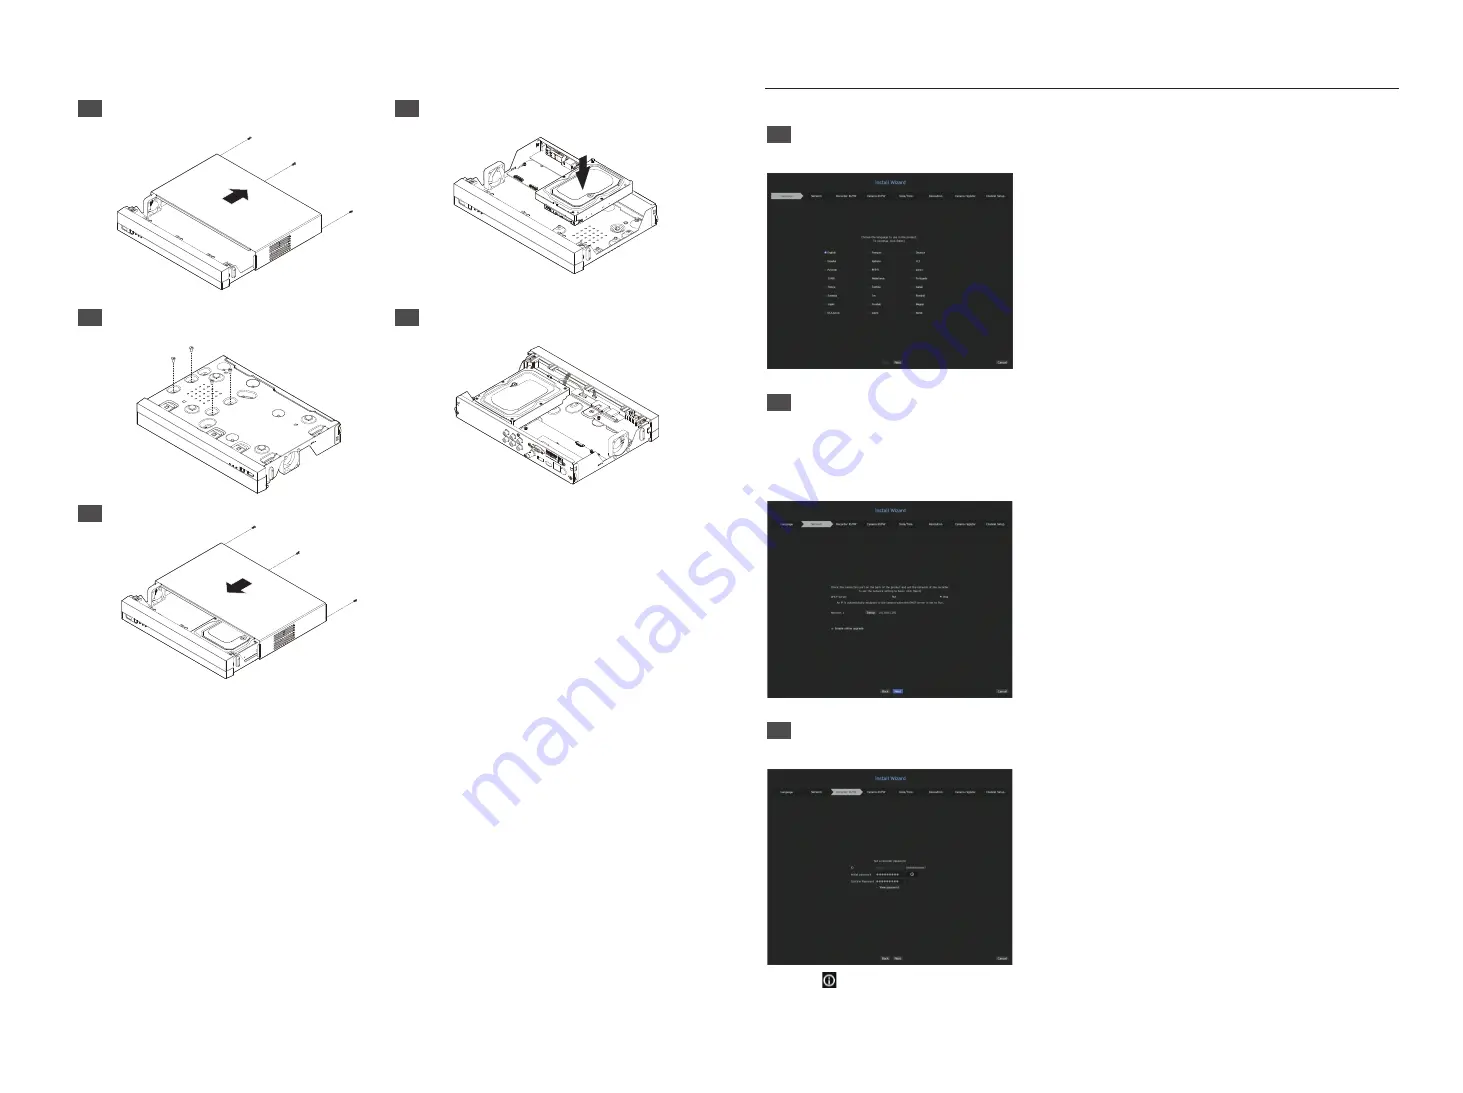
Loosen the screws on the left/right sides and back
and slide the cover back to remove it.
2
Connect the SATA/power cable of the HDD to the
connector on the motherboard.
3
Fix the HDD to the bottom of the recorder with
screws.
4
Check if there is any problem with the connection
terminal and wiring inside the product.
5
Close the cover and secure it with screws.
Install Wizard Setup
1
Select the language
Select your preferred language.
2
Network Settings
• DHCP server: If the DHCP server is set to On, an IP is automatically assigned to the camera.
• Network 1 (All): It is the port for network camera and external client connection.
※
For detailed network settings instructions, refer to the product user manual.
+
To use a simple intranet, click the <
Next
> button.
3
Recorder ID/PW Setup
Sets the administrator's password.
※
Click < > to view the basic guide for setting a password. Refer to the password setup rules.


