44
WPS-300-DVR-9CH & 16CH Installation and Users Manual
• Duration
If HDD Full Action is enabled, set the duration that the Alarm Out relay and the buzzer will remain
triggered when the corresponding partition is full. Press +/- buttons on the front panel of the DVR or on
the remote to adjust the time from 3 seconds or 60 minutes or ‘-‘ indefinitely until the Alarm Reset button
is pressed.
• Alarm Out
Define which Alarm Output will be triggered when the corresponding partition is full. Press +/- buttons
on the front panel of the DVR or on the remote control to select N/A or one of the Alarm Outputs - NC (1)
or NO (2).
• Buzzer
By default, the internal buzzer is enabled to sound when the corresponding hard drive partition
is full. Highlight this setting and press ENTER or +/- on the front panel of the DVR or the remote control
to enable or disable this item. Alternatively use the mouse to left-click on this item.
• Log
By default, the DVR will log when the corresponding hard drive partition is full to the event Log (see Section
8.2). Highlight this setting and press ENTER or +/- on the front panel of the DVR or the remote control to
enable or disable this item. Alternatively use the mouse to left-click on this item.
Send an email message to a predefined email address when corresponding hard drive partition is full.
Highlight this setting and press ENTER or +/- on the front panel of the DVR or the remote control to
enable or disable this item. Alternatively use the mouse to left-click on this item. The default setting
is disabled. See Section 6.10.1 for more information on e-mail.
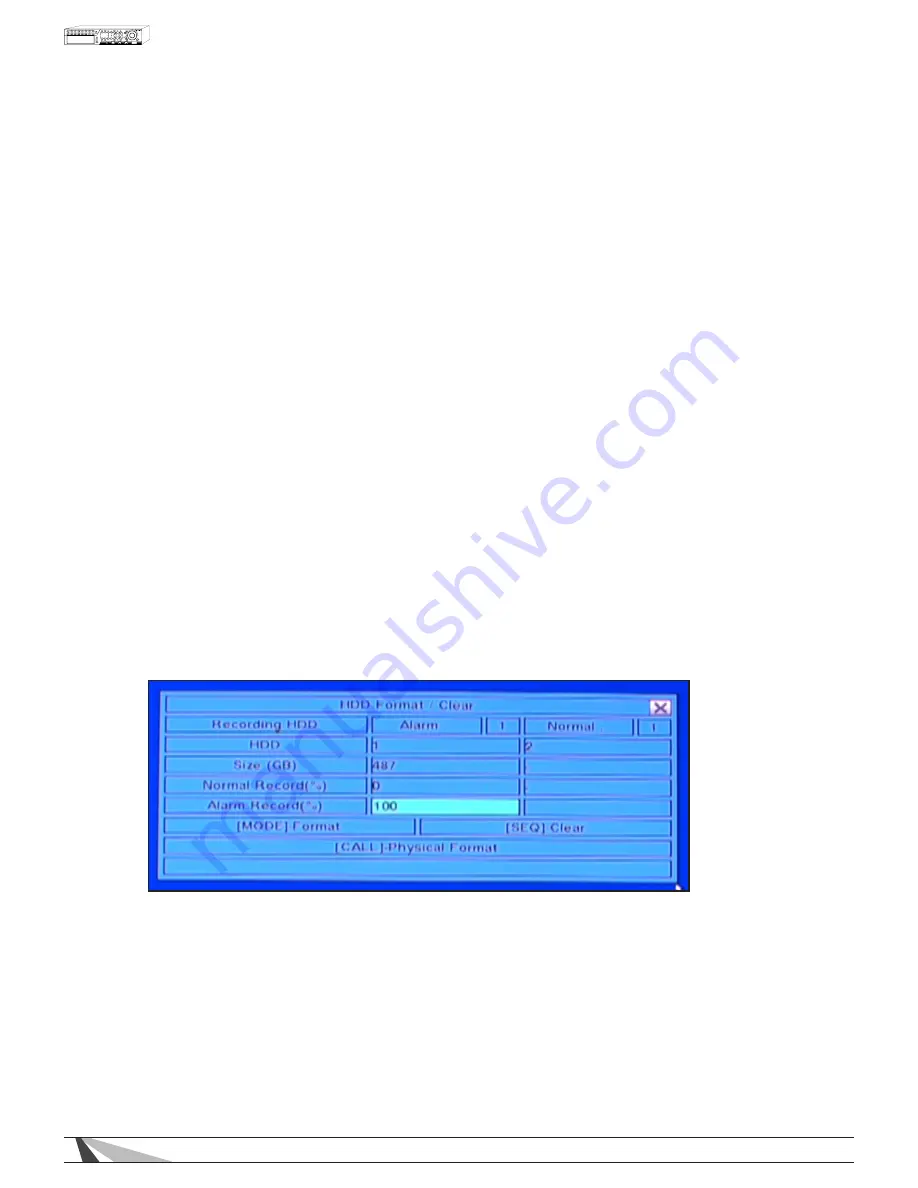
6.6.1 HDD FORMAT/CLEAR
The HDD Format/Clear menu allows the administrator to format and/or clear the hard drive. The administrator
can also set the size for the Alarm Record partition and the Normal Record partition.
In HDD Setup display, press MODE to display HDD Format/Clear screen as shown.
To navigate and operate this menu:
• MODE
Press the Mode button on the front panel of the DVR or the remote control to Format the hard drive (similar
to a Quick Format option found on a PC). A confirmation dialog box will be displayed on the screen.
Using the front panel of the DVR or the remote, press ENTER to confirm or ESC to cancel. Alternatively
use the mouse to make these selections.
• SEQ
Press the SEQ button on the front panel of the DVR or on the remote to Clear (delete all files) the hard
drive. A confirmation dialog box will be displayed on the screen. Using the front panel of the DVR or
the remote, press ENTER to confirm or ESC to cancel. Alternatively use the mouse to make these selections.
Содержание WPS-300-DVR
Страница 111: ...111027 2011 Wirepath Surveillance...


