


Page 8
BirdCam Pro User Guide
Page 13
BirdCam Pro User Guide
VIDEO QUALITY
X
FHD (1920 x 1080)
HD (1280 x 720)
Setting Video Resolution
Press the
OK
button. Use the
Up/Down
buttons to choose
between 2 video quality settings.
1. HD:
1280 x 720
2. Full HD:
1920 x 1080
Press the
OK
button to confirm the selection. Press the
Right
button to move to the next option.
VIDEO LENGTH
90 SECONDS
60 SECONDS
30 SECONDS
X
10 SECONDS
Setting Video Length
Press the
OK
button. Use the
Up/Down
buttons to choose
between 4 video length settings (10, 30, 60 or 90 seconds).
Press the
OK
button to confirm the selection. Press the
Right
button to move to the next option.
Setting Video Sound
Use the
Up/Down
buttons to choose between Audio On or
Audio Off when taking a video.
Press the
OK
button to confirm the selection. Press the
Right
button to move to the next option.
VIDEO SOUND
X ON
OFF
PIR SENSITIVITY
X HIGH
MEDIUM
LOW
Setting PIR Sensitivity
PIR Sensitivity allows you to control as to how much
movement and at what distance the camera will trigger.
HIGH sensitivity will allow for more distance, but will make
the camera slightly more susceptible to false triggers and
is ideal for open areas such as fields and food plots. LOW
sensitivity will shorten the distance but lower the chance of
false triggers and is ideal for close range traps and deeply
wooded areas. Press the
OK
button. Use the
Up/Down
buttons to choose between (HIGH or LOW). Press
OK
to lock in
your selection, then press
Right
button to go to the next option.
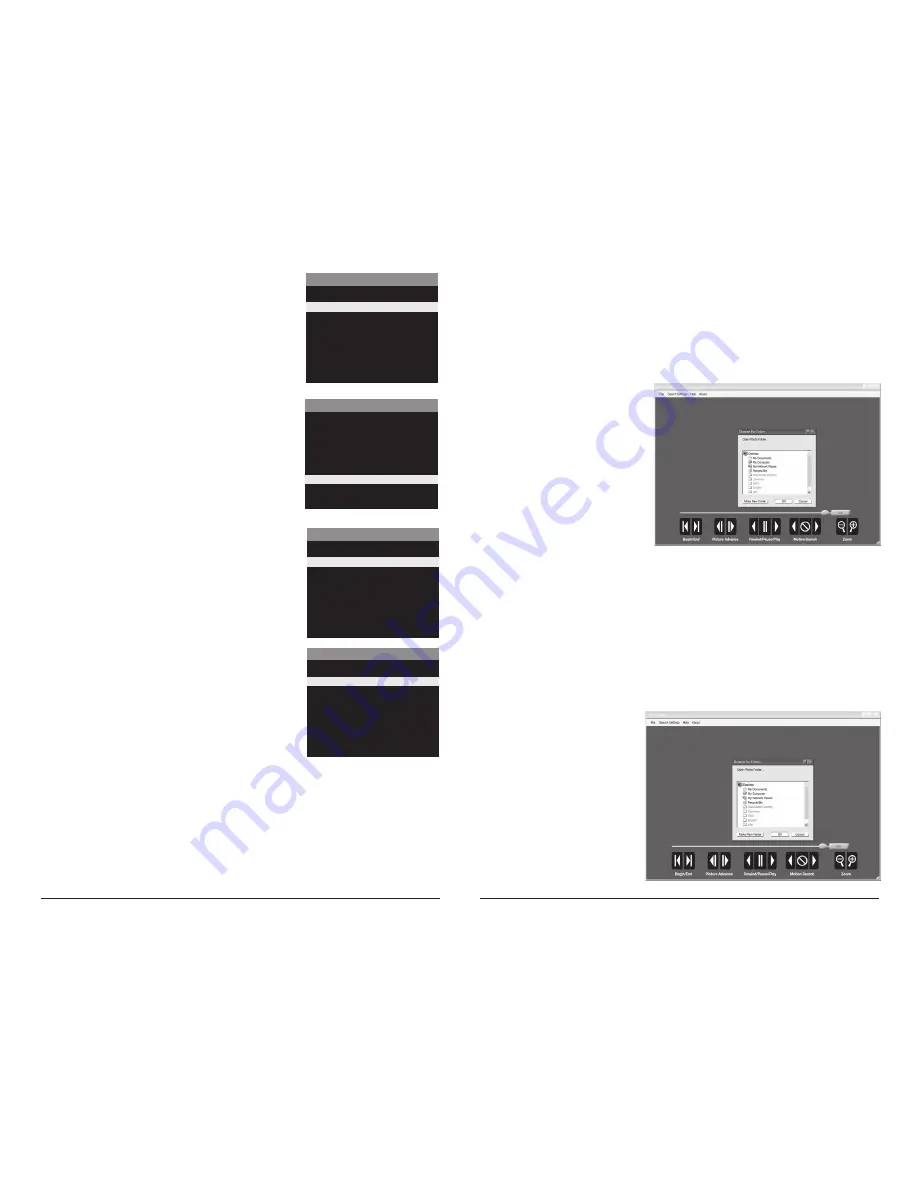
Download Images
1. Double-click on Time Lapse
Icon to open the software.
2. Click on File -> Open Photo Folder
3. Browse through your files to
the folder where the images you
wish to view are stored.
4. Once the folder is selected, click OK.
5. The images saved in the folder are
now available to view through
the Time Lapse Software.
INTRODUCTION
In time lapse photography a series
of still photos are taken at regular
time intervals. The PlotStalker
Software allows you to load the
time lapse file that was captured
from your Moultrie Game Camera
and scroll backward and forward
through your photos, single step,
search for activity in a designated
area, and save the files.
SYSTEM REQUIREMENTS
Computer:
Intel® Pentium® 4 or AMD Athlon® 64 processor or above; 1GB RAM minimum;
100 MB hard disk space minimum.
Operating System:
Microsoft® Windows® 32 bit - XP with Service Pack 2 or later; Windows Vista®
Home Premium, Business, Ultimate, or Enterprise with Service Pack 1;
or Windows 7
SOFTWARE INSTALLATION
Download your free Time Lapse software at
www.moultriefeeders.com/timelapsesoftware
NOTE: When installing this software, you must be logged in as an Administrator.
Time Lapse Software


