


Page 5
BirdCam Pro User Guide
Page 16
BirdCam Pro User Guide
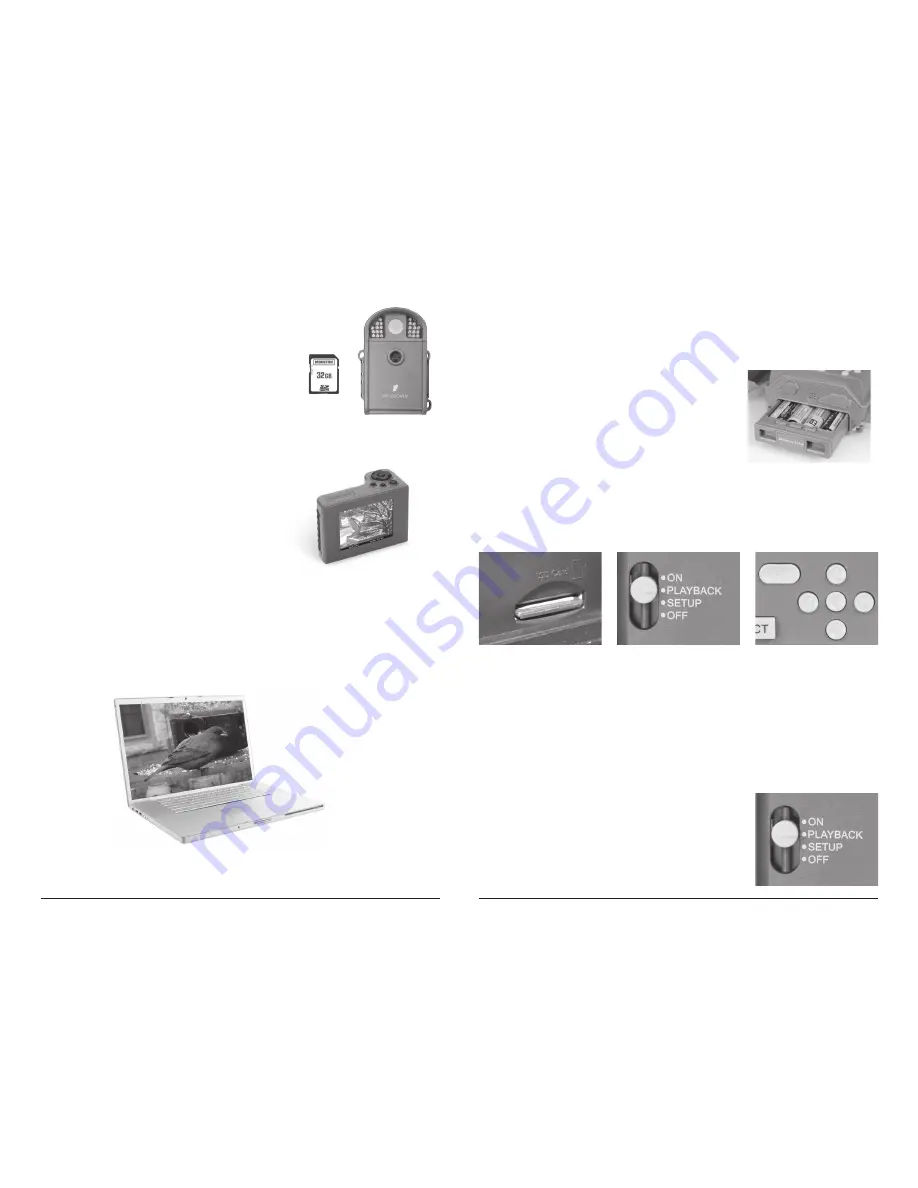
Downloading & Viewing Images
There are a number of ways for you download and view
pictures and videos in the field or at another location.
Important
Make sure that the camera is in the OFF position
before removing SD card.
Removing the SD Card
To remove the SD Memory Card, open the camera cover
and push gently on the SD card and it will pop out slightly
allowing you to remove it. Load the SD card into the
player or card reader to view or move stored images to
another location.
ln the Field
You can download the pictures and videos with the aid
of external devices. To download, use an external player
or card reader that is supported by a Mini USB Jack.
At Home
Remove the entire camera and transport to another location to download images. To connect the
camera to a PC computer, turn the camera ON and connect the USB cord (not included) between
the USB out port and the PC computer. The computer will recognize the camera as a removable
drive. The unit works with Windows XP/Vista/7. Copy the images and videos from the camera onto
your PC for further editing or printing. When the USB cable is disconnected, the camera will go
back to SETUP mode.
See the full line of Wingscapes camera accessories at www.wingscapes.com
Quick Start Guide
Use the steps below as a guide to quickly set up your camera so it will function using the factory
default settings.
STEP 1
Open camera cover. Press the Battery Chamber Release button. Install 8 AA alkaline or lithium
batteries. Recommended for use: Energizer
®
batteries. Reinsert the Battery Chamber into the
camera until you hear an audible click.
Rechargeable batteries are not recommended.
STEP 2
Insert SD Memory Card (label side up) until you hear an audible click. Camera will not operate
without SD Card. Slide the power switch to SETUP. Set the time and date by pressing the RIGHT
button until DATE & TIME appear on screen. Press OK to begin entering the Time and Date, using
UP/DOWN buttons to adjust the values and LEFT/RIGHT to move between fields.
STEP 3
Mount Camera in desired location using a mounting strap or other accessories offered by
Wingscapes (visit
www.wingscapes.com
for more information on mounting accessories).
See page 16 for helpful mounting tips.
STEP 4
Slide the power switch to the ON position. The camera will
operate using default settings for the respective mode
selected. You may also customize the settings
if desired in SETUP.


