


Page 18
BirdCam Pro User Guide
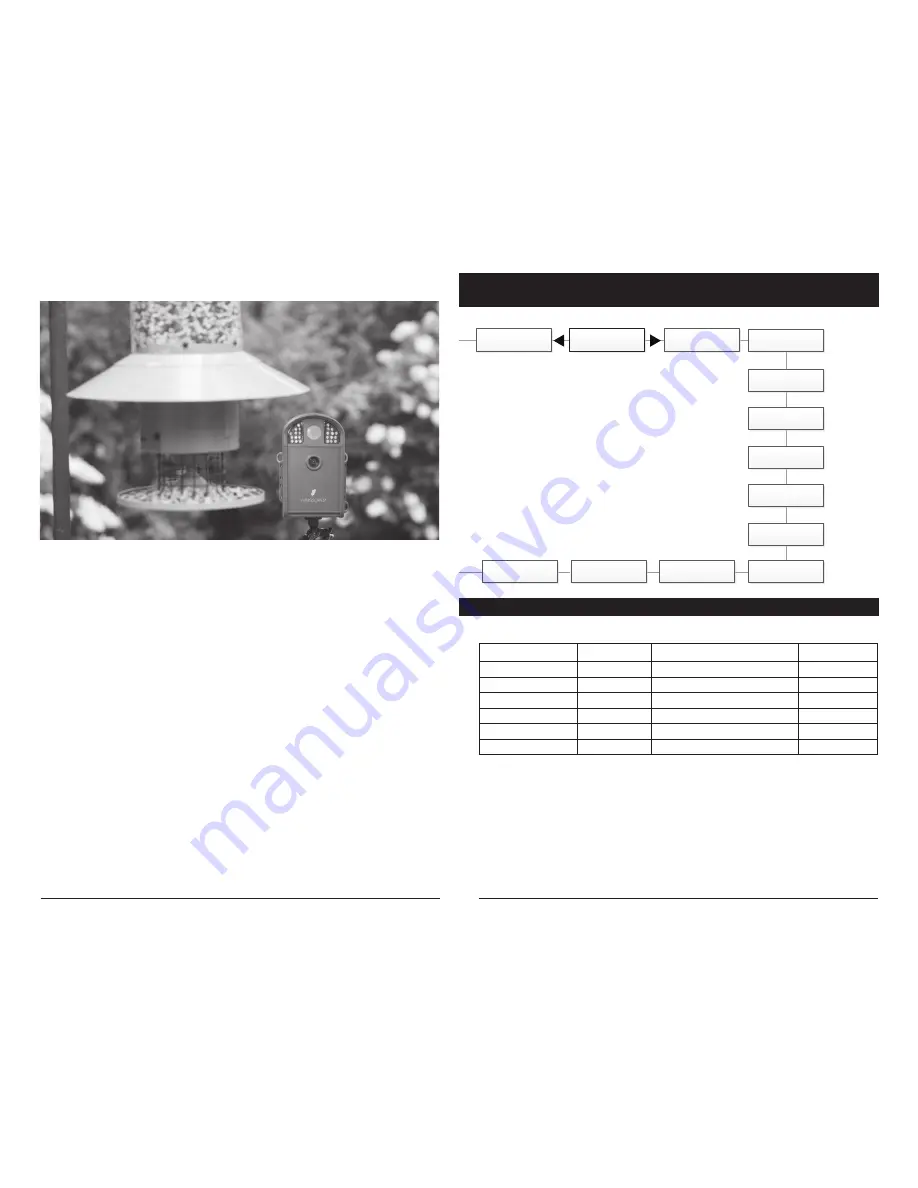
Page 3
BirdCam Pro User Guide
The key to taking great photos and videos
is proper mounting and placement of the
BirdCam Pro. We designed the BirdCam Pro so
that it can be mounted many different ways.
Take a moment to learn more about mounting
your BirdCam Pro properly, and you will
quickly see improvement in your images.
Basic Principles
1. Stability - Mount the BirdCam Pro securely
so that it does not move. It should never be
hung from above or mounted to an object
that moves in the wind. If the BirdCam Pro is
moving, it will cause the motion sensor to
trigger incorrectly.
2. Focus - Note that the BirdCam Pro lens can
be focused manually. This is a snap. Use the
included measuring tape to measure the
distance between the BirdCam Pro and its
target. Set the lens accordingly.
3. Lighting - As with all cameras, it is best to
avoid aiming the BirdCam Pro at the source
of light (for instance, the sun). Ideally during
daytime, position the BirdCam Pro so it is
facing its target, e.g. a bird feeder, but facing
away from the sun.
On the Ground
Set up is simple, even on the ground.
Just position your BirdCam Pro directly
on the ground. If you’re concerned about
it falling over, use the included Camera Strap
to secure the BirdCam Pro to the base of a
tree, a post, or other solid feature (a brick
works great).
Mounting your BirdCam Pro
Menu Map
Motion Detect
Time Lapse
RESET OPTIONS?:
DO NOT RESET
TIME LAPSE INTERVAL:
10 SECONDS
DETECTION DELAY:
10 SECONDS
TIME LAPSE PROGAMS/DAY:
2 PROGRAM
PIR SENSITIVITY:
HIGH
T.L. PROGRAM #1 START TIME:
6 AM
MULTI-SHOT:
1 (OFF)
T.L. PROGRAM #1 STOP TIME:
9 AM
PHOTO OR VIDEO:
PHOTO
T.L. PROGRAM #2 START TIME:
4 PM
T.L. PROGRAM #2 STOP TIME:
7 PM
SETUP MODE
< OPTIONS >
RESET TO
FACTORY DEFAULTS
MULTI-SHOT
DETECTION
DELAY
TIME LAPSE
INTERVAL
T.L. PROGRAM #2
STOP TIME
DATE & TIME
T.L. PROGRAM #2
START
CAMERA NAME
UPGRADE
FIRMWARE
PROGRAM
SECURITY CODE
MANAGED
MEMORY
ERASE ALL IMAGES
(FORMAT CARD)
WI-FI SD CARD?
IMPRINT INFO
TEMPERATURE
UNIT
AC CONNECTED?
PHOTO
QUALITY
PIR
SENSITIVITY
VIDEO
QUALITY
VIDEO
LENGTH
VIDEO
SOUND
PHOTO OR
VIDEO
CAPTURE MODE
T.L. PROGRAMS
PER DAY
T.L. PROGRAM #1
STOP
T.L. PROGRAM #1
START


