


Page 15
Timeclock Button - Press this button to set the internal timeclock. When the button is
green, it indicates that the timeclock function is active. If the timeclock function is not
active, the button will be white. Pressing the button will bring up the following setup screen
where the required timeclock can then be set.
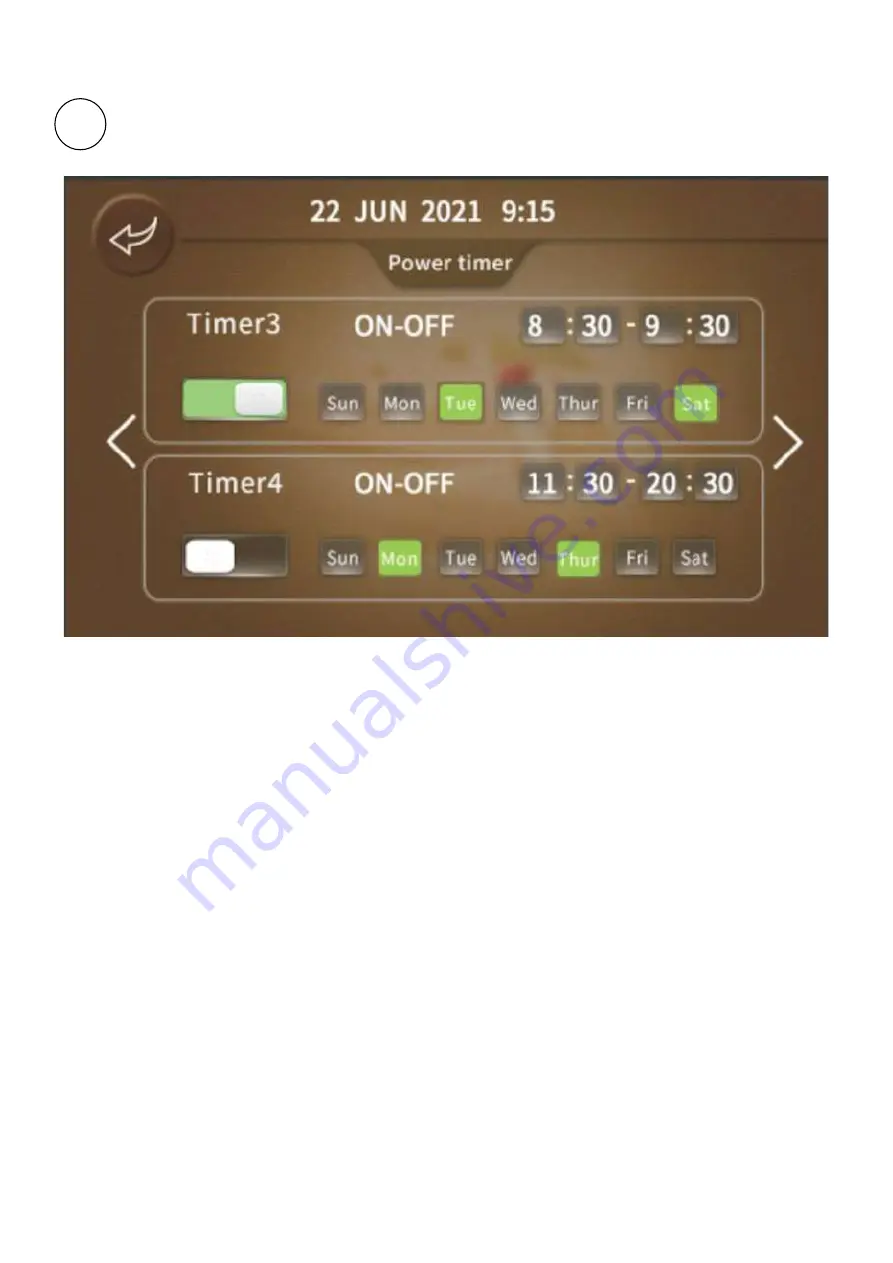
Figure 9 Timeclock Setup Screen
The Timeclock Setup Screen allows the on and off times for the current MODE to be set. The
functionality can be enabled or disabled by pressing the desired hourly sector on the clock as
shown above. Pressing the hourly sector will turn it green, indicating it is active and the right hand
side of the display will show that this has been set. Set the desired on-periods for the AM times
and then do the same for the PM times as required. Repeat this process for the other days of the
week.
5
Содержание A Series
Страница 36: ...Page 34 Figure 24 AS02 R32 Casing Dimensions Heating Connection Locations FRONT SIDE TOP...
Страница 40: ...Page 38 Figure 26 Heating DHW Schematic Figure 27 Heating Only Schematic...
Страница 70: ...Page 68 7 APPENDIX B WIRING DIAGRAMS...
Страница 71: ...Page 69...
Страница 72: ...Page 70 This page is intentionally left blank...
Страница 74: ...Page 72 This page is intentionally left blank...
Страница 76: ...Page 74...
Страница 77: ...Page 75...
Страница 78: ...Page 76...
Страница 79: ...Page 77...
Страница 80: ...Page 78...
Страница 81: ...Page 79...
Страница 82: ...Page 80...
Страница 83: ...Page 81...
Страница 84: ...Page 82...
Страница 85: ...Page 83...
Страница 86: ...Page 84...
Страница 87: ...Page 85...
Страница 88: ...Page 86...


