Before doing any maintenance,
disconnect the appliance from the mains
supply by removing the plug.
Never clean the motor filter with water
or other liquid cleaning agent.
To avoid damage to the motor blower
unit use the appliance only with the motor
protection filter inserted in its place.
Replacing the front panel
of the appliance
The front panel of the
Kobold VK 140
may
detach while opening the appliance to
change the filter bag or to do maintenance
work.
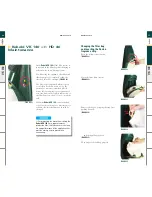
(FIGURE 35)
This is easier to do if you lay the appliance
on the floor.
Fit the front panel starting with the bottom
first, ensuring the two hooks are placed in
the hinge, to do that the right angulation
should be around 70°.
(
FIGURE 36)
Then gently press the hooks in the hinge
until you hear a click.
(FIGURE 37)
FIGURE 32
FIGURE 33
FIGURE 34
V
K
140
31
V
K
140
30
Do not reuse filter bags otherwise you
lose the allergy reducing performance.
Only original
Vorwerk
filterbags
guarantee the allergy reducing
performance.
If the filter bag breaks, clean the filter
compartment and the motor protection filter
thoroughly. If the motor protection filter is
very soiled, replace it. Then change the
filter bag.
In order to re-establish the allergy reducing
performance, turn the appliance on and let
it run at least 45 minutes. This measure is
for ensuring the anti-allergic performance
of the appliance. Not doing it will under no
circumstances damage the appliance.
Caring for the motor
protection filter
The motor protection filter is important for
the long life of your appliance. It protects
the motor from soiling.
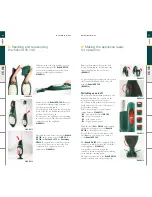
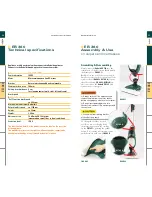
(FIGURE 32)
The motor protection filter should only be
vacuum cleaned or replaced if it is heavily
soiled or the filterbag breaks.
Cleaning the motor
protection filter
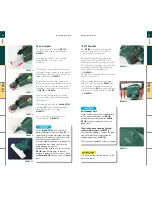
Remove the motor protection filter.
To do this, open the appliance where you
will find the motor protection filter located
directly on the top.
(FIGURE 33)
You can clean the filter by gently
vacuuming it.
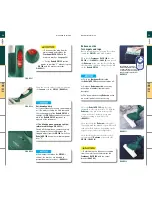
When inserting the motor protection filter,
please observe that you insert it exactly
according to its form so that no air flows
around it.
(FIGURE 34)
Afterwards, close the filter cassette back
onto the motor.
FIGURE 35
FIGURE 36
FIGURE 37
Maintenance
Maintenance


