Page 4
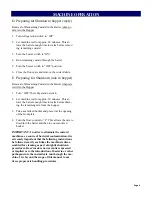
8. Put a small amount of Petrol Gel on the inside and
outside of the front bushing and install the bushing
onto the end of the beater shaft.
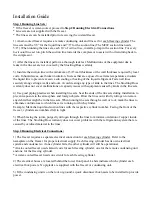
9. Slide the front plate over the threaded studs on the
front of the barrel with the front plate’s hole in the
bottom position. The rear of the front plate should
be tight against the front of
the barrel. If not, the beater
shaft was not installed cor-
rectly. If the front plate is
tight against the barrel, use
two wing nuts to secure It in
place. Tighten the wing nuts
securely.
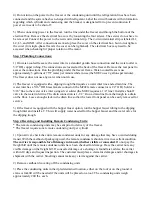
10. Slide the front gate over the threaded stud so the
gate handle rests on the gate peg. If the front gate is
installed properly, it will cover
the custard outlet completely.
Secure the front gate and safety
guard with a wing nut on the
threaded stud.
11. Repeat the assembly instructions
on the remaining barrel(s).
D. Sanitizing
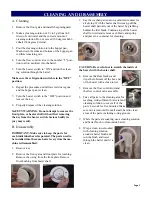
1. Put the beater key into the beater switch. Before
sanitizing, make sure the refrigeration switch on
the front of the machine is turned “OFF”; the front
control knob is to be in the “OFF” position.
2. Remove the front gate and replace with splash-
guard. Secure with wing nut. The splashguard di-
rects the water into the dipping trough.
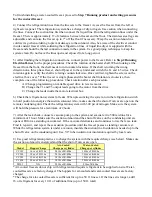
3. Pour one to two gallons
(four to eight liters) of
approved sanitizer into
the hopper pan. The solu-
tion should be cold. Do
not exceed 100° Fahren-
heit (38° Celsius).
4. Wash the sides of the hopper pan and the inside of
the hopper pan cover with a clean towel saturated
with the sanitized solution.
5. Turn the flow knob to position number “2” to allow
sanitizer to lubricate the barrel. After one or two
seconds, turn the beater switch on.
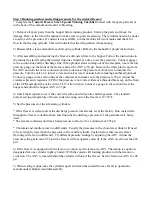
6. The sanitizer will flush through
the barrel, against the splash-
guard and into the dipping well.
(Note: Follow the manufac-
turer’s sanitizing instructions for
proper surface contact and time requirement.)
7. After all of the sanitizer has run through the barrel,
turn “OFF” the beater switch and turn the flow con-
trol to the off position. Remove the splashguard
and replace with the front gate. Close the front
gate.
8. Repeat the process on the remaining barrel(s). The
machine is now ready to operate.
Assembly/Sanitizing
Содержание Stoelting CC101A
Страница 1: ...Model CC101A OPERATORS MANUAL Manual No 513616 Rev 6 ...
Страница 2: ......
Страница 14: ......
Страница 16: ...001 1332808 2 ...
Страница 26: ......
Страница 30: ......
Страница 32: ......
Страница 36: ......
Страница 37: ......
Страница 38: ......


