VMware, Inc.
29
Chapter 4 Zones Firewall Management
7
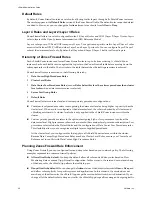
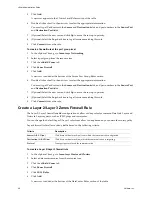
Double-click each cell in the new row to type or select the appropriate information.
You can type IP addresses in the
Source
and
Destination
fields
8
(Optional) Select the
Log
check box to log all sessions matching this rule.
9
Click
Commit
.
Validating Active Sessions against the Current Zones Firewall Rules
By default, a vShield Zones instance matches firewall rules against each new session. After a session has been
established, any firewall rule changes do not affect active sessions.
The CLI command
validate sessions
enables you to validate active sessions against the current Zones
Firewall rule set to purge any sessions that are in violation of the current rule set. After a firewall rule set
update, you should validate active sessions to purge any existing sessions that are in violation of the updated
policy.
After the Zones Firewall update is complete, issue the
validate sessions
command from the CLI of a
vShield Zones instance to purge sessions that are in violation of current policy.
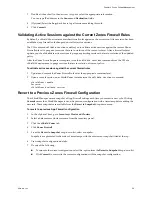
To validate active sessions against the current firewall rules
1
Update and commit the Zones Firewall rule set at the appropriate container level.
2
Open a console session on a vShield Zones instance issue the
validate sessions
command.
vShieldZones> enable
Password:
vShieldZones# validate sessions
Revert to a Previous Zones Firewall Configuration
The vShield Manager saves a snapshot of App Firewall settings each time you commit a new rule. Clicking
Commit
causes the vShield Manager to save the previous configuration with a timestamp before adding the
new rule. These snapshots are available from the
Revert to Snapshot
drop-down menu.
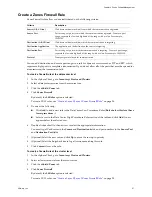
To revert to a previous App Firewall configuration
1
In the vSphere Client, go to
Inventory > Hosts and Clusters
.
2
Select a datacenter or cluster resource from the inventory panel.
3
Click the
vShield Zones
tab.
4
Click
Zones Firewall
.
5
From the
Revert to Snapshot
drop-down list, select a snapshot.
Snapshots are presented in the order of timestamps, with the most recent snapshot listed at the top.
6
View snapshot configuration details.
7
Do one of the following:
To return to the current configuration, select the
-
option from the
Revert to Snapshot
drop-down list.
Click
Commit
to overwrite the current configuration with the snapshot configuration.
Содержание VSHIELD APP 1.0.0 UPDATE 1 - API
Страница 9: ...VMware Inc 9 vShield Manager and vShield Zones...
Страница 10: ...vShield Administration Guide 10 VMware Inc...
Страница 14: ...vShield Administration Guide 14 VMware Inc...
Страница 18: ...vShield Administration Guide 18 VMware Inc...
Страница 24: ...vShield Administration Guide 24 VMware Inc...
Страница 34: ...vShield Administration Guide 34 VMware Inc...
Страница 42: ...vShield Administration Guide 42 VMware Inc...
Страница 46: ...vShield Administration Guide 46 VMware Inc...
Страница 47: ...VMware Inc 47 vShield Edge and Port Group Isolation...
Страница 48: ...vShield Administration Guide 48 VMware Inc...
Страница 57: ...VMware Inc 57 vShield App and vShield Endpoint...
Страница 58: ...vShield Administration Guide 58 VMware Inc...
Страница 62: ...vShield Administration Guide 62 VMware Inc...
Страница 68: ...vShield Administration Guide 68 VMware Inc...
Страница 78: ...vShield Administration Guide 78 VMware Inc...
Страница 85: ...VMware Inc 85 Appendixes...
Страница 86: ...vShield Administration Guide 86 VMware Inc...
Страница 130: ...vShield Administration Guide 130 VMware Inc...
Страница 144: ...vShield Administration Guide 144 VMware Inc...

