


ENG - 20
ENG - 21
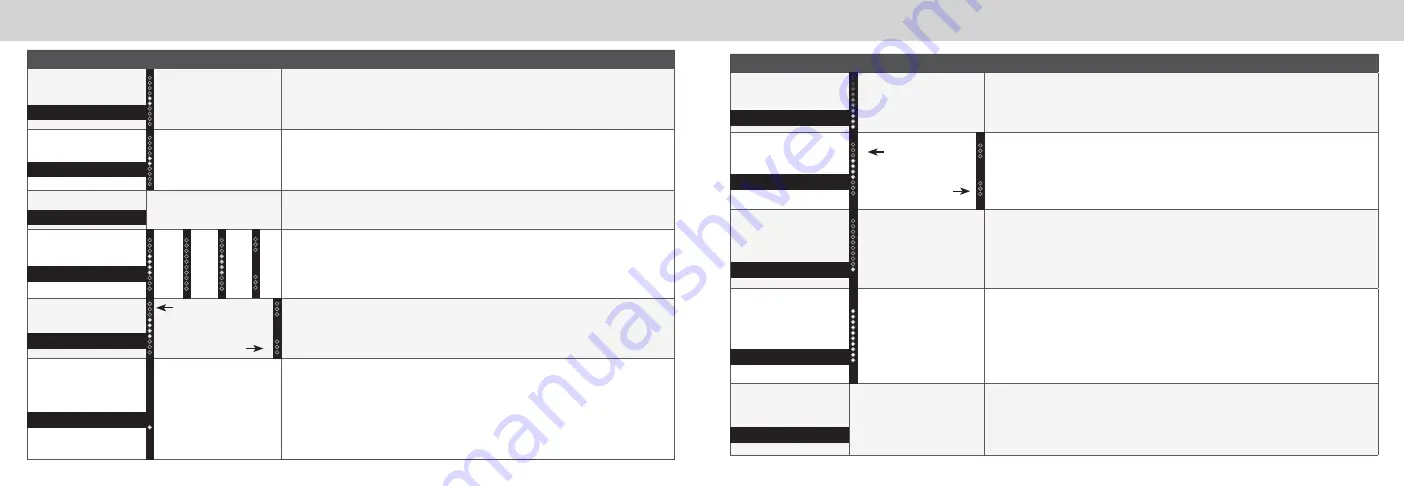
Mode & Level Settings
Mode & Level Settings
Function
LED Behavior
Description
Program Remote
Learn
Waiting to learn:
Flash from bottom
to top and back
continuously.
SETUP > PrgRemote >
Use the
Next/Previous
buttons and
OK
button to toggle and
select and program your TV remote to control the
Volume Down
,
Volume Up
, and
Mute
functions on your sound bar. See the
Programing the Sound Bar on page 24 section for
more information.
Power LED
Power LED On
SETUP > PwrLED >
Use the
Next/Previous
buttons and
OK
button to enable/disable the
Power LED.
Power LED Off
AV Delay
LED at the
bottom indicates
no delay.
SETUP > AV Delay >
Use the
Next/Previous
buttons to increase/decrease the amount of
audio delay. The LED indicators will move to the top with increasing audio delay level.
Reset Audio or
Reset All
All LEDs will flash
3 times when
settings are reset.
SETUP > Reset Audio
or
Reset All >
Use the
Next/Previous
buttons to reset either Audio
or All settings. Press the
OK
button to select.
Audio
- Only audio settings, such as bass and treble levels, will be reset.
All
- All paired Bluetooth devices will be unpaired and all settings will be lost. All
programmed IR remotes will also be removed. See the
Factory Reset on page 23 for
more information.
Speaker Test
—
SETUP > Spkr Test > OK
to activate the speaker test function. A voice will begin calling out
each speaker beginning with
left front (Left Front, Center, Right Front, Right Rear, Left Rear,
and subwoofer-white noise). If any of these are missing, check the connection and run the
speaker test function again.
PwrLED
AV Delay
Reset All
Prg Remote
Spkr Test
Function
LED Behavior
Description
Surround Level
Two center LEDs indicate
surround level 0.
LEVEL > Surr Lvl >
Use the
Next/Previous
buttons to increase/decrease the surround
sound level. The LED indicators will move to the top with increasing level and to the bottom
with decreasing level.
Note:
Surround must be ON to adjust the surround level.
Surround Balance
Two center LEDs indicate
surround balance is
centered.
LEVEL > Surr Bal >
Use the
Next/Previous
buttons to increase/decrease the surround
balance level on each side. The LED indicators will move to the top with balance levels to the
right and down with balance levels to the left.
Info
—
SETUP > Info > OK
to have the sound bar verbally announce the current sound bar input
and audio type being played with corresponding LED indicators.
Auto VA
SETUP > Auto VA >
Use the
Next/Previous
buttons to toggle between connecting the
sound bar to a Voice Assistant through both, Bluetooth (BT), AUX or off. Refer to
Connecting
to a Voice Assistant
on page 27 for more information.
Note
: Default setting is Both.
Eco Power Mode
Eco Power Mode
On
SETUP > EcoPwr >
Use the
Next/Previous
buttons to enable/disable Eco Power Mode.
When ON, the sound bar will go into standby after a period of inactivity. The sound bar will
automatically turn off when no audio signal is detected. Off disables this feature.
Note
: Default setting is Off
Eco Power Mode
Off
Input Search
The LED indicator
color will change
per specific input.
SETUP > Input Search > OK
to initiate an automatic input detection sequence. This is the
same as a long key press of the
INPUT
button on the remote. Specific inputs will show a
different LED color:
• AUX In: Green
• AUX VA: Violet
• Digital Optical: Red
• HDMI In: Yellow
• HDMI (eARC): Magenta
Surr Lvl
Surr Bal
Info
Auto VA
Eco Pwr
BT
AU
X
Off
B
oth
Input Srch


