background image

3.2. Access from the internet 

 
Access from the internet once connected, the Network Camera is accessible on your local network 
(LAN). To access the network camera from the Internet you must configure your broadband router to 
allow incoming data traffic to the network camera. To do this, enable the NAT-traversal feature, which 
will attempt to automatically configure the router to allow access to the network camera. This is 
enabled from Setup > System > Network > NAT.   
 
For more information, please see 

“3.5.5 System>Network>NAT” of User’s Manual. 


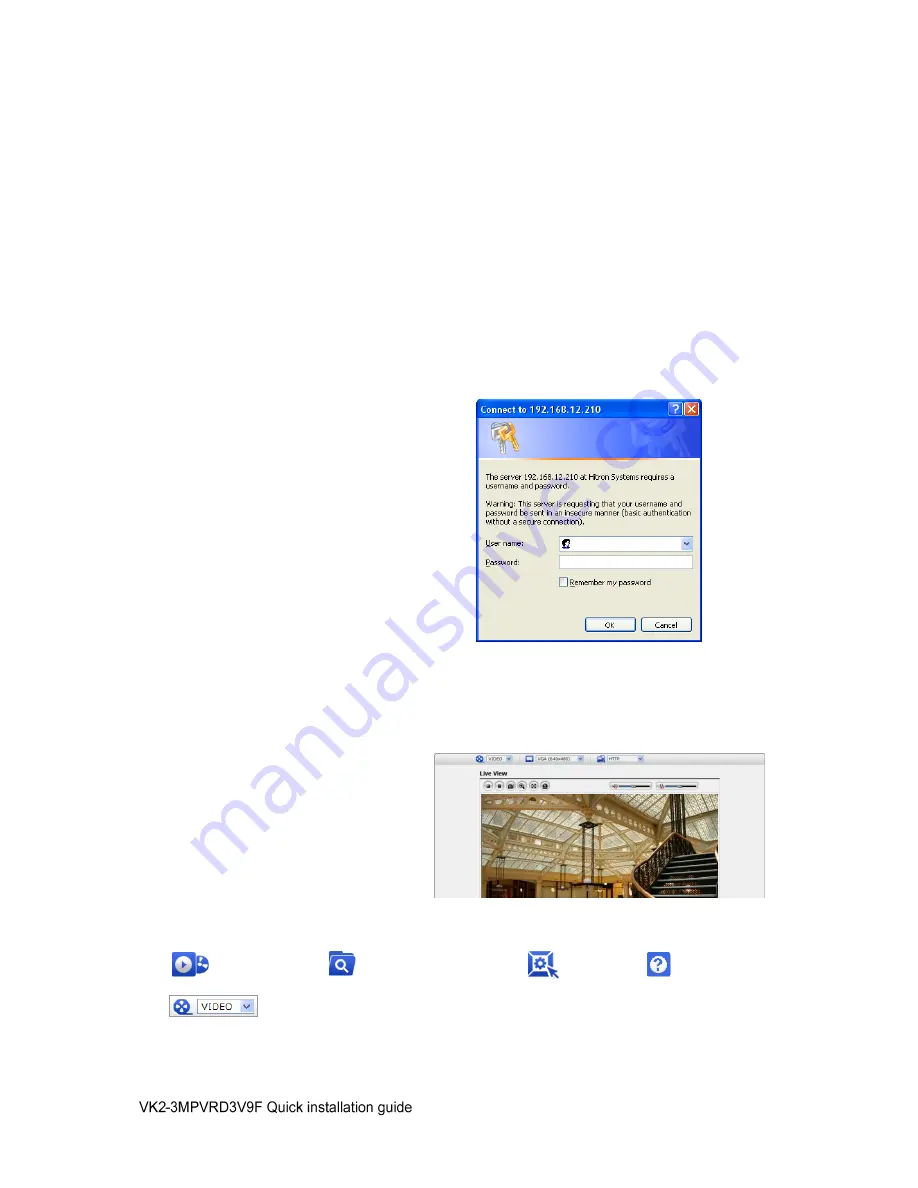
3.3 Setting the admin password over a secure connection 

 
To  gain  access  to  the  product,  the  password  for 
the default administrator user must be set. This is 
done  in  the  “Admin  Password”  dialog,  which  is 
displayed  when  the  network 

camera 

is  accessed 

for  the  setup  at  the  first  time.  Enter  your  admin 
name and password, set by the administrator. 
 
 
Note:  The  default  administrator  username  and 
password  is  “admin”.  If  the  password  is  lost,  the 
Network  Camera  must  be  reset  to  the  factory 
default settings. See 

“3.6 Resetting to the Factory 

Default Settings”. 


3.4 Live View Page 

 
The  live  view  page  comes  in  several 
screen  modes:  1920x1080,  1280x1024, 
1280x720, 

704x480(576), 

640x480, 

352x240(288),  and  320x240.  Users  are 
allowed to select the most suitable one out 
of those modes. Please, adjust the mode in 
accordance  with  your  PC  specifications 
and monitoring purposes. 


1) 

General controls 

 
                      Live View Page              Search & Playback Page              Setup Page              Help Page 


    The video drop-down list allows you to select a customized or pre-programmed 

video stream on the live view page. Stream profiles are configured under Setup > Basic 
Configuration > Video & Image. . 

For more information, please see “3.5.1 Basic Configuration > 

Video & Image

” of User’s Manual. 

Содержание VK2-3MPVRDIR3V9F

Страница 1: ...Please read this manual thoroughly before use and keep it handy for future reference VK2 3MPVRDIR3V9F Quick Guide ...

Страница 2: ...2 ...

Страница 3: ... to make sure that you received the complete system including all components shown above Contents in the installation CD 1 The Network Camera User s Manual 2 The SmartManager User s Manual 3 The VK2_Client User s Manual 4 The SmartManager Installation software 5 The VK2 Client Installation software Note Check your package to make sure that you received the complete system including all components ...

Страница 4: ... PoE Power over Ethernet to supply power to the camera Connecting Alarms AI Alarm In You can use external devices to signal the network camera to react on events Mechanical or electrical switches can be wired to the AI Alarm In and G Ground connectors G Ground Connect the ground side of the alarm input and or alarm output to the G Ground connector Alarm Out The network camera can activate external...

Страница 5: ...tput port of the OSD Controller 3 Press the SET button to access main Menu 4 Change Camera ID and IP Address You can change the Name or Title and IP address of the camera Using the buttons on the controller you can change the parameters 5 Select SAVE or CANCEL to exit the Main Menu Video Output is used for an easy zoom and focus control when installing lens Video Output is restricted to 704x480 57...

Страница 6: ...e operation through the network When a camera is first connected to the network it has no IP address So it is necessary to allocate an IP address to the device with the Smart Manager utility on the CD The factory default IP is 192 168 30 220 1 Connect the Network Camera device to the network and power up 2 Start SmartManager utility All Programs SmartManager SmartManager the main window will be di...

Страница 7: ... browsers are Internet Explorer Safari Firefox Opera and Google Chrome with Windows 3 1 Access from a browser 1 Start a browser Internet Explorer 2 Enter the IP address or host name of the Network Camera in the Location Address field of your browser 3 You can see a starting page Click Live View or Setup to enter web page 4 The network camera s Live View page appears in your browser ...

Страница 8: ...mera is accessed for the setup at the first time Enter your admin name and password set by the administrator Note The default administrator username and password is admin If the password is lost the Network Camera must be reset to the factory default settings See 3 6 Resetting to the Factory Default Settings 3 4 Live View Page The live view page comes in several screen modes 1920x1080 1280x1024 12...

Страница 9: ... on the live screen The Full Screen button causes the video image to fill the entire screen area No other windows will be visible Press the Esc button on the computer keyboard to cancel full screen view The Manual Trigger button activates a pop up window to manually start or stop the event The Remote Focus button enables users to adjust focus and zoom remotely via network The Smart Focus button re...

Страница 10: ...ting Zoom Click button to zoom out and click button to zoom in The focus is moved slightly after adjusting zoom adjust the focus again as necessary Adjusting Focus Click button for far focus and click button to near focus Fine Focus Click Fine Focus to fine tune and readjust focus automatically Note Click the button in the live screen to set the focus to the optimum position ...

Страница 11: ... To reset the Network Camera to the original factory settings go to the Setup System Maintenance web page described in 3 5 5 System Maintenance or use the Reset button SW1 on the board of the dome camera as described below Using the Reset Button Follow the instructions below to reset the Network Camera to the factory default settings using the Reset button 1 Power off the Network Camera by disconn...

Страница 12: ...12 Norbain SD Ltd 210 Wharfedale Road Winnersh Triangle Wokingham RG41 5TP 01189 125 000 ...

Отзывы: