Step by Step Operation
93
© 2018 Vision Engraving & Routing Systems
tape method detailed in the Holding Down Materials section. Then a second piece of material is placed
on top of the material to be cut.
The nose cone is lowered on top of the second piece of material (near its edge) and the cutter is
adjusted downward until it touches the top of the material to be cut. This, in effect, sets the cut depth to
match the material thickness. The cutter knob set screw is tightened, then the micrometer is adjusted,
either for a through cut (turning clockwise) or a kiss cut (turning counter-clockwise), 1 - 3 clicks.
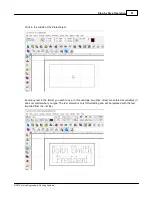
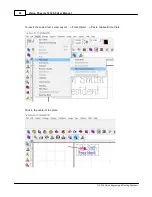
Go to the software and click on the red toolpath. Press the engrave icon and change the material
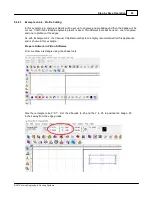
settings to Engravers plastic (Cutter/Bevler). Now press the engrave icon to send the job to the machine.
Press the magnifying glass on the touchscreen to preview the engraving area. When ready press the
play button to start the profile cut.
Содержание Phoenix 1212 S5
Страница 1: ... 2018 Vision Engraving Routing Systems Vision Phoenix 1212 S5 User Manual Revised 12 7 2018 ...
Страница 16: ...Vision Phoenix 1212 S5 User Manual 16 2018 Vision Engraving Routing Systems ...
Страница 24: ...Vision Phoenix 1212 S5 User Manual 24 2018 Vision Engraving Routing Systems The installation will continue ...
Страница 44: ...Vision Phoenix 1212 S5 User Manual 44 2018 Vision Engraving Routing Systems ...
Страница 113: ...Step by Step Operation 113 2018 Vision Engraving Routing Systems ...
Страница 121: ...Step by Step Operation 121 2018 Vision Engraving Routing Systems ...
Страница 123: ...Step by Step Operation 123 2018 Vision Engraving Routing Systems ...
Страница 147: ...Optional Accessories 147 2018 Vision Engraving Routing Systems ...
Страница 148: ......


