


17
Visit
help.c5k.info
for more information and support
3. One Key Configuration
This method requires the least amount of time to setup and does not require a computer. However, a computer will be
required to adjust settings such as door latch timing and date & time.
Below are the
example details
that we will be using for this guide. If you intend on connecting the intercom to your
network for remote access, you will need to obtain the local IP address details for your network. (Refer to
6.10 Finding
Available IP Addresses
) Replace the example IP addresses with IP addresses suitable for your network.
Device
IP Addresses
Subnet Mask
Gateway
Password
Type
Main/Sub
Door Station
192.168.1.108
255.255.255.0
192.168.1.1
admin123
VTO
Main
Indoor Monitor
192.168.1.109
255.255.255.0
192.168.1.1
888888
VTH
Main
1. Connect
the intercom equipment (Refer
to
2. Wiring & Connections
)
2.
Go to the Indoor Monitor, all configuration
will be performed from this device. If
prompted to select a language, select
English
, then select
OK
. If not prompted,
proceed to the next step. (Fig 3.1)
3.1 One Key Configuration – 1 Monitor and 1 Door Station
3. If prompted to choose Apartment or Villa, select
Villa
, then select
OK
. If not prompted, proceed to the next step.
(Fig 3.2)
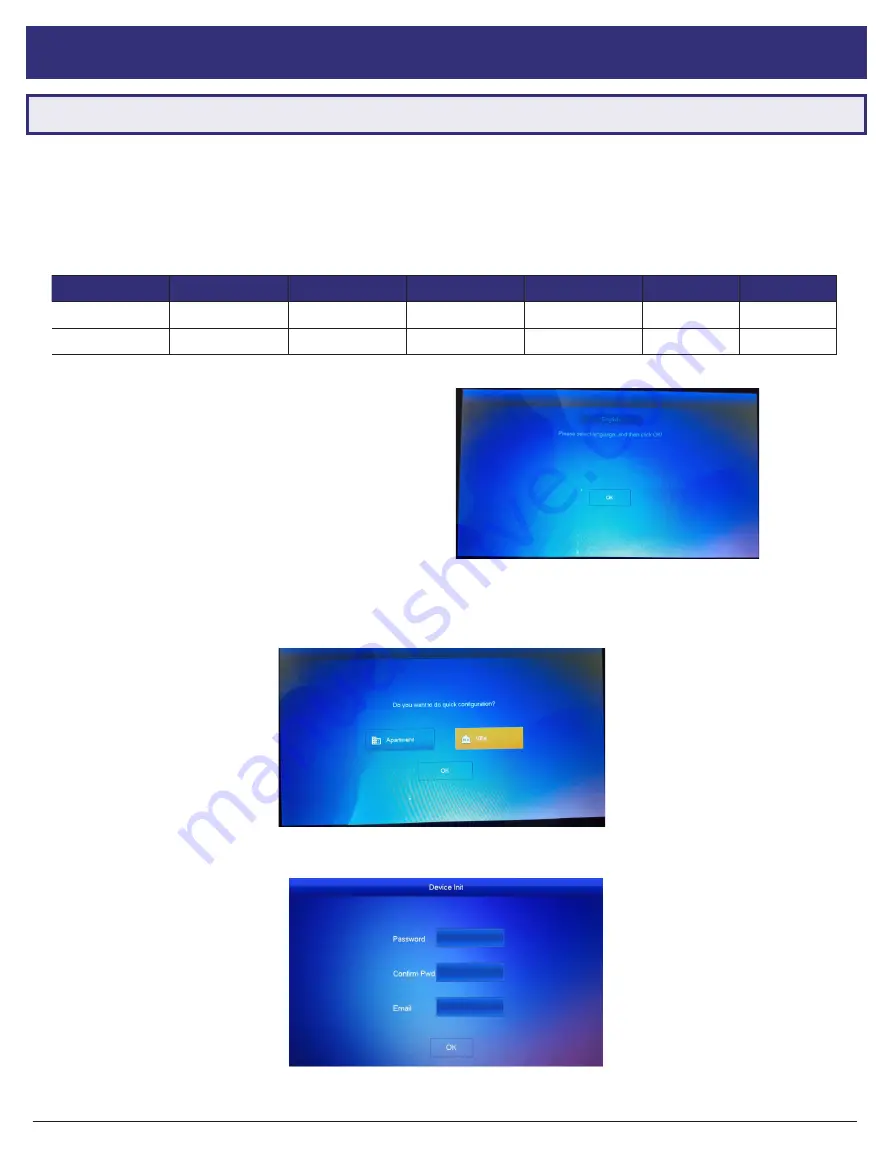
4. Initialize the Indoor Monitor, by entering a 6 digit
password
(888888) and
. Select
OK
. (Fig 3.3)
Fig 3.1:
Language Selection
Fig 3.2:
Installation Selection
Fig 3.3:
Device Initialisation


