4 – 15
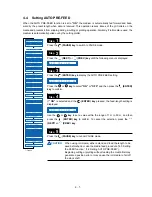
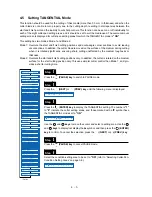
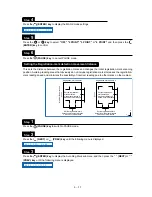
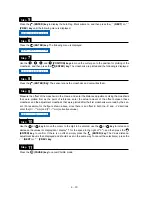
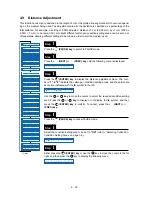
Press the
or
key to select “OFF,” “5 mm,” “10 mm,” “50 mm,” or “STD.” and then press the
(ENTER) key to confirm. To cancel the selection, press the
(NEXT) or
(PREV.) key.
Press the
(PAUSE) key to cancel PAUSE mode.
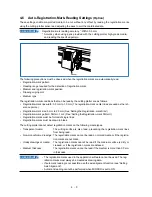
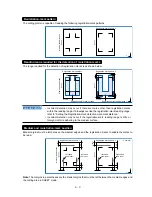
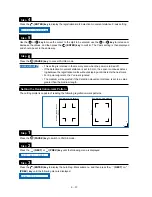
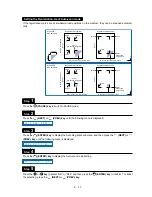
If the registration-mark origin point is not set, it will be positioned as shown in the figures below. This func-
tion should be set when it is required to move the origin point from this position.
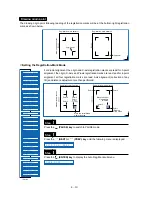
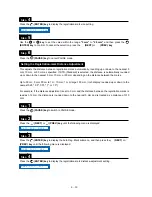
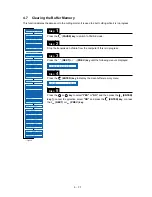
Press the
(PAUSE) key to switch to PAUSE mode.
Press the
(NEXT) or
(PREV.) key until the following menu is displayed.
Press the
(ENTER) key to display the Auto Reg. Mark submenu, and then press the
(NEXT) or
(PREV.) key until the following menu is displayed.
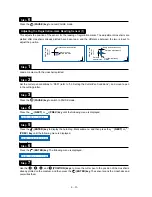
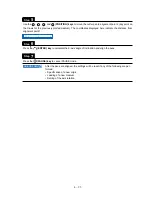
Press the
(ENTER) key to display the X-axis registration-mark origin input setting.
Use the
or
key to move the cursor to the digit to be entered, use the
or
key to increase or
decrease the values (or display/don’t display “-” for the space to the right of “=”), and then press the
(ENTER) key to confirm. The Y-axis origin input setting is then displayed and should be set in the same
way. To cancel the selection(s), press the
(NEXT) or
(PREV.) key.
Step
5
Step
6
Setting the Registration-mark Origin Point
Step
1
Step
2
Step
3
Step
4
Step
5
Registration-mark pattern 1
Medium f
eed direction
Registration-mark pattern 2
Origin
New origin
position
Origin
X
Y
New origin
position
X
Y
X
Y
A U T O R E G . M A R K
M A R K O F F S E T
O F S T X = 0 0 0 . 0
Содержание Qe60
Страница 1: ...Vinyl Express Qe60 USER S MANUAL MANUAL NO VEXQe06 UM 151 CUTTING PLOTTER Signwarehouse com ...
Страница 2: ......
Страница 6: ...iv ...
Страница 28: ...2 14 ...
Страница 42: ...3 14 ...
Страница 94: ...4 52 ...
Страница 100: ...5 6 ...
Страница 110: ...A 4 Appendix C External Dimensions Units mm Dimensional accuracy 5 mm 851 585 1004 ...
Страница 112: ...A 6 ...

