32
www.vintageair.com
900194 REV B 09/16/19, PG 32 OF 42
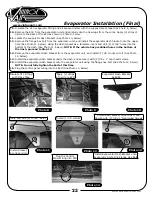
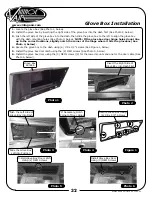
Secure Glove Box Using
(6) #8 x 1/2” Screws
Glove Box Installation
Locate the glove box (See Photo 1, below).
Install the glove box by inserting the right side of the glove box into the dash first (See Photo 2, below).
Push the left side of the glove box into the dash, then slide the glove box to the left to align the glove box
with the dash mounting holes (See Photo 3, below).
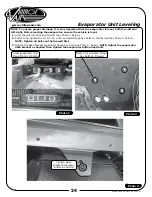
NOTE: If the glove box door hinge holes do not line
up to the correct locations, slightly notch the corner of the hinge where it hits the glovebox (See
Photo 4, below).
Secure the glove box to the dash using (6) #8 x 1/2” screws (See Figure 1, below).
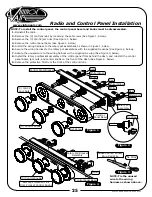
Install the glove box door latch using the (2) OEM screws (See Photo 5, below).
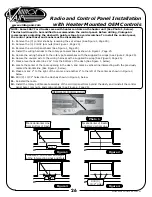
Install the glove box door using the (3) OEM screws ((2) for the lower mounts and one for the door cable (See
Photo 6, below)).
1.
2.
3.
4.
5.
6.
Photo 1
Glove Box
491656
Figure 1
Install Glove Box Door Latch
Using (2) OEM Screws
Photo 4
Photo 2
Insert the Right Side of
Glove Box into Dash First
Photo 3
Push the Left Side of
Glove Box into Dash
Slide the Glove Box
Left into Position
Install Glove Box Door
Using (3) OEM Screws
Photo 5
If Necessary, Notch
Corner of Door Hinge
Photo 6

