21
www.vintageair.com
900194 REV B 09/16/19, PG 21 OF 42
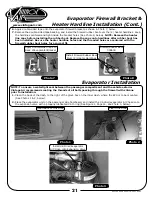
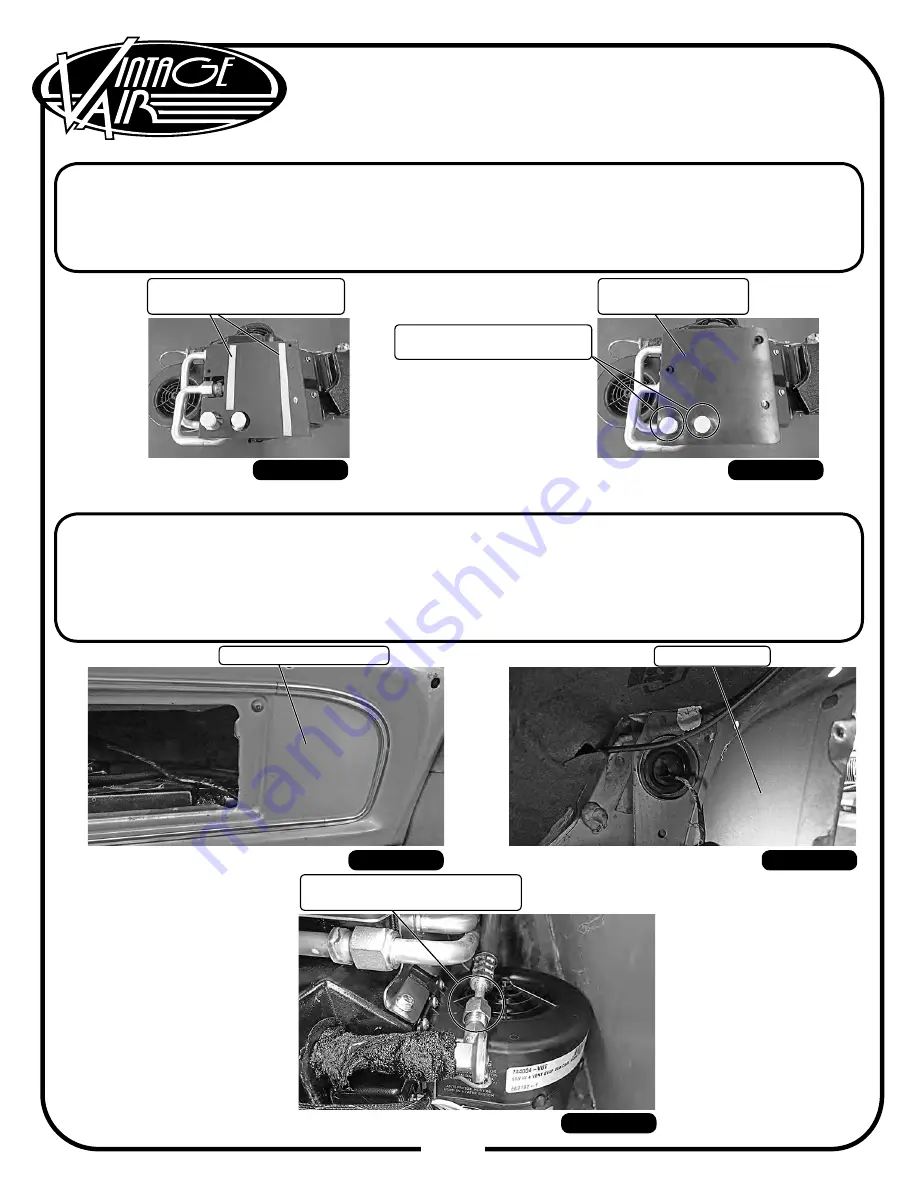
Photo 7
Apply Double-Sided Tape to
Back of Evaporator Bracket
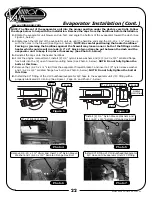
Photo 8
Evaporator Installation
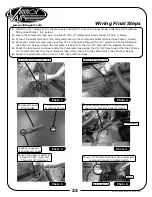
NOTE: To ensure a watertight seal between the passenger compartment and the vehicle exterior
Vintage Air recommends coating the threads of all bolts passing through the firewall with silicone
prior to installation.
1.
2.
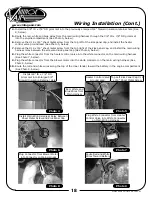
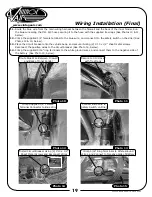
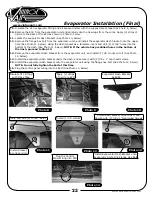
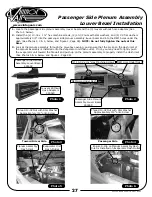
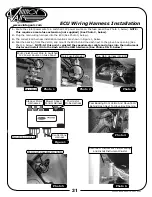
Clean the back of the dash, to the right of the glove box on the inner dash, where the ECU is to be mounted
(See Photos 1 & 2, below).
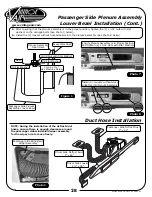
Place the evaporator unit on the passenger side floorboard, and install the #6 drier/evaporator A/C hose onto
the expansion valve with a properly lubricated #6 O-ring (See Figure 1, Page 14, and Photo 3, below).
Photo 1
Photo 2
Photo 3
Clean Back of This Area
Clean This Area
Install #6 Drier/Evaporator
A/C Hose onto Expansion Valve
6.
7.
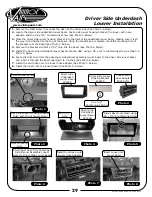
Apply double-sided tape onto the evaporator firewall bracket as shown in Photo 7, below.
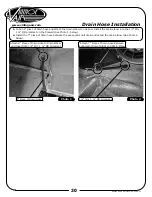
Remove the double-sided tape backing, and install the firewall rubber boot over the (2) heater hardlines. Keep
the hardlines centered and tight inside the bracket holes (See Photo 8, below). NOTE: Remove the heater
line caps before installing the rubber boot. Replace the caps onto hardlines after rubber boot has
been installed. Be sure the heater hardline holes and the threaded holes are centered with the
firewall rubber boot holes for a correct fit.
Install Firewall Rubber Boot
Over (2) Heater Hardlines
Evaporator Firewall Bracket &
Heater Hardline Installation (Cont.)
Firewall Rubber Boot
338609


