29
AlphaCom XE - Installation, Configuration & Operation
A100K10805
Exchange
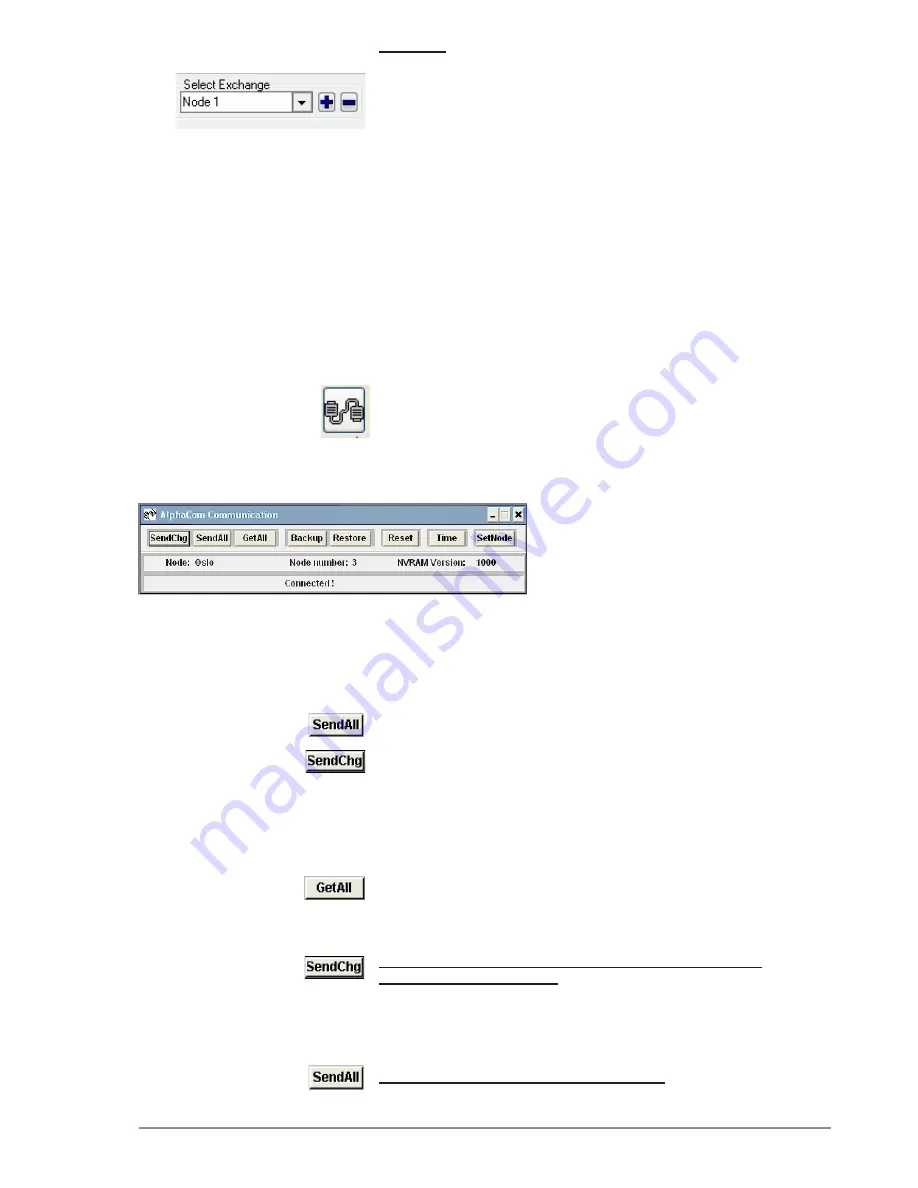
● In the main window, select [+] next to the
Select Exchange
pull-
down menu
● Proceed as explained in 4.3.1
-
The Node Number applies to AlphaNet nodes
● If this exchange is part of an AlphaNet, select Eth1 and enter the IP
address.
4.4 Data Communication
In order to establish communication between the PC and the exchange,
the communication program must be started.
L
During data transfer to the AlphaCom, it is not possible to
modify configuration data in the AlphaCom.
4.4.1 Establishing data communication
● Select the exchange in the Main Window
● Click on the
Communication
icon
● The program will ask you for user name (default:
admin
) and
password (default:
alphaadmin
)
-
The Communication window appears
-
The connection is confirmed when the communication is
established and the buttons become active.
L
If the PC is not connected to the exchange, a fault warning will
pop up. You may skip the data transfer until data changes have
been carried out off-line.
4.4.2 Send information to the exchange
● Click
SendAll
to send all data
● Click
SendChg
to send changed data only
-
An icon in the lower right corner flashes during transmission.
● The transmission may be stopped by clicking
Cancel
-The
Cancel
key changes to
OK
when the transmission is
completed. Click
OK
.
4.4.3 Get information from the exchange
● Click
GetAll
to get all data from the exchange
4.5 Communication Window Actions
Send changed data from the PC to the exchange or to all
exchanges in an AlphaNet.
● It may take about 60 seconds after the data has been sent for
changes to take effect for an exchange in normal operation.
● Some changes will require a reset for the changes to take effect.
Send all data from the PC to the exchange.
● Use this option after major configuration changes or to be sure that


