Flag
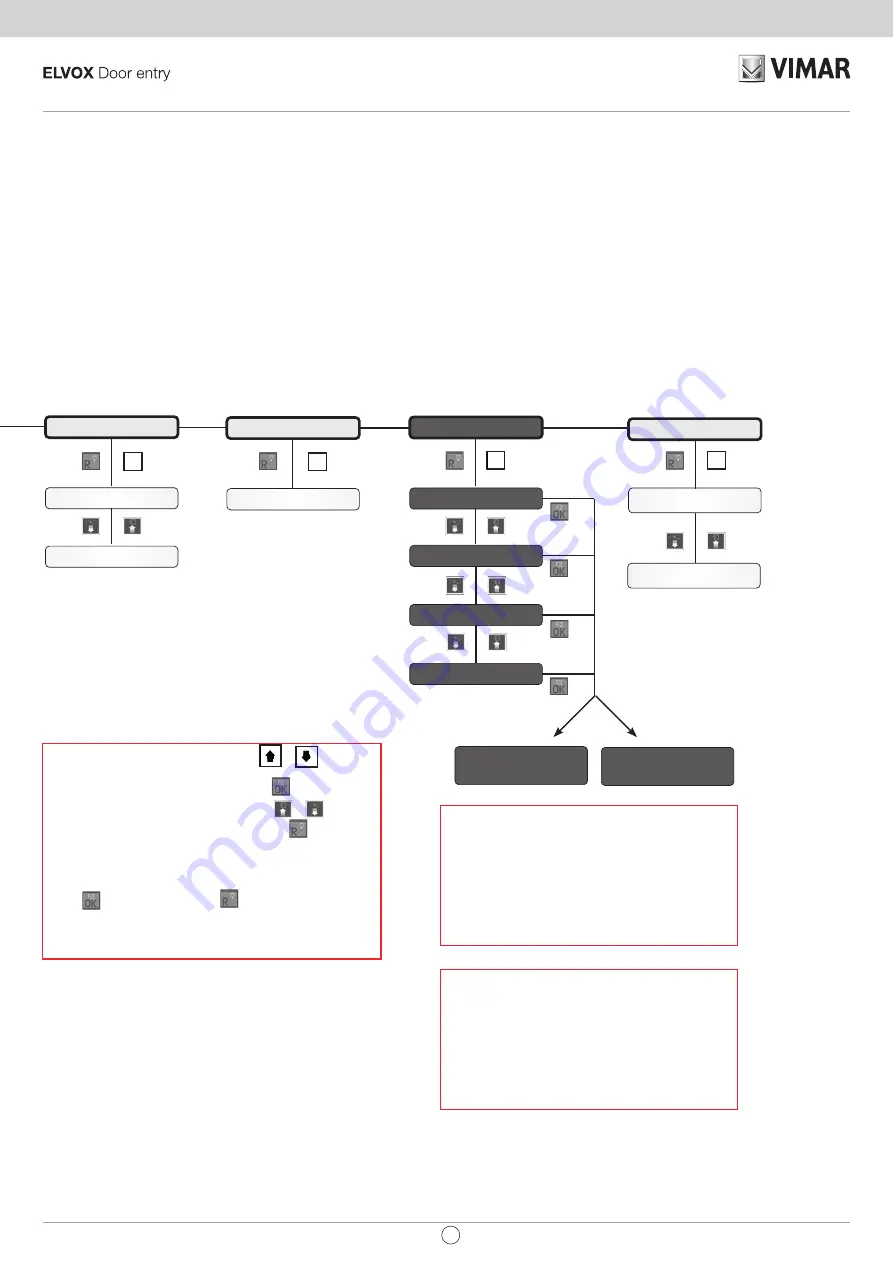
Enabl. map
Chime cycles
Activ. Time
T.On (s)
T.DelayOn (s)
Switchboards
Auxiliaries
Entrance panels
Internal
Not.Status
0=NO 1=YES
Int.Call
0=NO 1=YES
(0 - 20)
Default 5
Internal xxx
YES
Dis/enable a device by single ID
• select “Enabl. Map” and press OK,
• select the device category: “internal”, “entrance panel”, “auxiliary”,
“switchboard”,
• scroll through the list of devices: the ID of the selected device ap-
pears at the top right, on the line below the status (YES = enabled,
NO = disabled)
• a device can be accessed directly by keying in its ID (e.g. for indoor
station with ID = 50, key in 50 and press OK)
• press the button 0 to change the status of the device (e.g. YES -> 0
-> NO -> 0 YES) and then OK to save the new status.
Dis/enable category by window
• select "Enabl. Map" and press OK,
• select the device category: "internal",
"panel", "auxiliary", "switchboard" and confirm with OK to access the
category to configure.
• In window 1 WIN # 1, indicate the ID of the first device, confirm with
OK, specify the ID of the last device of the window of devices to be
enabled and confirm with OK (entering 3, 20 enables devices from 3
to 20). There are 3 windows available (WIN#1, WIN#2, WIN#3) so it is
possible to obtain up to 3 enabling Groups.
This operation is available for both vertical and horizontal mode.
INTERNAL WIN# 1
[ 1] 40000
•
To move from one menu to another press the
or
buttons
•
To enter from the menu to a submenu, press the
button (e.g. from
GROUP to DEV. GROUP 1).
•
To move from one submenu to another press the
or
buttons
•
To exit a submenu and return to the menu, press the
button
•
To modify a parameter:
• Select the parameter.
• Type in the new value.
• Press to confirm, to cancel press
and you go back to the previous
value.
•
* On the left there are the buttons to return to the previous level, on the
right the buttons to proceed with the next configuration.
2.
2.
2.
2.
15
EN
69PH


