


Page | 25
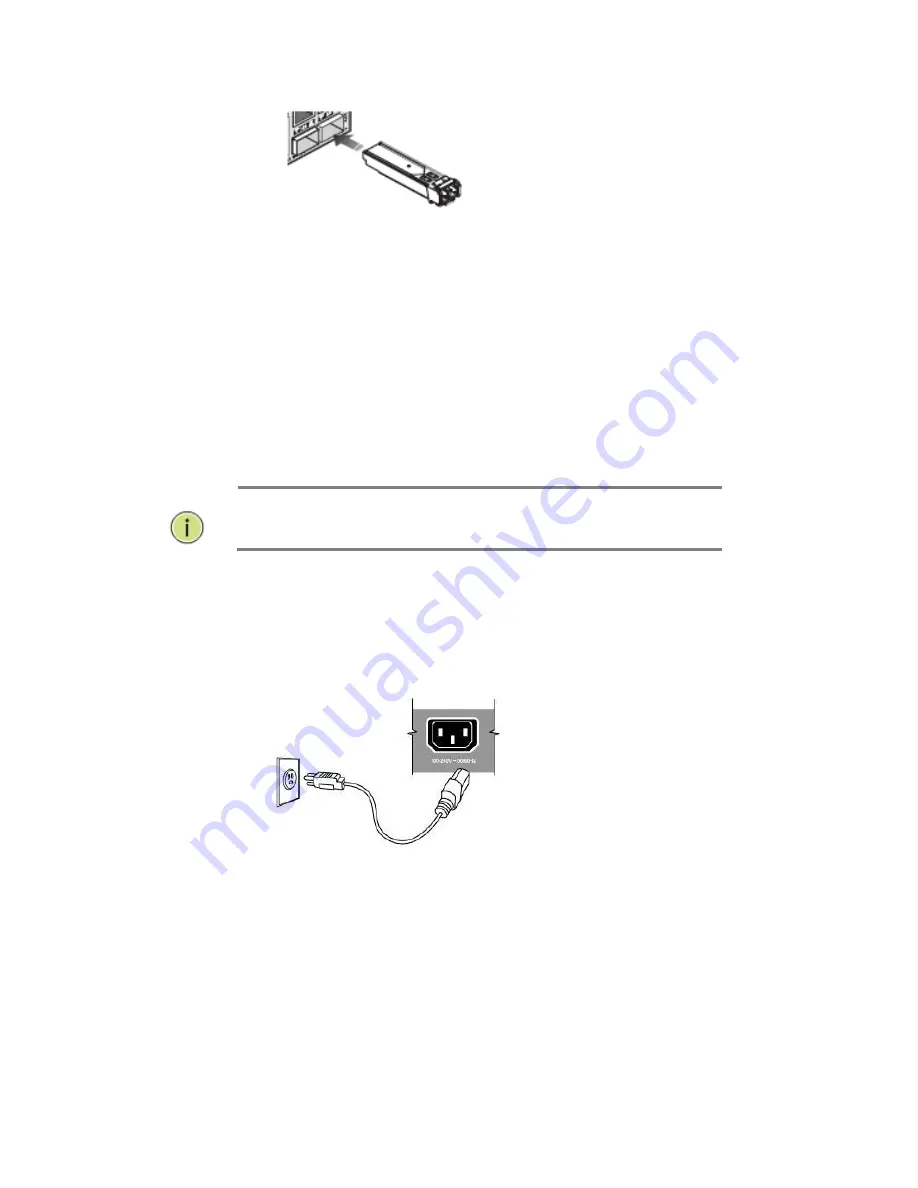
Figure 12: Inserting an SFP Transceiver into a Slot
5.8 Installing an
SFP Transceiver
Step 1.
Consider network and cabling requirements to select an
appropriate SFP transceiver type.
Step 2.
Insert the transceiver with the optical connector facing outward
and the slot connector facing down. Note that the SFP transceivers are
keyed so they can only be installed in one orientation.
Step 3.
Slide the SFP transceiver into the slot until it clicks into place.
NOTE:
SFP transceivers are not provided in the switch
package.
5.9 Connecting to
a Power Source
You can plug or remove power cord from AC power socket to switch the
power on or off.
Figure 13: Inserting the Power Cord to AC Power Socket
Step 1.
Insert the power cable plug directly into the AC Socket located at
the back of the switch.
Step 2.
Plug the other end of the cable into a grounded, 3-Pin, AC power
source.
Step 3.
Check the front-panel LEDs as the device is powered on to be
sure the POWER LED is lit. If not, check that the power cable is correctly
plugged in.
Содержание MaxiiNet Vi30018
Страница 15: ...Page 15 SFP Interface Guide 118 Connecting Vi30018 121 Contact Information 122...
Страница 19: ...Page 19 3 4 Vi30018 Front View 3 5 Vi30018 Rear View...
Страница 34: ...Page 34 After logging in the following page will appear Full Version Lite Version...
Страница 39: ...Page 39...
Страница 63: ...Page 63...
Страница 66: ...Page 66 13 1 Drop and Receive Packet 13 2 CRC error packet and Receive Packet...
Страница 73: ...Page 73...
Страница 74: ...Page 74 Section 15 Security 15 0 MAC Address Binding...
Страница 82: ...Page 82...
Страница 85: ...Page 85...
Страница 86: ...Page 86...
Страница 87: ...Page 87...
Страница 88: ...Page 88...
Страница 92: ...Page 92...


