23
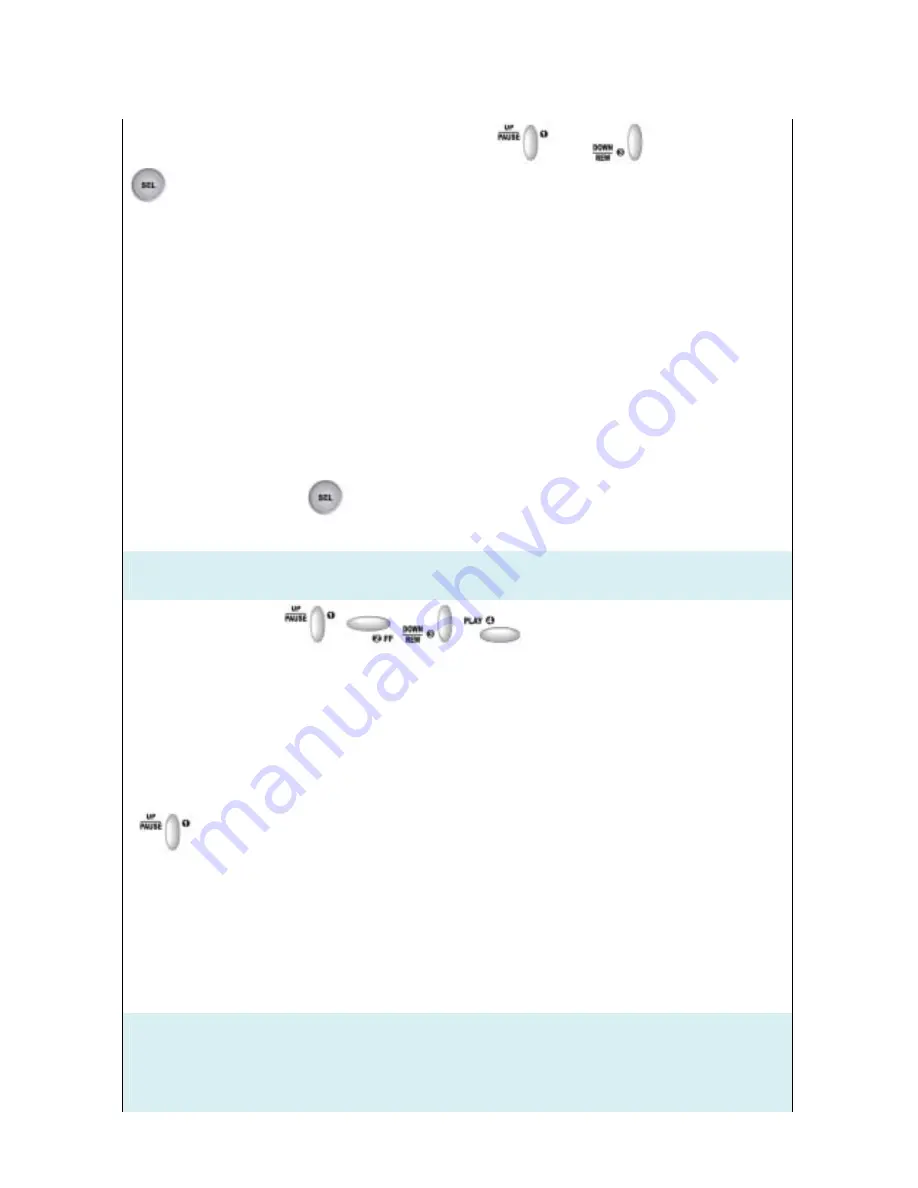
To navigate and to make the desired selections use the up
down
and select
buttons on the front panel of the DVR unit.
OVERWRITE ENABLED:
If you choose YES (default setting), recording continues and over writes
previous recording when hard disk drive space is full. If you choose NO, the recording session stops
when all hard disk drive is full.
MASTER HDD SIZE:
This shows the size of the primary hard disk drive installed in the DVR.
MASTER HDD USED:
This shows the space used on the first hard disk drive for recording.
MASTER HDD FORMAT:
If you format the hard drive, all the data recorded on the first hard disk drive
will be erased.
HARD
DRIVE FORMAT - PART A
The following instructions apply to DVR that came packaged with a hard disk drive.
If your DVR did not come with a hard disk drive, refer to HARD DRIVE SETUP - PART B on page 24.
To format your hard disk drive, navigate to MASTER HDD FORMAT in the HARD DRIVE SETUP menu
and press the select button
The following screen will appear:
PASSWORD INPUT (6) : _ _ _ _ _ _
Use the numeric buttons
,
,
,
on the front panel of the DVR unit to enter
the correct password.
When you enter the correct password, the following message will flash 3 times.
PASSWORD CORRECT
HARD DISK FORMATTED
Otherwise, the following error message will be displayed on the screen.
PASSWORD INCORRECT
Note:
The Factory Default Password is 111111. To enter this number press the button labeled
1
,
on the front panel of the DVR six times.
HARD DRIVE FORMAT - PART B
The following instructions apply to DVR that did not come packaged with a hard disk drive.
1. TO INSTALL A HARD DISK DRIVE:
When you install a hard disk drive, you will see the following screen displayed while the DVR unit is
booting up:
Refer to chapter 5- HARD DISK DRIVE INSTALLATION on page 12 of this manual or Quick installation
guide to install hard disk drive.
HDD CHECKING ……
HARD DVIVE
HDD MODEL NUMBER


