


ANTI-VANDAL 10x SPEED DOME CAMERA
68/96
Create, Save, Load Map
Firstly, make sure Camera Model in “Motion Tracking” menu and
PTZ Protocol in “Control” menu
of
Administration Tools before creating Map. Also, most map related function except “Load” can be
operated only by the user who has Administrator authority.
Create Map
(1) To make the most interested region be located in the center of Map, you have to move the
camera to the target scene before new map is created.
(2) Then, click the [Create] button to make IVS create new map automatically. Please wait for
around 5 minutes till the color of Create button returns to grey. If you control something else
when map is created, that will disturb creating work. As a result, you will have inaccurate and
ugly map.
Save Map
If you click [Save] button, the current Map, Preset and Group data will be uploaded to the IP Speed Dome. By this,
you can use stored map data in the future and share it with other Clients.
Load Map
If you click [Load] button, the Map, Preset and Group data stored previously will be downloaded from the IP
Speed Dome.
If there is no map data stored in the IP Speed Dome, you will see only black map in the screen.
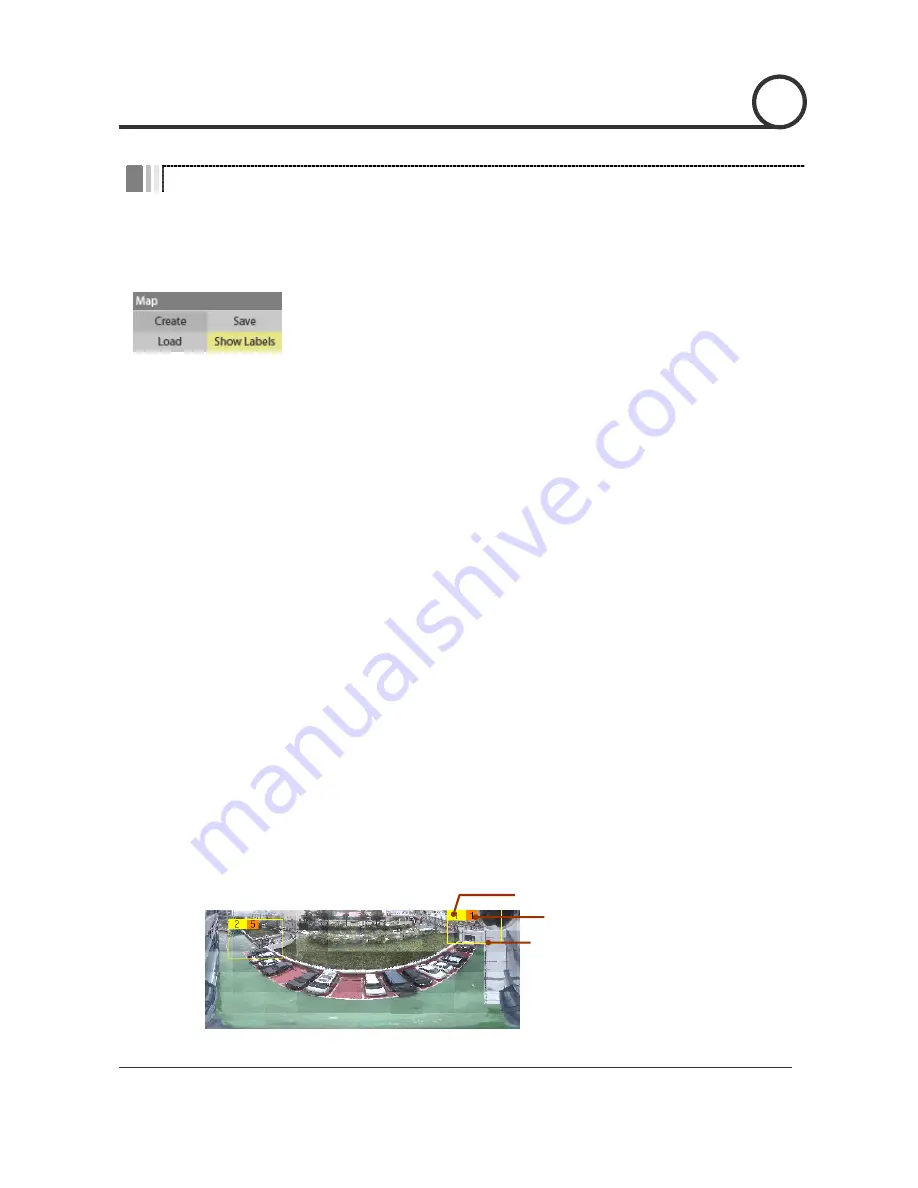
Show Labels
Show or hide the preset box and label on the map.
WEB VIEWER
6
Preset Number
Dwell Time
Preset View Area


