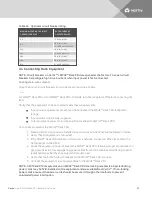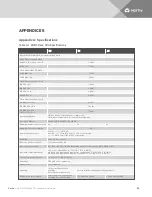
NUMBER
DESCRIPTION
1
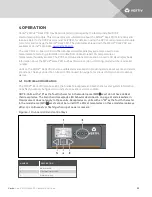
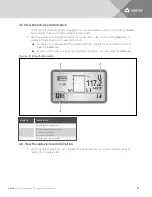
Receptacle-level information icon
2
Receptacle identification:
1 = MPH2™ Rack PDU #1
A = Branch A
1 = Receptacle #1
3
Receptacle list (receptacle #1 of 5 is selected)
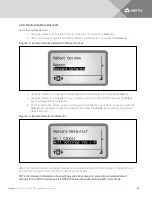
4.7 View Sensor Information
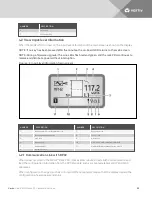
1. At the input-level (main) screen, highlight the Sensor icon, and press the
Select
key to display
a list of the sensors, in the order of their identification number.
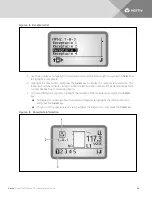
2. Use the arrow keys to highlight an up/down arrow at the bottom-left, and press the
Select
key
to highlight a receptacle.
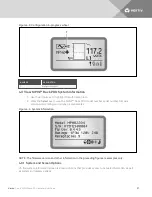
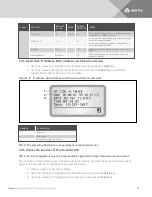
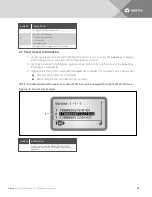
3. Highlight the Play button, and press the
Select
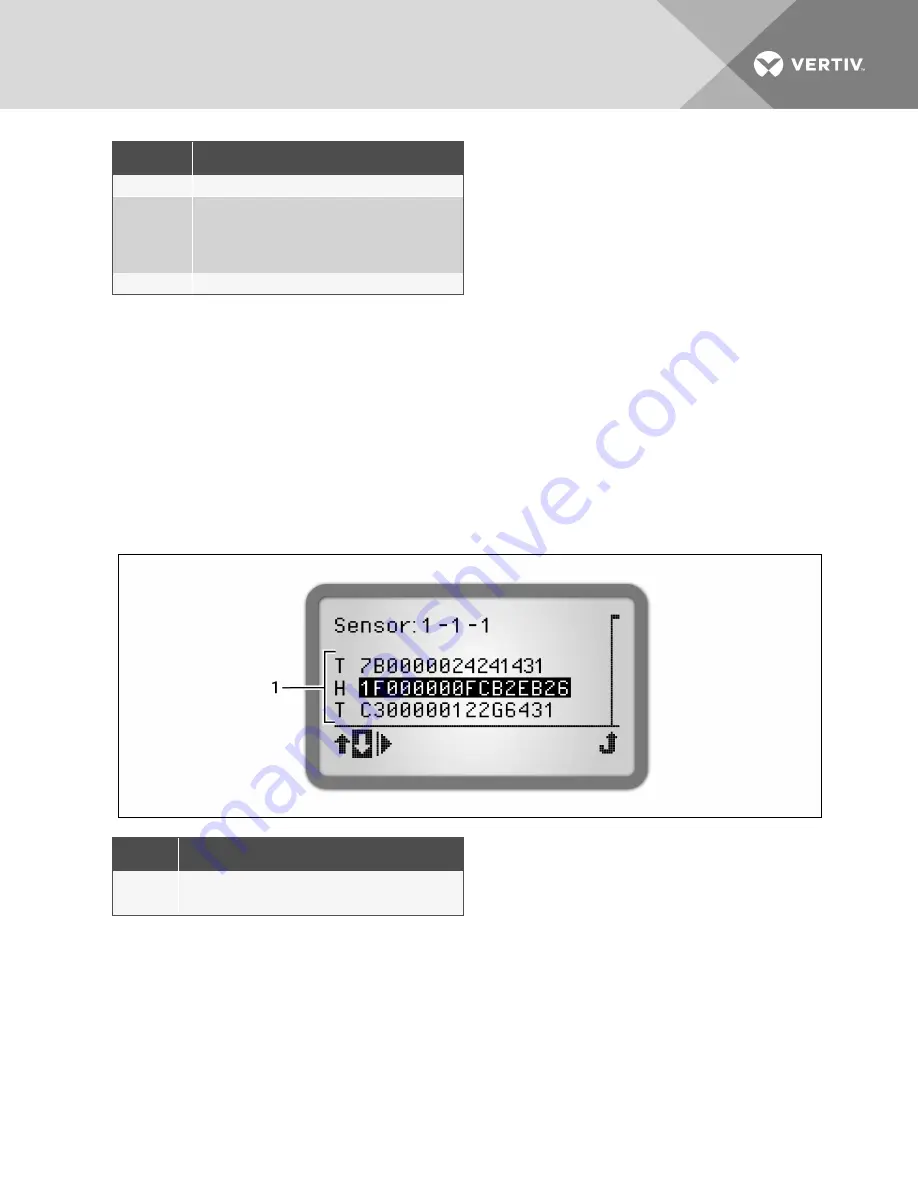
key to display the humidity-sensor information:
•
Percentage and severity of humidity.
•
Sensor identification and label (serial number).
NOTE: The default label is the sensor’s serial number, but can be changed through the Web interface.
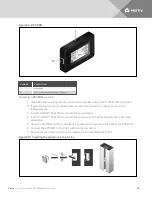
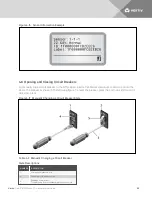
Figure 4.15 Sensor List Example
NUMBER
DESCRIPTION
1
Sensors connected to the MPH2™ Rack PDU. (two
temperature sensors and one humidity sensor in the
example)
Vertiv
| Vertiv™ MPH2 Rack PDU Installer/User Guide
35
Содержание MPH2
Страница 1: ...Vertiv MPH2 Rack PDU Installer User Guide ...
Страница 16: ...Vertiv Vertiv MPH2 Rack PDU Installer User Guide 12 This page intentionally left blank ...
Страница 42: ...Vertiv Vertiv MPH2 Rack PDU Installer User Guide 38 This page intentionally left blank ...
Страница 48: ...Vertiv Vertiv MPH2 Rack PDU Installer User Guide 44 This page intentionally left blank ...
Страница 49: ......

