


CAMSET24
05/05/2010
© 2008
Velleman Components nv
19
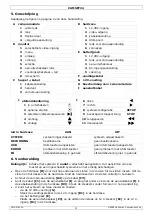
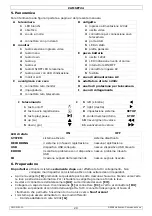
5.
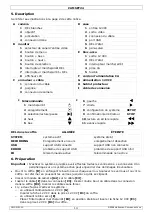
Descripción
Véase las figuras en la página 2 de este manual del usuario.
A cámara
D maletín
1
LEDS blancos
1
entrada 12VCC
2
óptica
2
salida de vídeo
3
parte flexible
3
conexión del cable
4
conexión dorada
4
puerto USB
B monitor
5
DEL de estado
1
selector de canal de entrada de vídeo
6
capa antisolar
2
botón de menú
E batería
3
botón « hacia abajo »
1
salida 12 VCC
4
botón « hacia arriba »
2
DEL de estado
5
botón de selección
3
interruptor ON/OFF
6
interruptor ON/OFF LED
4
entrada CA
7
interruptor ON/OFF + LED
5
fusible
8
pantalla LCD
F cable de alimentación CA
C enrolla cable
G alimentación
12
VCC
1
conexión del cable
H tapa de protección
2
mango
I cable
de
conexión
3
conexión de cámara
J mando a distancia
J
6
hacia izquierda
1
ON/OFF
7
hacia derecha
2
grabación
8
configuración del sistema
SETUP
3
selección/reproducción/pausa
9
confirmar/parar/volver
STOP
4
hacia arriba
10
retroceder de forma rápida
5
hacia abajo
11
avanzar de forma rápida
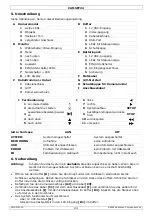
LED del maletín
ACTIVADO DESACTIVADO
SYSTEM
sistema activado
sistema desactivado
RECORDING
grabación activada
grabación desactivada
USB
el aparato USB está conectado
el aparato USB no está conectado
ERROR
problema con el aparato USB
no hay problema con el aparato USB
IR
se usa el mando a distancia
no se usa el mando a distancia
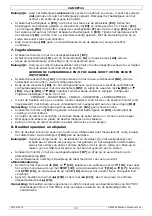
6.
Preparación
Importante:
Active el sistema sólo después de haber efectuado todas las conexiones. Puede causar
daños irrevocables al conectar un aparato a un sistema activado.
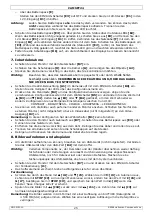
•
Abra el maletín
[D]
al pulsar los botones que se encuentran por debajo de cada cierre. Levante
los cierres y abra el maletín. Cierre el maletín al apretar los cierres hasta que oiga un clic.
•
Fije la cámara
[A4]
al cable
[C3]
.
•
Introduzca el cable
[I]
en la conexión
[C1]
. Introduzca el otro extremo del cable en la conexión
del maletín
[D3]
. Introduzca los cables sin forzar.
•
Hay dos maneras para activar el sistema:
o
utilizar la alimentación 12 VCC
[G]
Introduzca el conector 12 VCC en la entrada 12 VCC
[D1]
del maletín.
o
utilizar el pack de baterías
[E]
Ponga el interruptor ON/OFF
[E3]
en la posición OFF e introduzca el conector de 12 VCC
[E1]
en la entrada 12 VCC
[D1]
del maletín.


